Article By: Daniel Donley At Pandemonium Custom Choppers www.pandemoniumc2.com
Originally Published In The December 2013 Issue Of Cycle Source Magazine
Last month we got the bike all mocked up, then tore down for finish welding, and then got everything sandblasted and prepped for the powder coater. So off we go to spend a day at the powder coater!
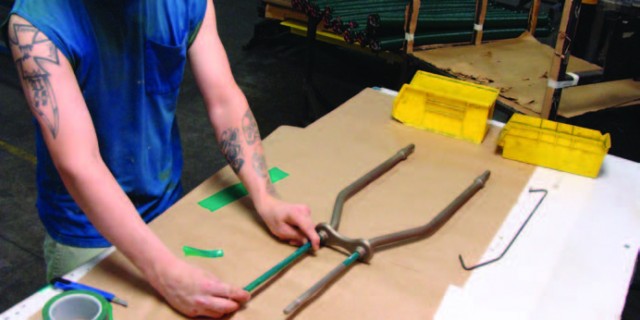
Prior to powder coating, Mylar tape is used to protect the areas on the parts that we don’t want powder coated. Silicon plugs are also used for protecting threaded or small holes from the powder coating process.
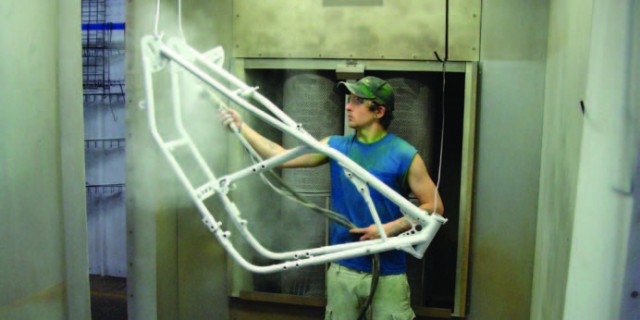
The parts are blown off with compressed air to remove any dust or lint. Here, Todd is applying the clear satin powder coat.
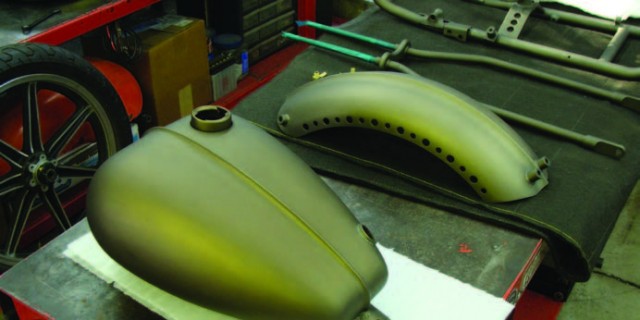
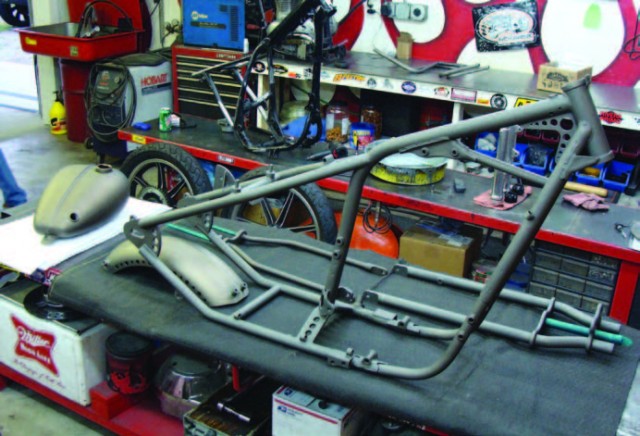
These are the finished parts. The sheet metal parts got a very interesting color hue to them. With this being satin clear, you could see that the thinner sheet metal started to take on a straw color from the heat of the powder coat being cured. It turned out really cool looking!
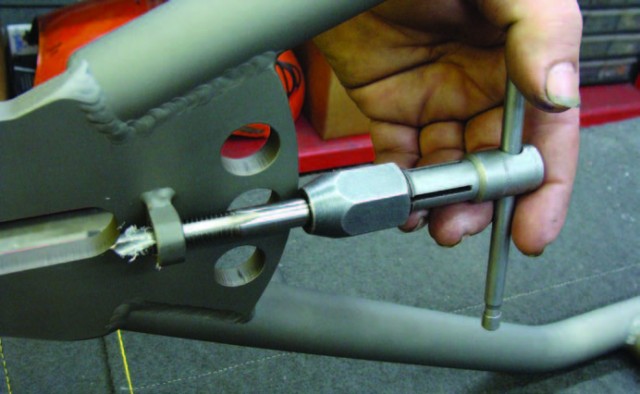
Before any final assembly begins, always run a tap through the threaded holes on the frame. This will make life a lot easier during the final assembly.
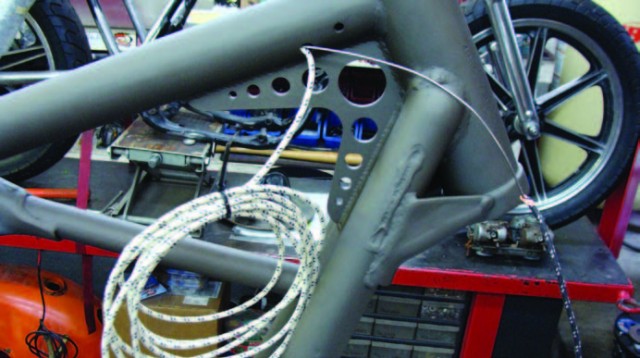
I use an old choke cable as a pull wire to run the main wiring through the frame. Also leave yourself plenty of extra wire on each end. This is way easier to do now than when the bike is all together.
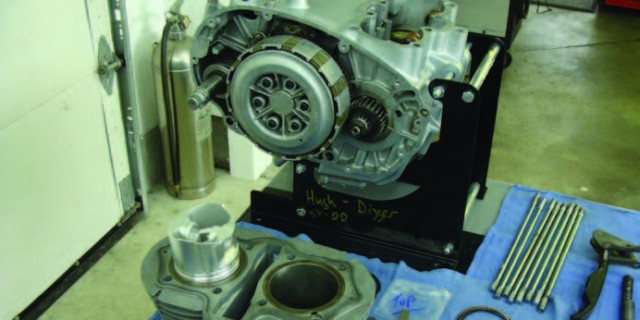
Well, Duke wanted a little hot rod to blast around on. This is where Hugh from Hugh’s Handbuilt came through with one of his 277 degree Re-Phased Short Blocks, 5th gear overdrive, polished and welded cranks, polished transmission, the works! The 277 Re-Phase is a little monster of a powerplant!
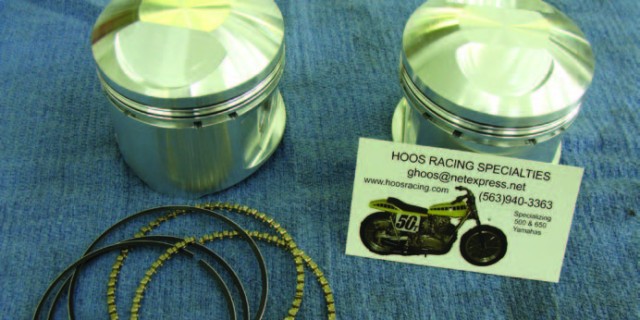
Gary from Hoo’s Racing hooked us up with some J.E. forged aluminum 700cc pistons. These pistons are like pieces of art!
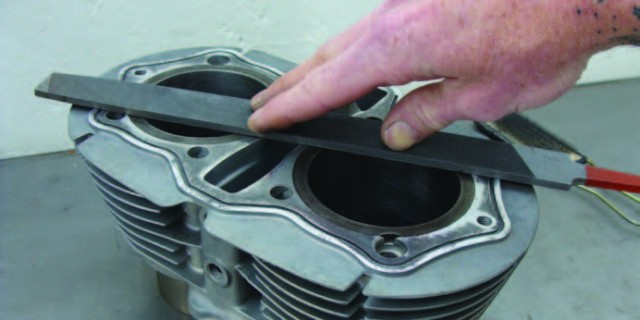
It’s time to start putting this monster together! I use a flat file on all gasket surface areas to make sure they are flat and burr free. This makes for a leak free engine.
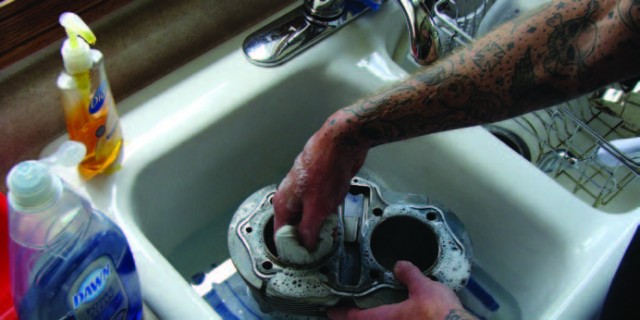
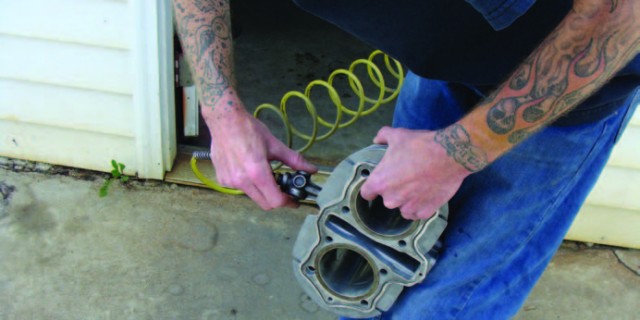
During final assembly of the engine, all parts must be 100% clean! Using hot soapy water, I give all the parts a bath and scrub, then dry them with compressed air. Put a light coat of engine oil on any metal surfaces to prevent rust.
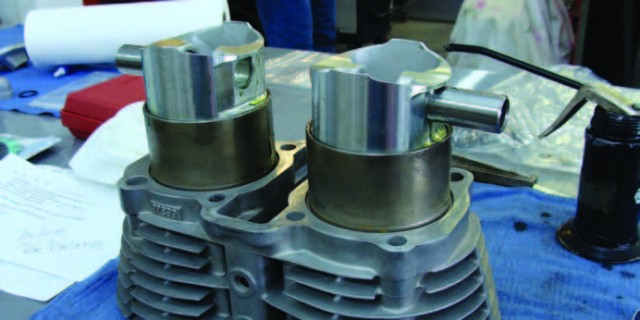
I installed the rings on the pistons and then used a ring compressor to install them into the jug.
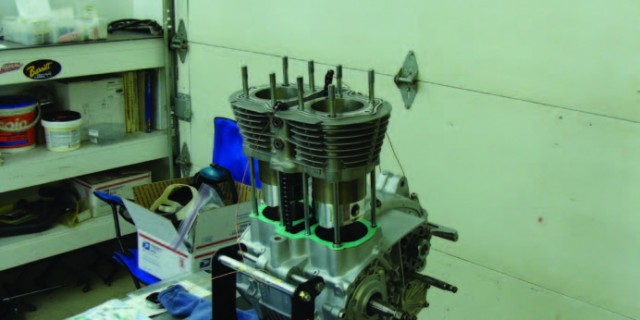
Setting the jug pistons on to the engine is much simpler than trying to wrestle around with ring compressors here. Now, I install the wrist pins and clips into the pistons and seat the jug to the short block.
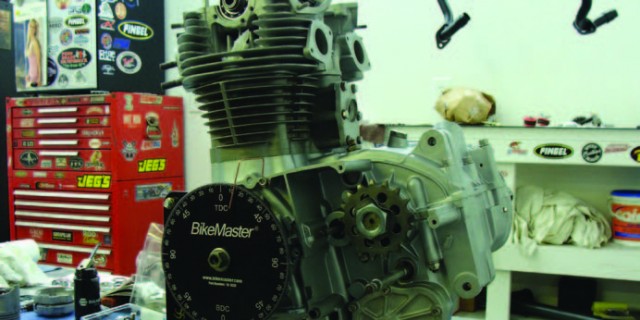
I installed an early XS1 cam shaft in the engine. It is a more aggressive grind, but required a cam gear swap. Anytime the cam gear is removed and reinstalled, the cam must be redegreed. It’s lots of extra work, but well worth the h.p. gains!
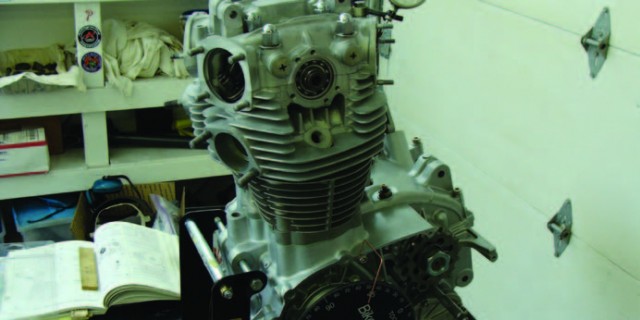
I got the cam degreed in at 47 degrees before top dead center. This is what they call straight up to factory spec. This will allow Duke to run 87 octane gas. See, what we are after here is a user-friendly hot rod that can be ridden anywhere.
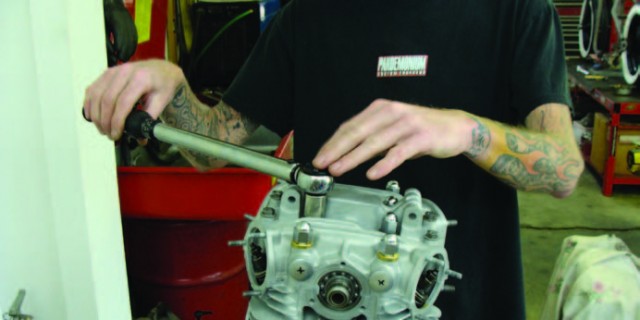
Torqueing the head nuts down to 30 foot pounds.
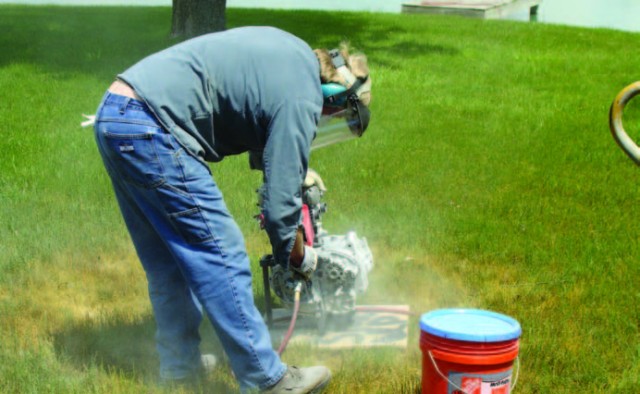
With the engine assembly done, I cover any openings with plastic plugs and then baking soda blast the engine. Thanks dad! The baking soda blast gives the paint a nice clean surface to bite to. Oh and by the way, baking soda will kill your lawn; the grass is still there but dead months later!
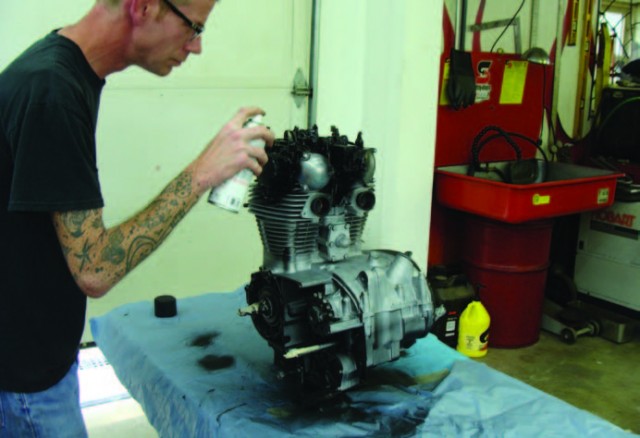
I use Rust-Oleum engine enamel. It’s good for 500 deg F and resists gas and oil. I’ve had great luck using this paint. Just make sure everything is very clean!
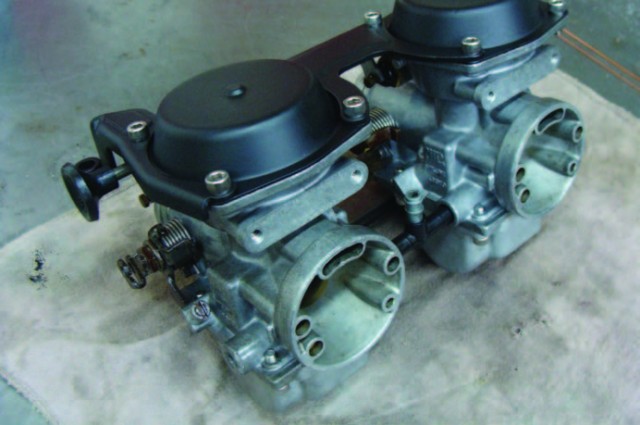
I completely rebuilt a set of BS34 carbs and re-jetted them for Duke’s 700 cc lil monster. Next month we will be wrapping up the final assembly on the High Life Project! If you have any questions give me a call at 419-576-6812 or send me an email info@pandemoniumc2.com www.pandemoniumc2.com


