
Article and photos by Chris Callen, originally published June 2019
For the record, this is a simple tech, but one I struggled with early on so for what it’s worth, I’ll pass it on here. If you have ever faced drilling a blank fender for a taillight mount, then you know it can be unnerving. In truth, there are probably a hundred ways to go about this, and I’m sure someone has a much fancier tool tha,n I use, but my way is simple and cheap and keeps the taillight nice and square.

First step is to stop by your local Lowe’s or Home Depot and pick up a Skill laser level for about $50.

Second is to mount your fender as it will be on the finished motorcycle. In my case, we used a Klock Werks Benchmark fender that was a perfect fit for this 1991 Softail donor bike.

Next, I check the level of the bike lift and put my laser level on a tripod and level it. At this point, I know I am square.

Now I can find my center of the fender and estimate the placement of my taillight. That done, I use the rubber base that came with my light and scribe the locations of the holes I will need. You could easily make a cardboard template just the same.

After drilling the holes and getting the taillight on, I make a reference line and adjust the level to locate my signal bar.

Since the fender is curved where the signal bar mounts, I decide to use some tire marking paint and locate those holes.

Here you can see the reference before I started to drill them out.

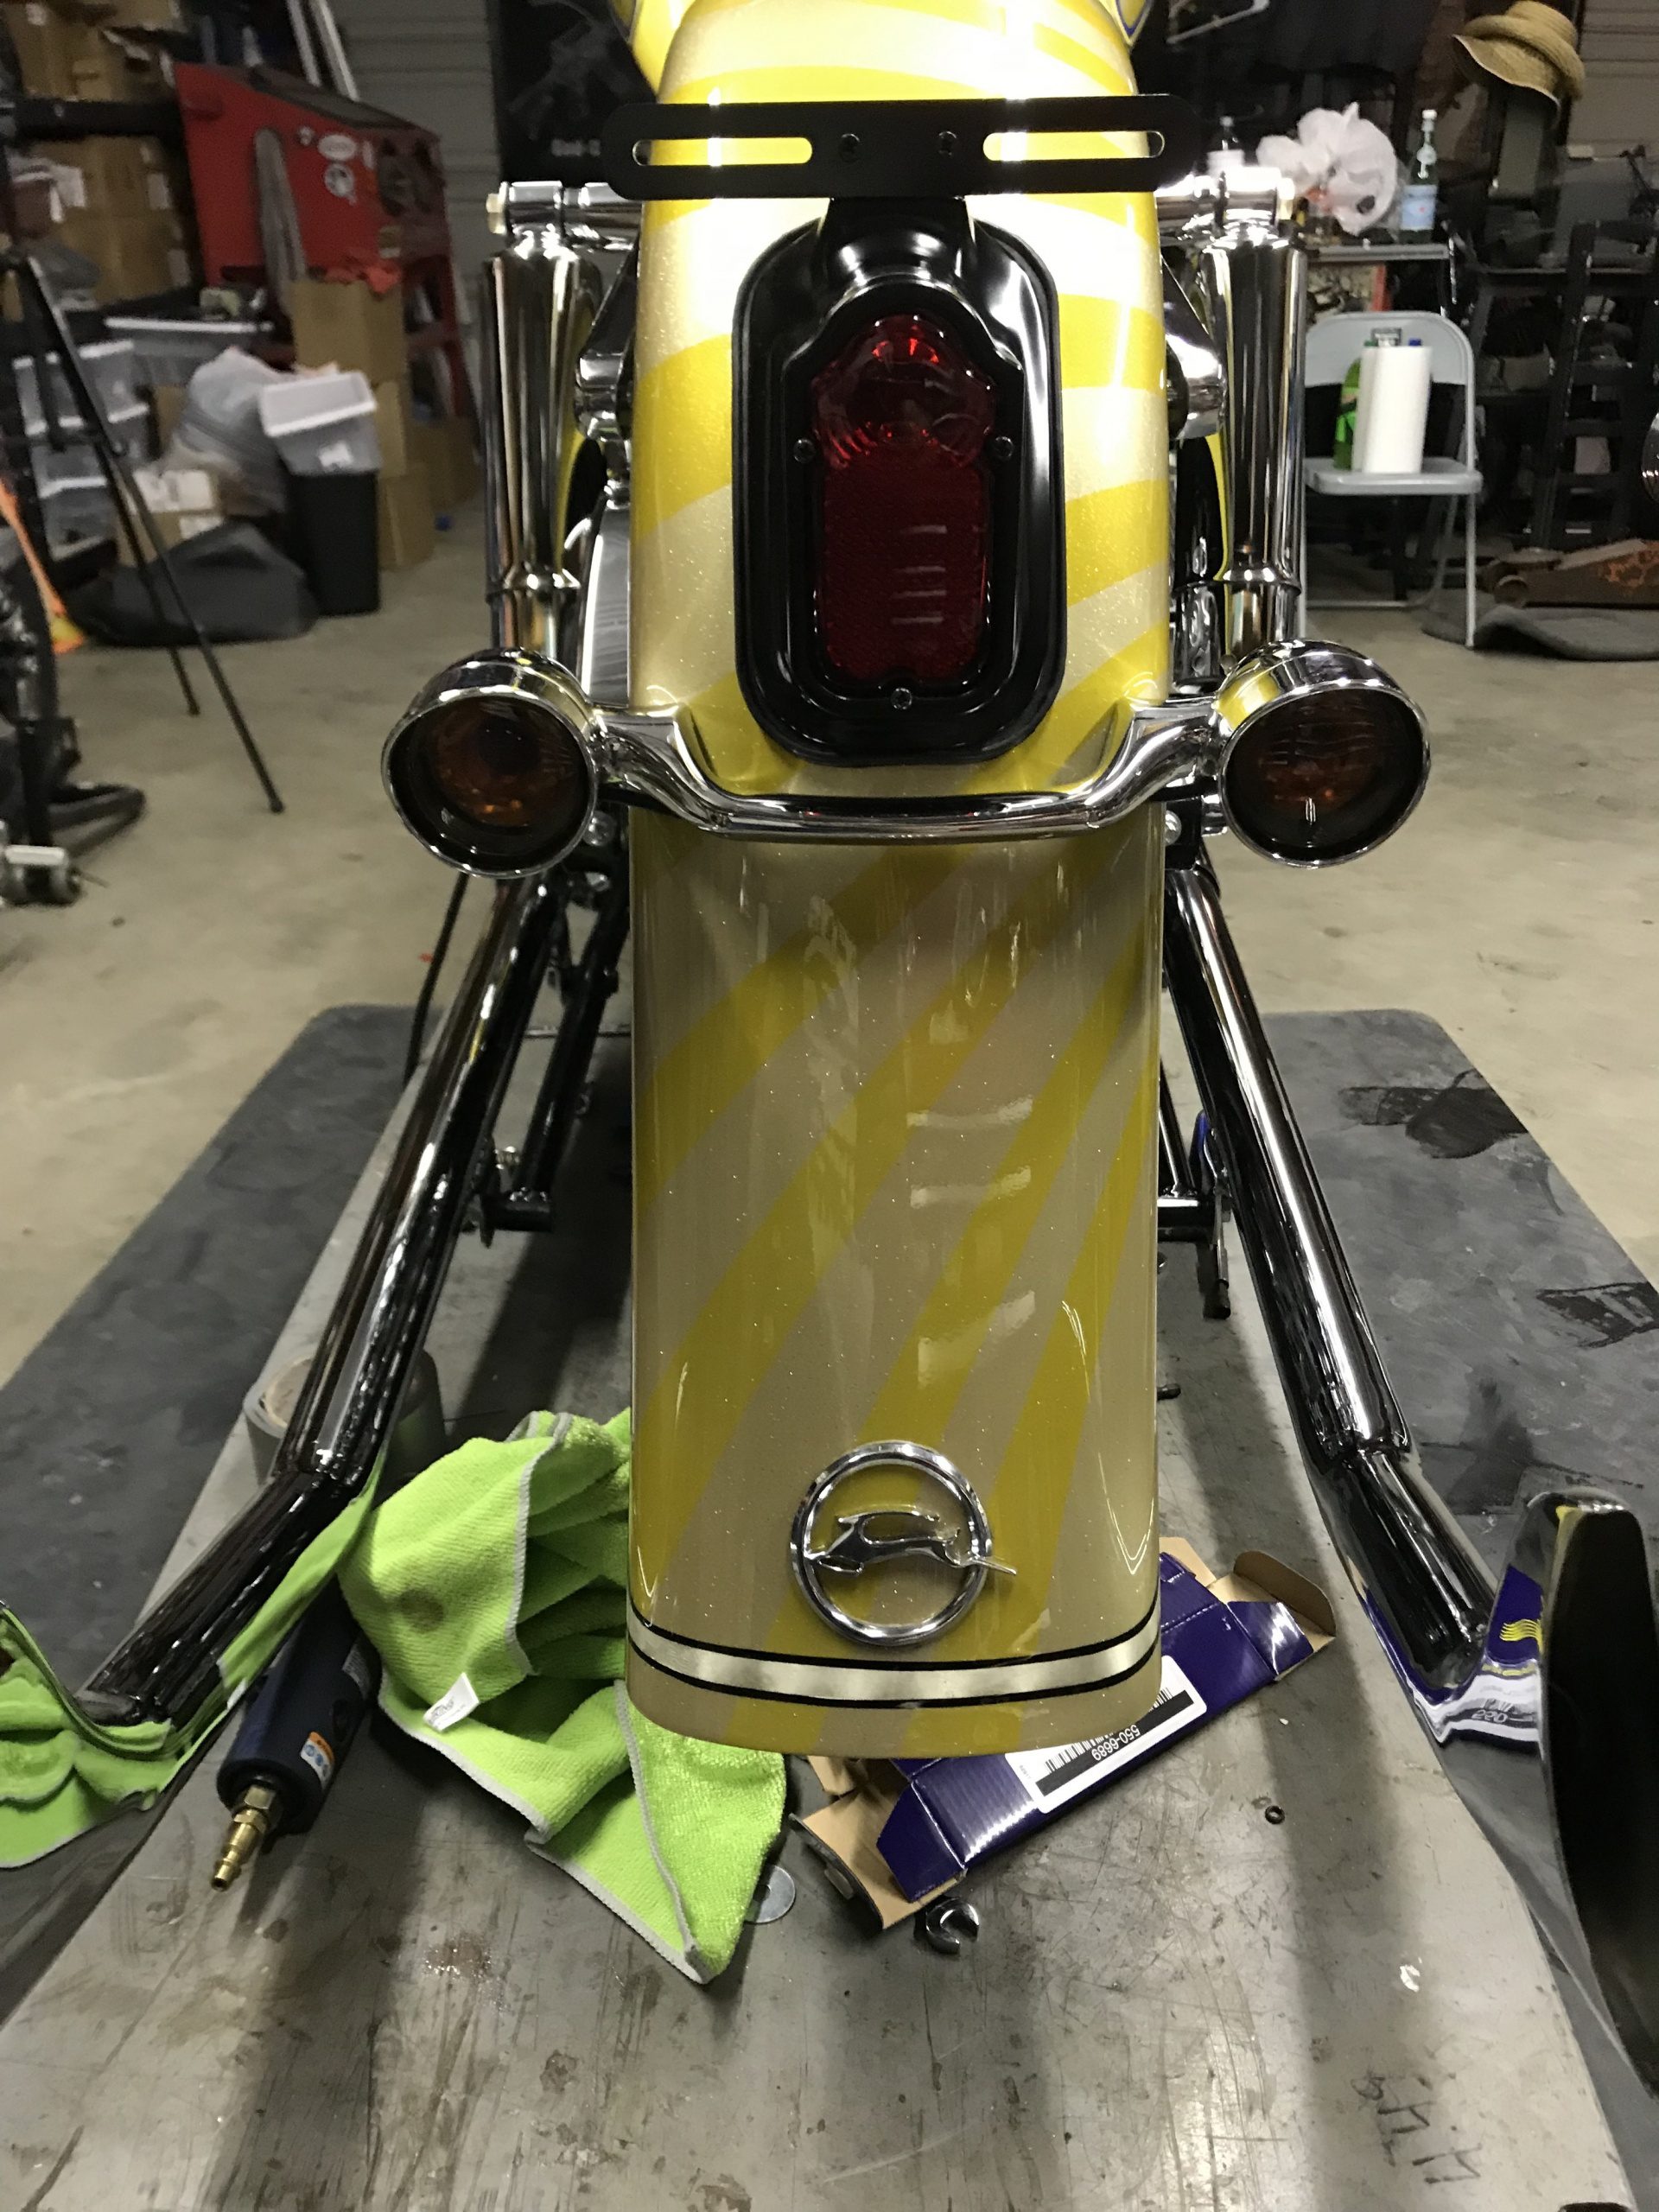
At this point, all I need to do is locate where I want to drill the holes to hide the wiring, and we should be ready for bodywork and paint.

With everything pre-fit and complete before paint I know there will be no surprises in final assembly, and my light and signal bar will be square and in the correct location.

Hope that helps some of you garage guys do this job a little easier. Like I said, might be the cheap and easy way to go, but for me it gets the job done.


