Article By: Vincent Stemp
Photos By: Sean Fraser
Originally Published In The June 2014 Issue Of Cycle Source Magazine
If you keep your eyes on the customs in these pages and others, you might have noticed that fuel sight gauges on tanks are just about everywhere. Go to a show, and those trendy little tubes are so prevalent that you almost stop seeing them. But who cares, right? Another bandwagon, another little visual cue; it seems that any rider or builder worth his salt would buck the trend and nobly find another way to make their work stand out. But then it hit me: those little fuel gauge tubes are more than just another piece of visual candy, at least for those of us who ride our customs. They’re not a bolton mod; unlike an air cleaner cover or chromed bolt caps, they’re not a trinket that you get slapped on at the dealership to feel like you’re no longer rolling stock. Those little fuel gauges proudly say, to any gearhead walking by, “I’m not afraid to get my hands dirty and weld shit to my bike if that’s what makes it different, thank you very much.” To the white collar riding public, this can be a pretty novel idea. Oh yeah, one more thing…those fuel gauges are actually useful for telling you how much fuel is in the tank. Duh… but if you’ve ever popped the gas cap to check your fuel at a red light and then scrambled to screw it back on when the light changed, you’ll know what I mean.
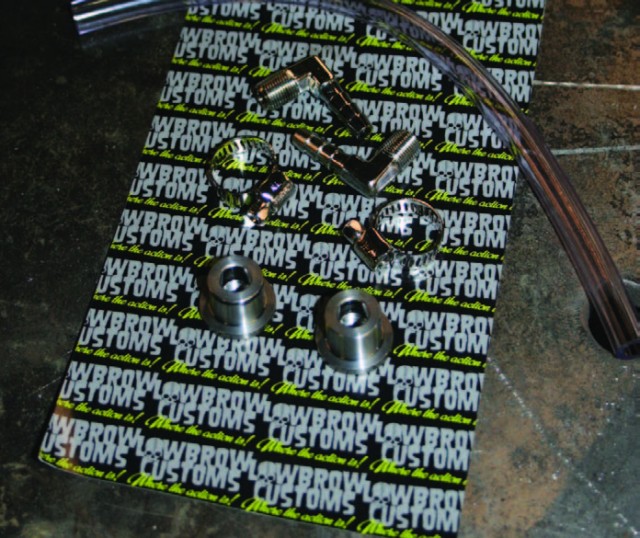
But enough conjecture on motoculture, let’s talk about some welding. You can scrounge up the parts to do this mod if you’ve got a real good hardware store and a lathe to make your own weld-on bungs, but I went with a kit from Lowbrow Customs for simplicity’s sake. Take it from a guy with two jobs, time is money!
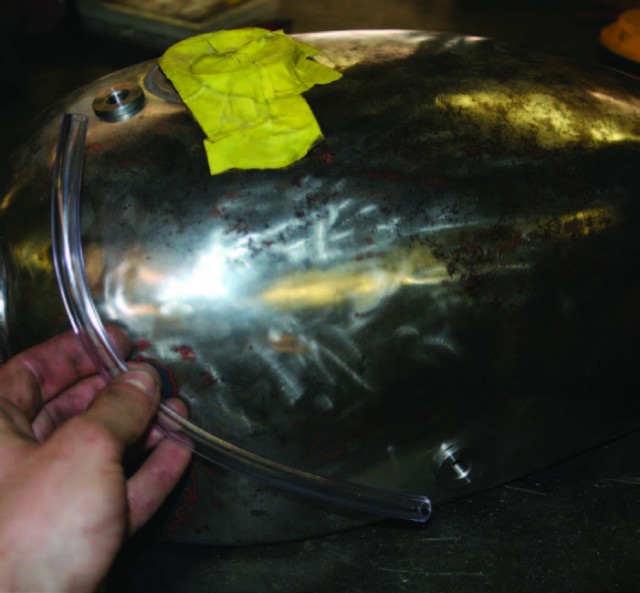
After mocking up where I wanted the tube to run, it was easy enough to mark the two spots with a center punch and drill them out to accept the bung. But then a little quandary popped up; these were going to be high-visibility welds, and my MIG welds have yet to reach a level where they really look smooth and consistent, especially on small joints like the area between the bungs and the tank. But there’s two resources in our shop that offered a better solution: our Lincoln Electric Precision TIG 225 welder and Joe, our fabricator, shop foreman and lead wrench.
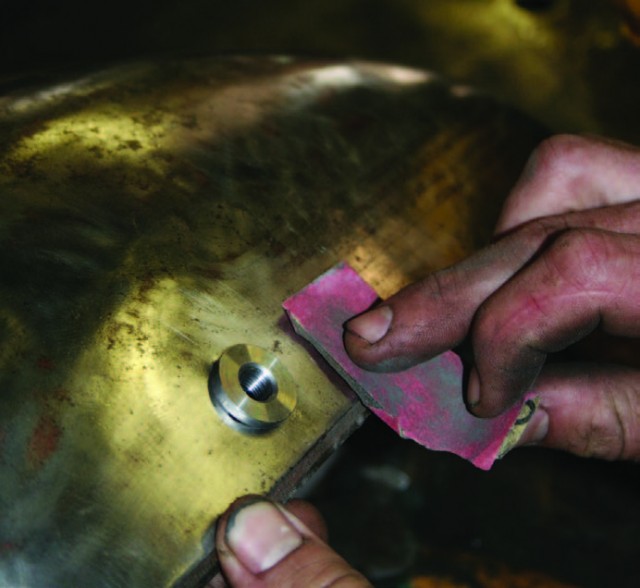
Joe agreed to stick on the bungs with the Precision TIG for me while I manned the camera and tried not to go blind. First things first: preparation. With TIG welding even more so than MIG welding, having a clean surface is super important, so we went to town with some 180 grit before firing up the welder. With a carefully honed tungsten and running just under 60 amps, Joe was able to start his arc on the thicker steel of the bung, drawing it towards the tank and making the weld without having to use filler rod.
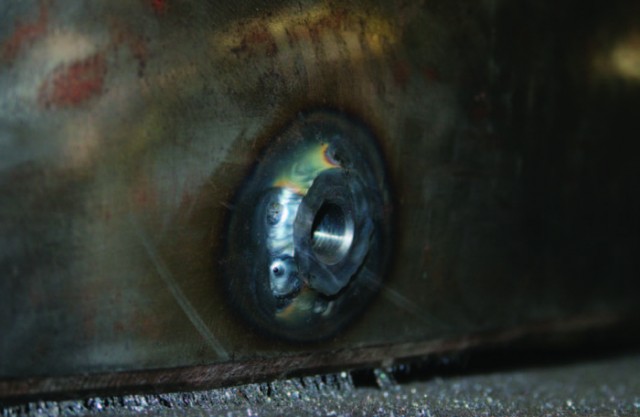
Well, he did have to use a little…the metal on the top of the 40 year old tank was a little crispy and burned though a tiny bit,

but some filler rod and a sanding disc cleaned that right up. Just like last month, the lesson holds: welding nice new clean metal beats old stuff anyway, but this tank was too cool to throw in the scrap.
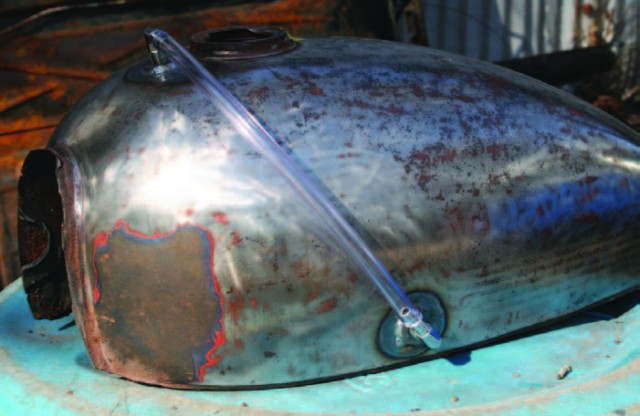
Next time, we’ll get the damn tank on the bike, and tack on some tabs to replace evil and unsightly zip ties elsewhere. Weld on!


