
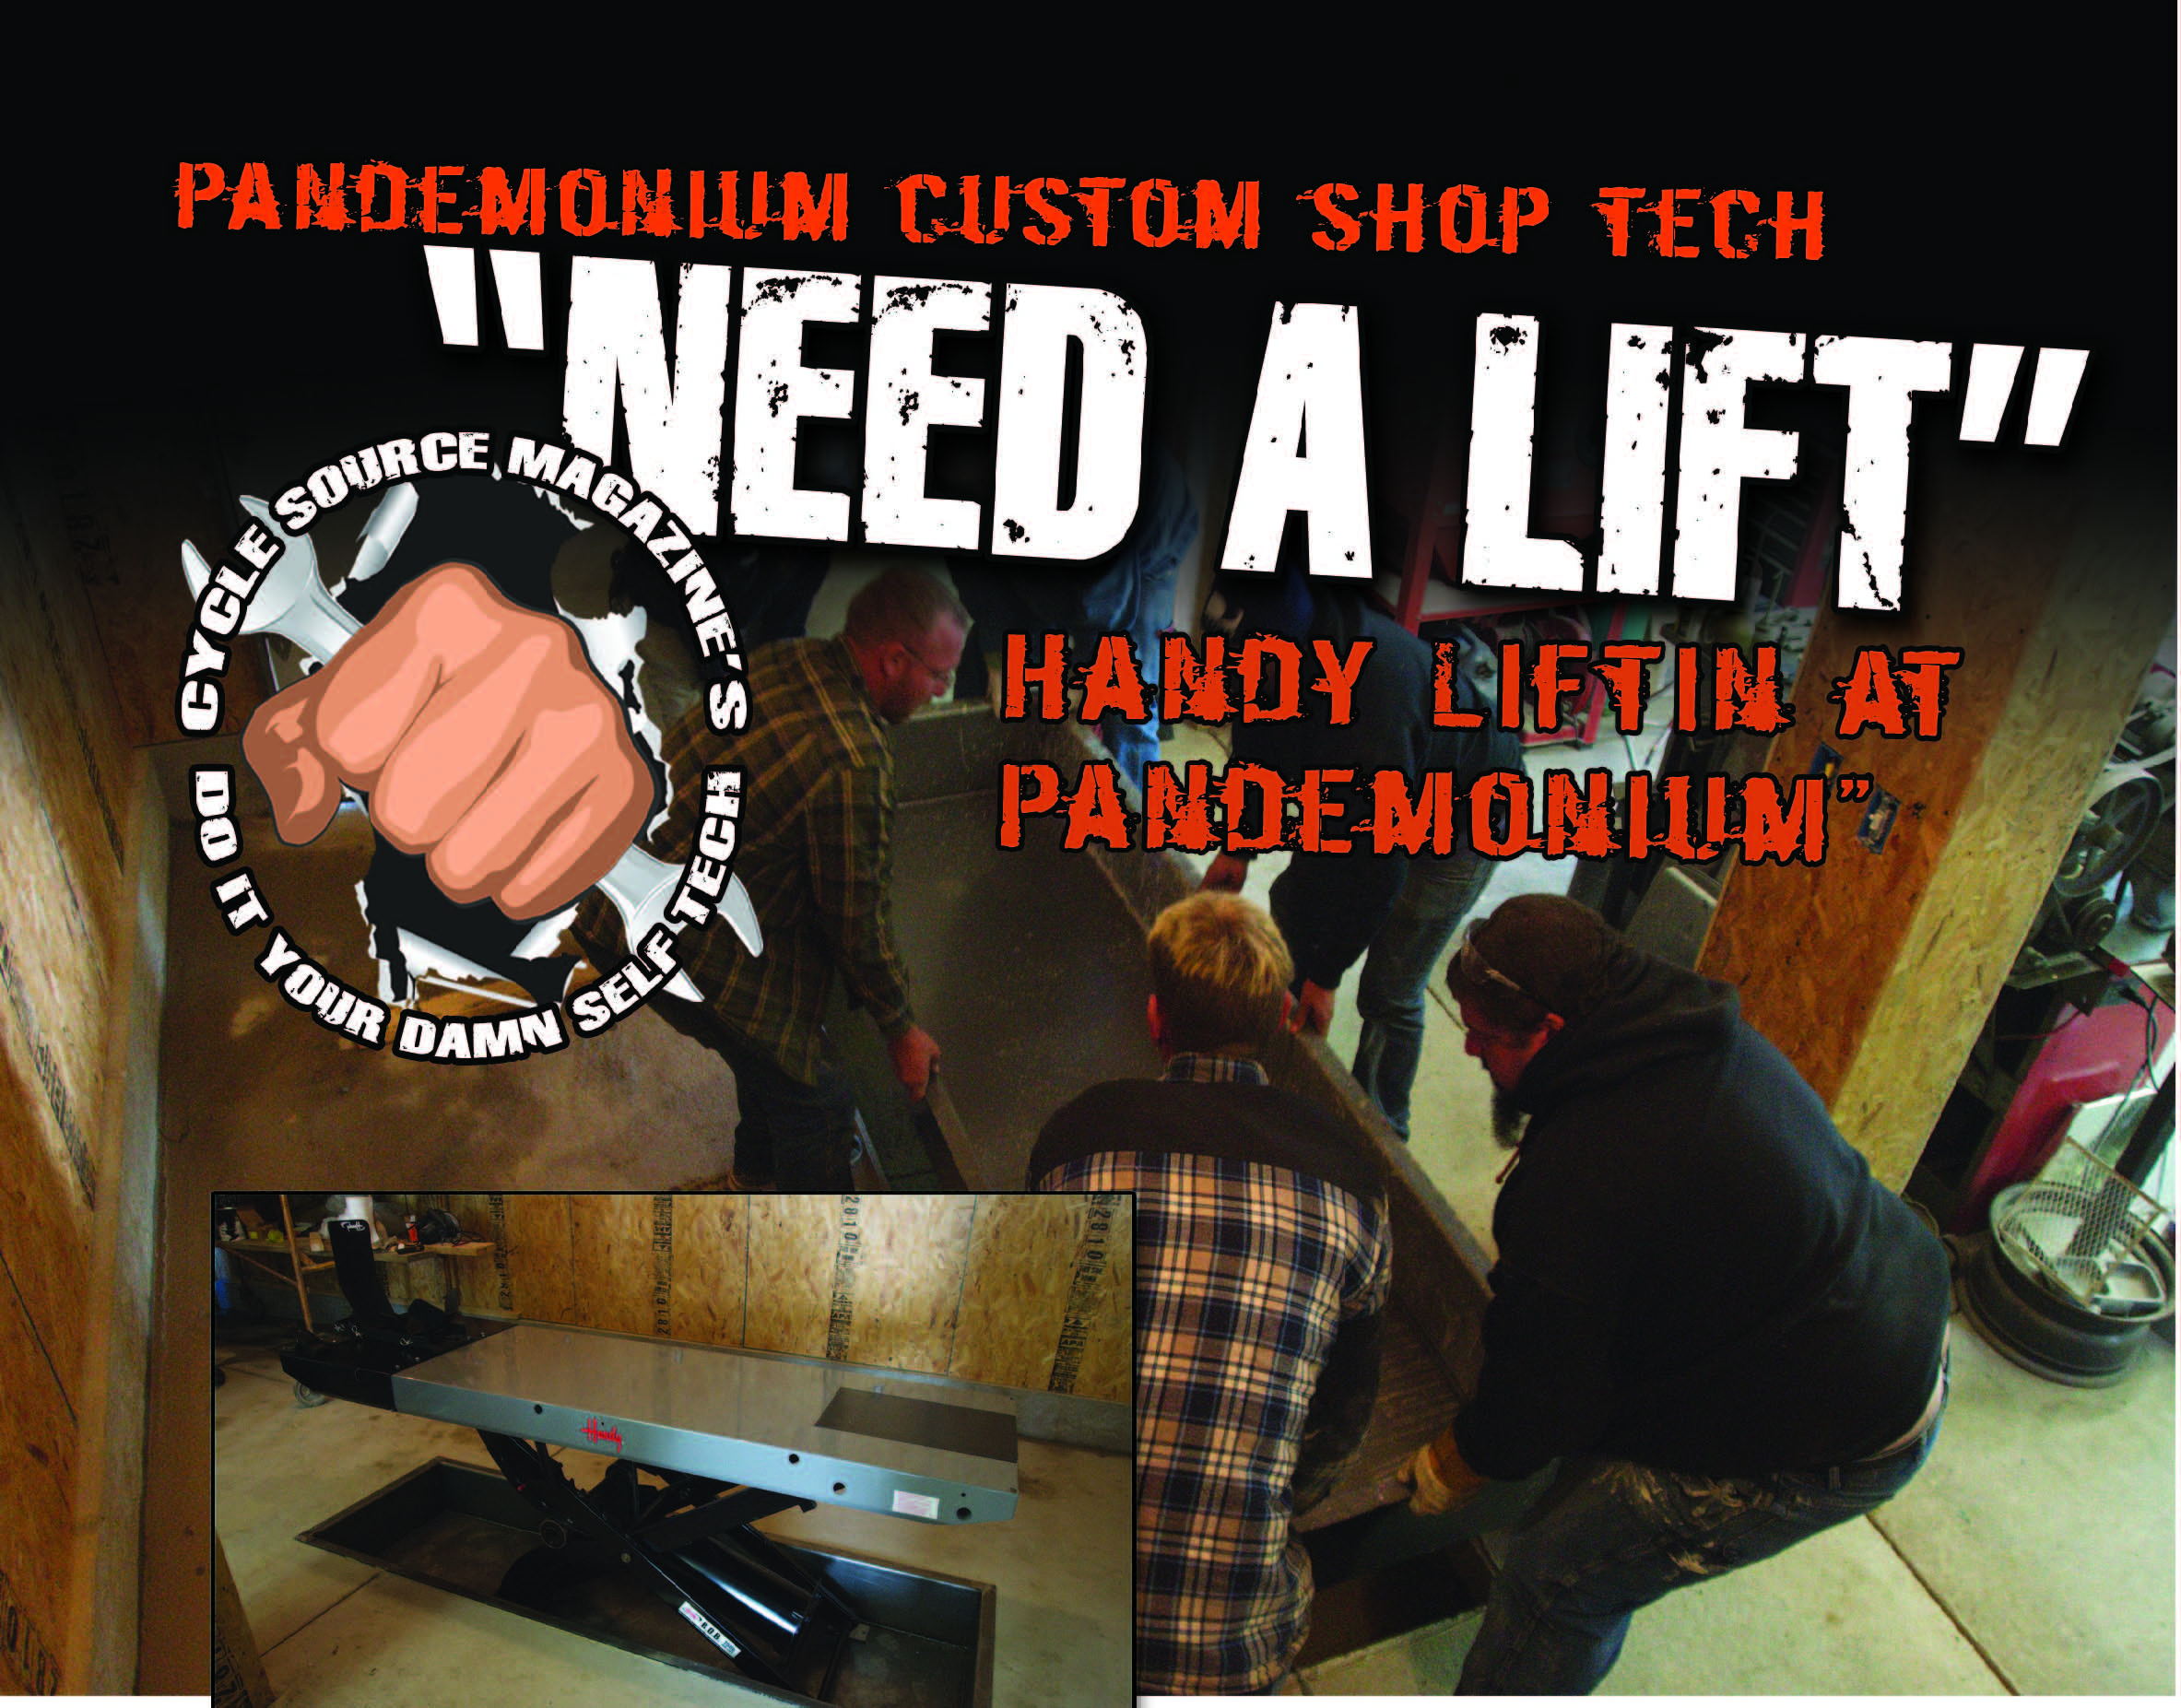
Handy Lift In At Pandemonium
Article By: Daniel Donley – Pandemonium Custom Choppers – www.pandemoniumc2.com
Originally Published In The January 2013 Issue Of Cycle Source Magazine

One Friday night, myself and a few buddies were shooting the shit and throwing a few back when Big John said “Dude, you need a bike lift. Ya know, one that goes up and down. I’m tired of lifting these bikes off these damn tables!” Well, that is where this month’s tech article stems from — that one Friday night conversation! We decided to install a bike lift flush with the floor and use a locking style wheel chock to allow for easy one man loading and unloading. I wanted a good quality lift and wheel chock, so I purchased them from Handy, which is proudly made right here in the good ole USA!

I ordered some .197 thick steel and had it laser cut and brake press bent.

Here, I assemble the box using lots of tack welds and making sure everything is square before final welding.

The box has a 2” lip around the top to set on top of the concrete cut hole.

With the box in position, I paint around the box…

…to mark the concrete floor for our cut lines.

I painted the underside of the box to help protect it from rusting once inside the pit.

I rented a concrete cutting saw from a local rental store.

I also rented a jack hammer to bust out the concrete. Let me tell you what, this is a lot of hard ass work and you get one hell of a workout

Once the pit was cleaned out, we made a depth gauge out of some scrap wood to keep the proper depth in the pit.

I also used the gauge to pack sand in the bottom of the pit.

Next, I put a thick bead of concrete adhesive around the pit to seal the box to the concrete. Now, we lower the steel box into the pit. I have to say thanks to all of the guys who helped on this project!

Here’s the steel box now glued into the pit.

I had to route the air line for the up and down switch to the top of the lift.

The Handy lift is installed flush mount with the floor. This project took a day and a half and a lot of hard work. I couldn’t have done it without the help of my friends. Thanks!


