

Originally Featured In Issue 318 Of Cycle Source Magazine
Written By: Jason Mook – Deadwood Custom Cycles. Deadwood, South Dakota.
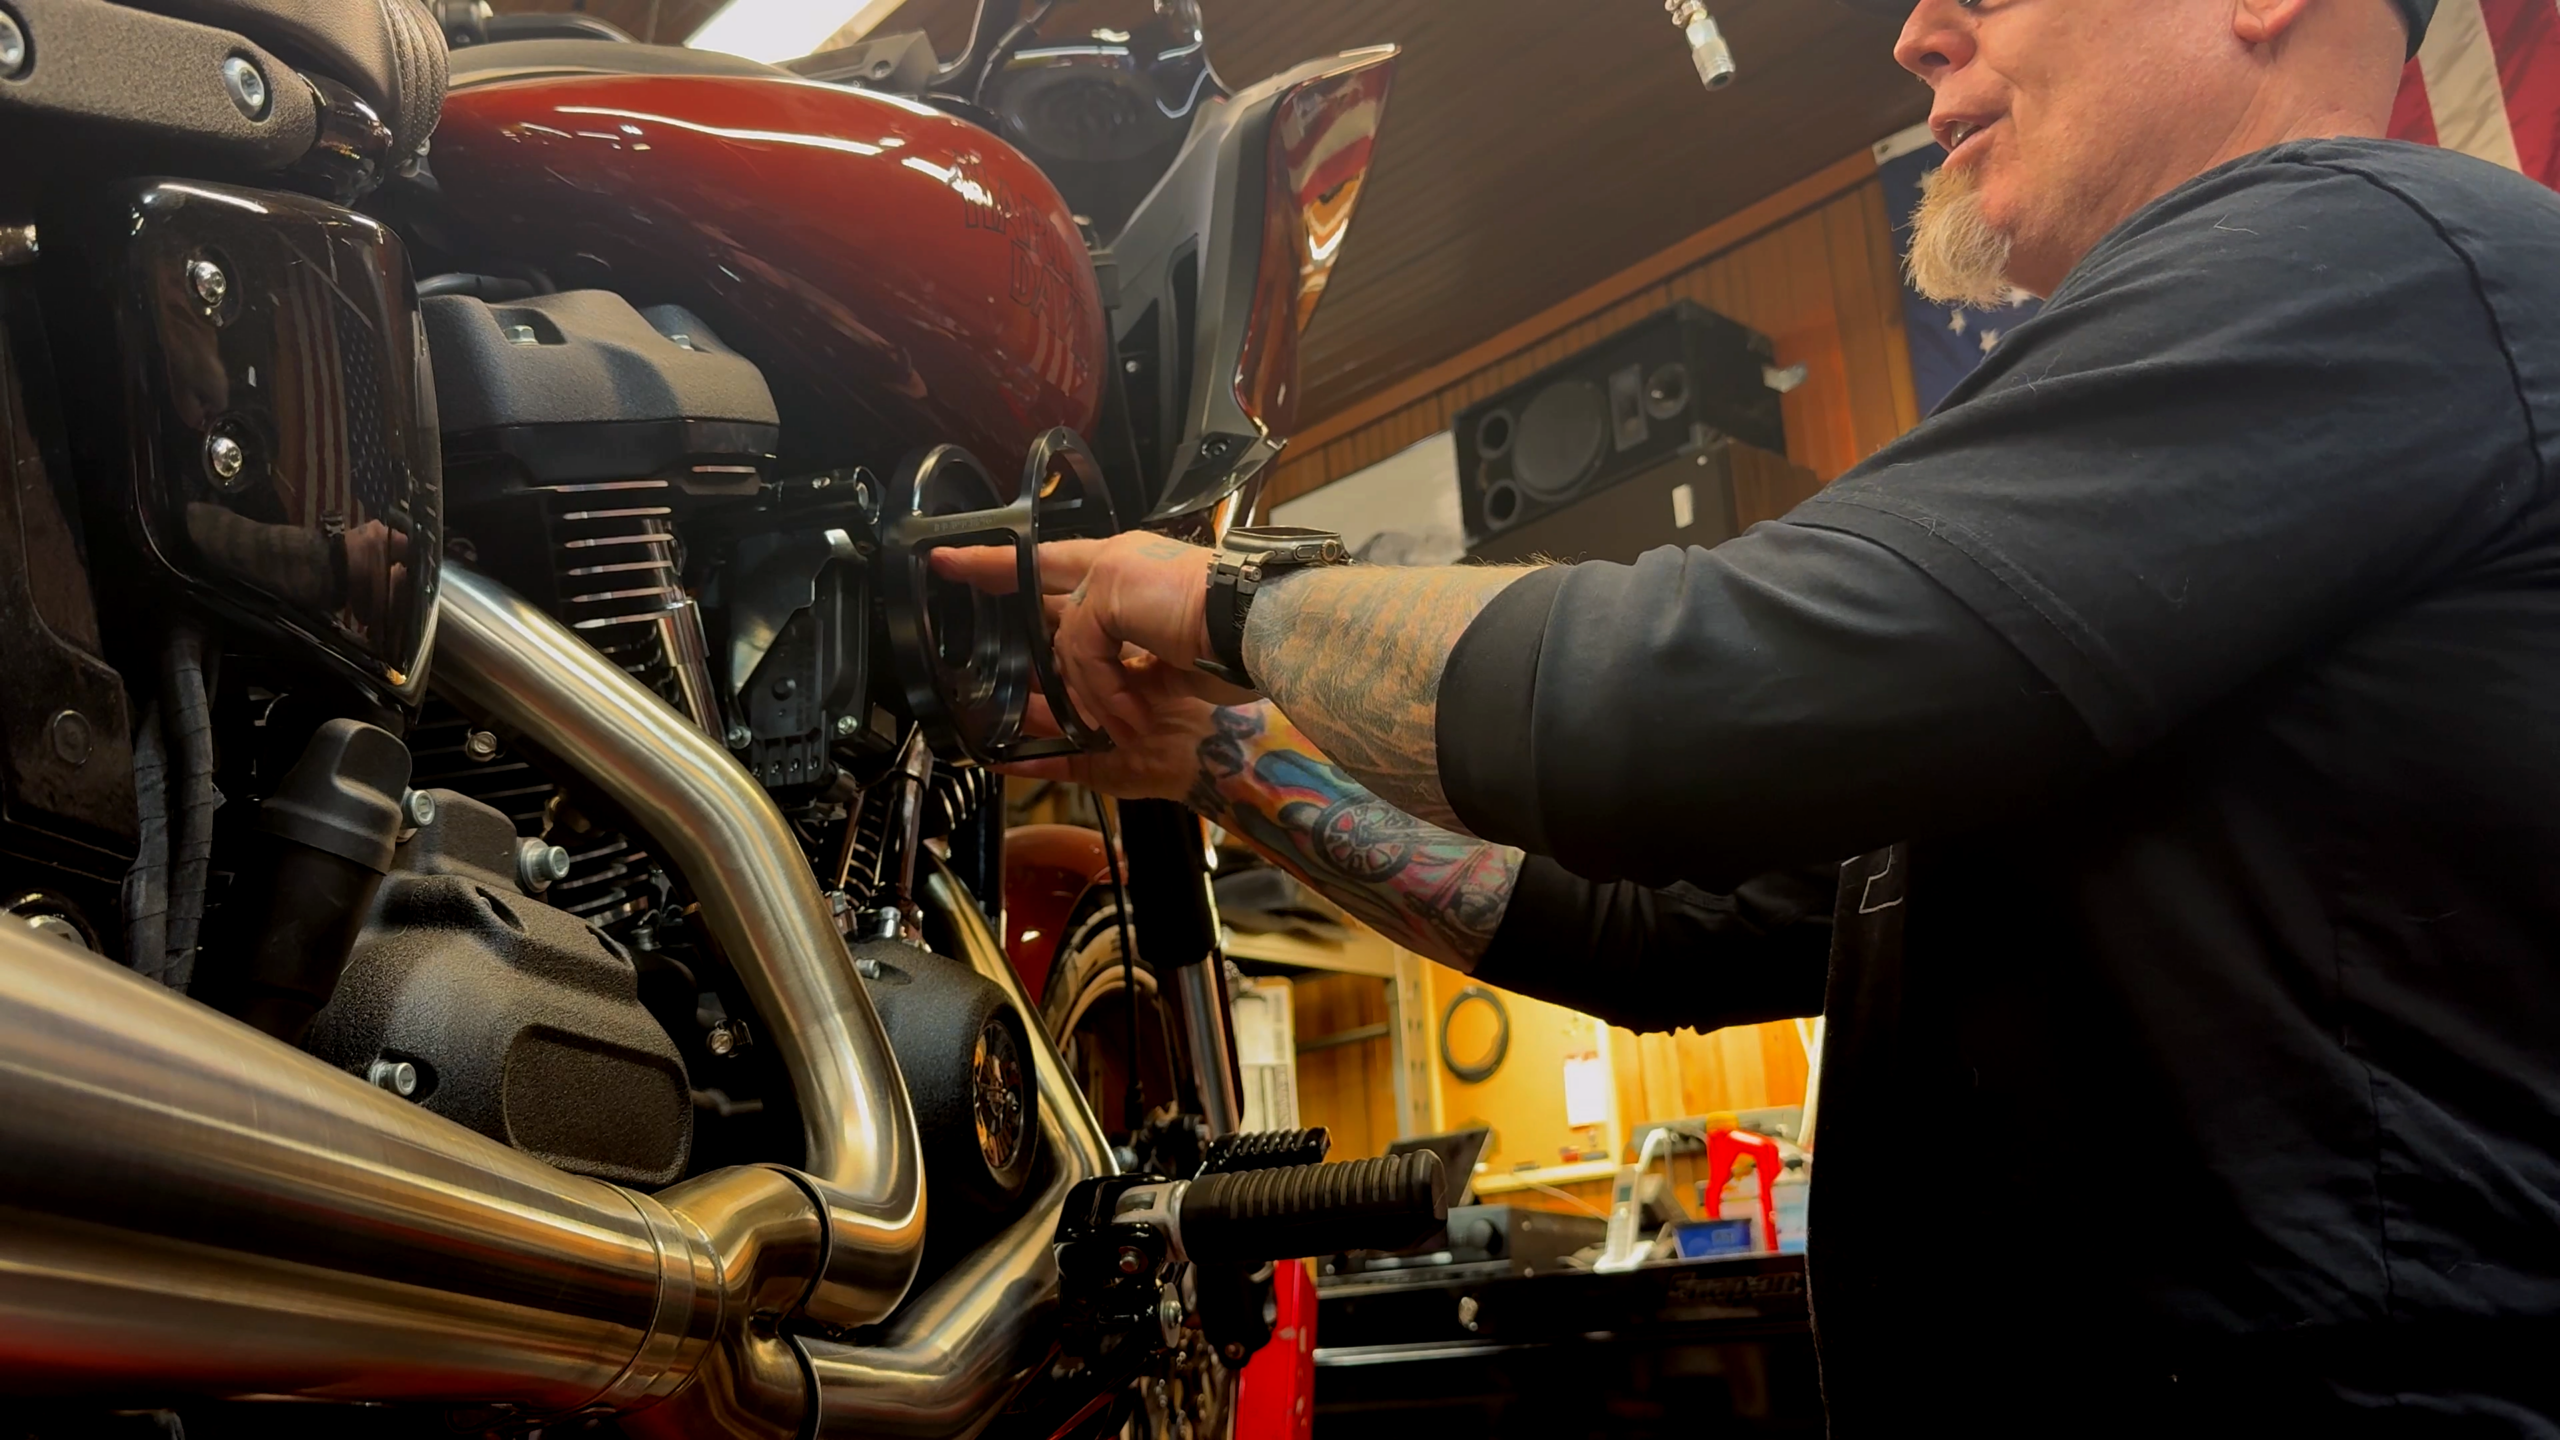
Swapping an air cleaner sounds like an easy win until you are actually chasing horsepower. On Deadwood Custom Cycles’ 2025 Low Rider ST build, Jason Mook installs a Fueling Parts BA air cleaner and walks through the small details that separate a clean, reliable upgrade from a slap-it-on parts swap. This job is not about flashy bolt-ons. It is about airflow, fitment, and setting the bike up for real dyno numbers.
Fueling has been building performance engine components for decades, so when they rolled out a line of air cleaners, expectations were high. Airflow is the first link in the performance chain, and on this Low Rider ST the goal is simple. The intake needs to move more air, do it cleanly, and support future tuning.

BA stands for Badass, but the name is not just marketing. The Fueling BA air cleaner is a full intake assembly designed to improve airflow efficiency while maintaining solid fitment on modern M8 platforms. Jason points out that riders ditch the stock ST “high-flow” unit for a few real-world reasons. More airflow equals more horsepower because factory parts are not built with maximum performance in mind. Rider comfort improves because many people want more legroom on the right side of the bike. Style also plays a role because the air cleaner lives on the business side of the bike, and on an ST-inspired FXRT build it is an easy place to stand apart from the crowd. With STs getting more popular, Jason notes that it is easy for bikes to start looking identical and swapping the intake changes both the performance potential and the visual identity.

The part used here is the Fueling 5534 BA air cleaner kit in black, which features a clear outer cover and a black filter element. It fits M8 models from 2017 through 2025, with certain late-model exclusions noted on the packaging, and it is designed around the earlier M8-style induction layout. Jason also addresses something many M8 owners notice for the first time during an intake swap. The induction module does not appear centered between the heads. It looks strange at first, but it is normal for the platform.
Fueling does not leave you guessing about what you need. The BA kit ships with everything required to complete the job correctly, including the specific chemicals they want you to use. Inside the box are the installation instructions, stickers, breather bolts and O-rings, spacers for bikes without the OEM support bracket, the complete air cleaner assembly with the clear cover, black filter, and venturi insert, two gaskets, all mounting hardware, Loctite 263 threadlocker, Loctite 545 thread sealant, and synthetic grease for the O-rings. That attention to detail matters because when a manufacturer includes the correct threadlocker and sealant, it removes guesswork and keeps the install consistent.
Early in the process Jason makes a point that many riders skip. If you change airflow in or out of the engine, the tune matters. This Low Rider ST already runs a Bassani two-into-one exhaust, so adding more intake airflow without addressing the fuel and spark tables means the ECM no longer matches what the engine is doing. Jason’s rule is simple. Any time you change exhaust or intake components, tuning should follow.

This article focuses on the hardware, but dyno time is already part of the plan.

The factory ST air cleaner uses a snout-style force-winder setup. Jason starts by loosening all of the fasteners before removing anything, which keeps parts from binding or shifting. The stock assembly is held in place by three bolts that secure the snout to the induction module along with T45 Torx bolts and the breather hardware. The factory fasteners come preloaded with blue Loctite and use a long-shoulder captured washer design that helps keep them from backing out.
Nothing exotic is needed for the job. Jason uses a T45 Torx bit, Allen keys, an inch-pound torque wrench, a thread chaser, compressed air with a water separator, a wire wheel, and PJ1 contact cleaner. One detail that affects the install is whether the bike has the OEM air cleaner support bracket. Jason’s bike does not, which means spacers are required to align the backing plate correctly. If the bracket were present, the spacers would not be used. Jason points out where that bracket would normally live near the head bolt area.

Before any new parts go on, Jason cleans the threads and the mating surfaces. He uses a thread chaser instead of a cutting tap, explaining that a tap cuts new threads while a thread chaser simply restores and cleans the existing ones. Even with only 500 miles on the bike, he takes the time to do it.

Clean threads make torque readings accurate and prevent headaches later, especially since this assembly will come back off for dyno work. The bolts get cleaned on a wire wheel and the mating surfaces are wiped down with contact cleaner.

When it is time to install the Fueling BA backing plate, assembly order matters. Jason lightly greases the O-rings to prevent tearing and uses just a touch of grease to hold the gaskets in place. Every bolt is started by hand, and ball-end Allen keys are avoided for final torque. He places the gasket on the backing plate, lubricates and installs the O-rings, positions the backing plate with the spacers, and then threads the bolts in by hand and snugs them down. Once the spacers are aligned and the assembly is squared up, the breather bolts are torqued.

Those breather bolts are set between 22 and 24 foot-pounds, with Jason choosing 23. They are not just fasteners because they are part of the crankcase ventilation system. If the breathers are not working correctly, oil mist can make its way into the intake, especially during long steady-RPM riding.

Fueling uses clocking marks on the cage to make sure everything lines up correctly. The cage is marked with an S for Softail and a T for Touring. On the Low Rider ST, the S mark lines up with the upper-left backing plate bolt hole. That clocks the assembly correctly and centers the Fueling logo. Jason uses a small dab of grease to hold the gasket in place while stacking the parts so nothing slides out of position. The bolts get a small amount of Loctite 263 and are torqued evenly to 85 inch-pounds, followed by a final recheck.

Before installing the filter, Fueling recommends lubricating both ends, which Jason does. He also rotates the filter so the metal crimp is hidden, giving the finished assembly a cleaner look. Two different bolt lengths are supplied for the clear cover, with three longer bolts used in the stanchion areas and three shorter bolts everywhere else. These bolts get Loctite 545 and are installed in a crisscross pattern before being torqued to 30 inch-pounds. The protective film is peeled off the clear cover, and it is installed carefully to keep fingerprints off the finish.

Jason looks at air cleaner installs in two categories. Some are basic swaps where you change only the backing plate and filter while reusing the outer cover. Others are full assemblies, like the Fueling BA, where everything gets replaced. He notes that the Fueling units consistently make strong power and are worth the extra install time.

Once installed, the Fueling BA completely changes the right-side profile of the Low Rider ST. It delivers more airflow potential, better rider clearance, and a clean look that fits the FXRT-inspired ST vibe. It also neatly covers the fly-by-wire servo area, which keeps the whole setup visually tidy. The next stop is the dyno, where proper tuning will show what this combination can really do. Clean threads, lubed O-rings, correct clocking, and proper torque may not be glamorous, but they are what make performance parts actually work. On an M8 Low Rider ST, airflow matters, and this Fueling BA setup proves it starts right at the intake.


