


Article By: Daniel Donley – Pandemonium Custom Choppers – www.pandemoniumc2.com
Originally Published In The May 2015 Issue Of Cycle Source Magazine

So… I am in the shop the other day kickin’ ideas around trying to figure out what I am going to do for a tech article for this month when I walked by Hanky Panky and was like WTF!! What is all this leaky business!! A puddle of something on the floor by the rear tire. I noticed it was leaking rear brake fluid, upon inspection of the brake caliper the banjo bolt was tight, and the brake line was tight…so it has to be the brake piston seals! So I figured while I was at it I would show you this month how to rebuild a brake caliper.
With the brake caliper removed and on the bench, I start by removing the brake pads. This is a straightforward process with any caliper.
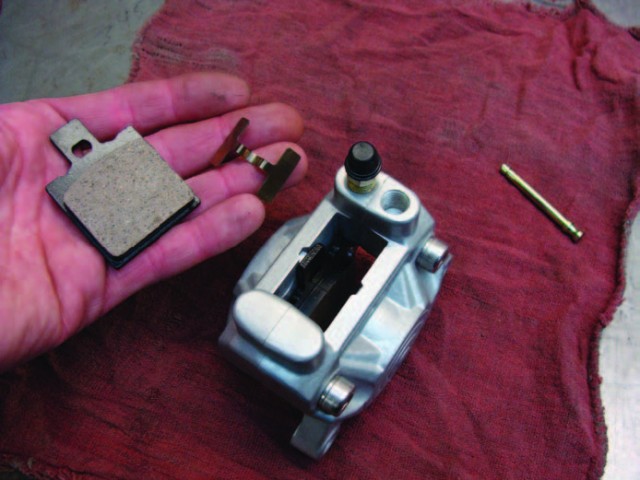
Brake pads removed from caliper (Damn I didn’t ride this thing that much last year, the brake pads look like brand new!)
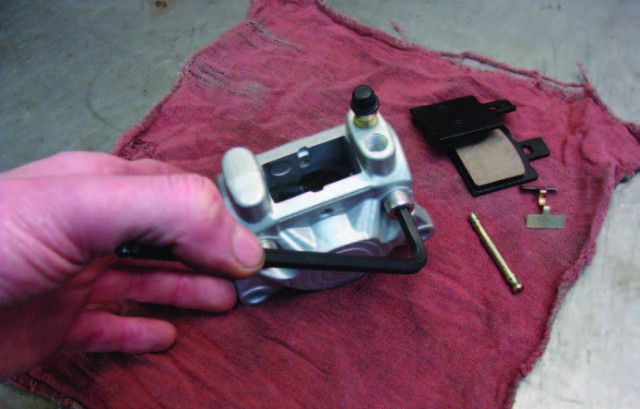
Now we need to split the caliper in half by removing the caliper bolts. Pretty simple here.
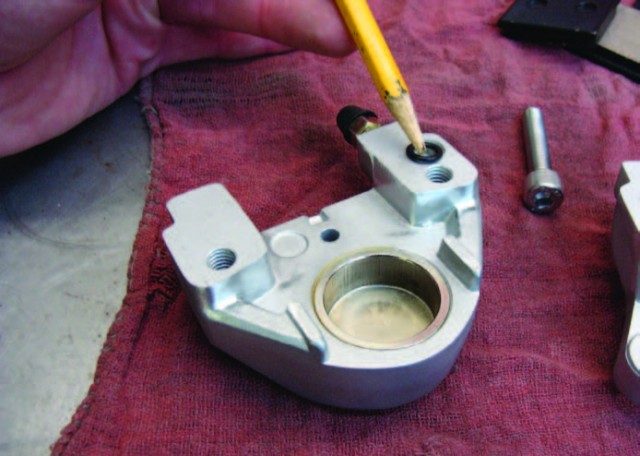
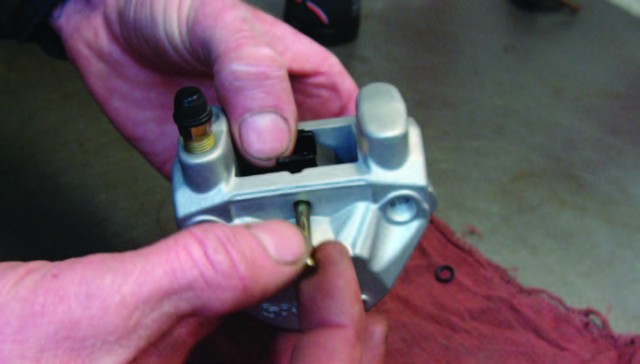
Now that the caliper is split, you can see the passages from one side of the caliper to the other and the little black O-ring that you need to make sure you don’t forget to replace. Because if you do you will be right back at square one with a leaky caliper!

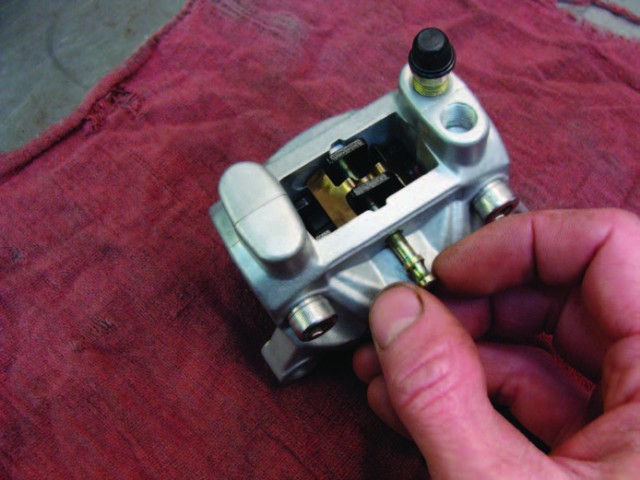
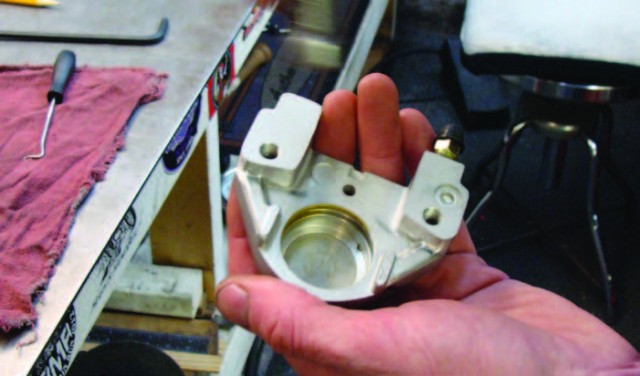
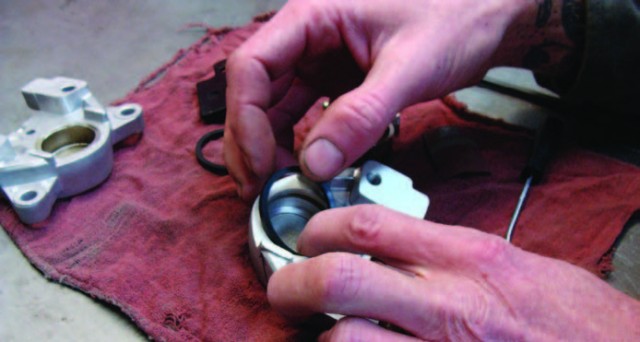
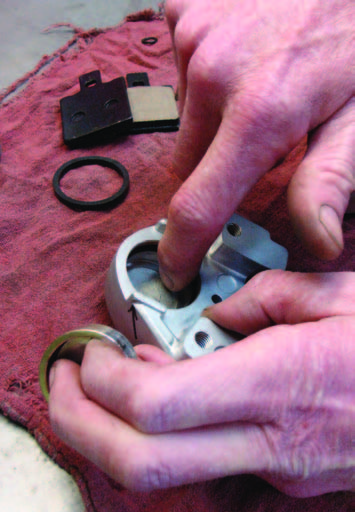
Now we need to get the pistons removed from the caliper body. We are going to do this by using the air compressor to put air into the fluid passage to force it out just as the brake fluid would do. STOP RIGHT THERE!!! Wait …… As soon as you do this the brake caliper piston is going to fire out of the caliper like a rocket!! In the photo I have my thumb over the piston I advise here to wrap the caliper in a rag and then remove the piston with compressed air. To save yourself from getting knocked out from a flying caliper piston.
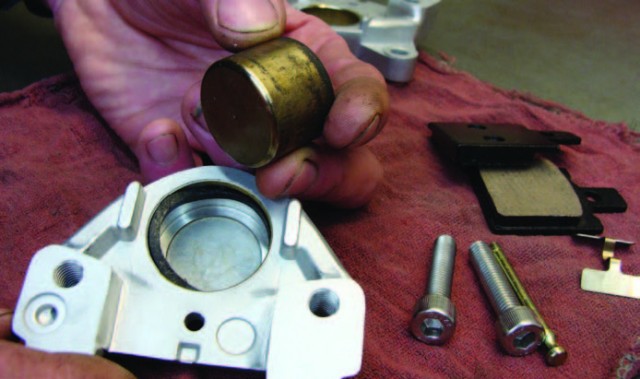
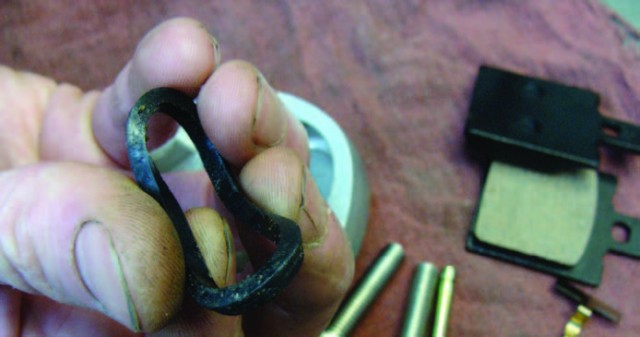
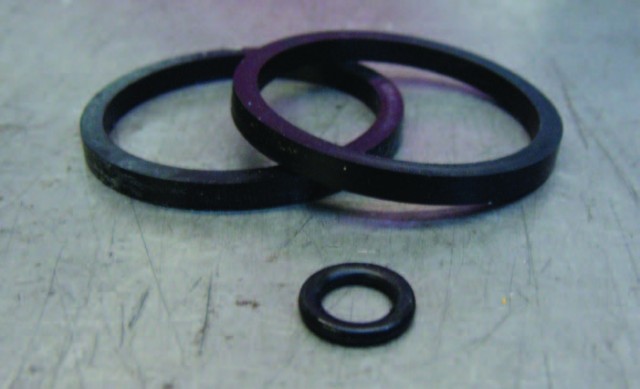
Here are 2 pics of the cruddy piston and floppy worn out seal. Now I see why it was leaking!
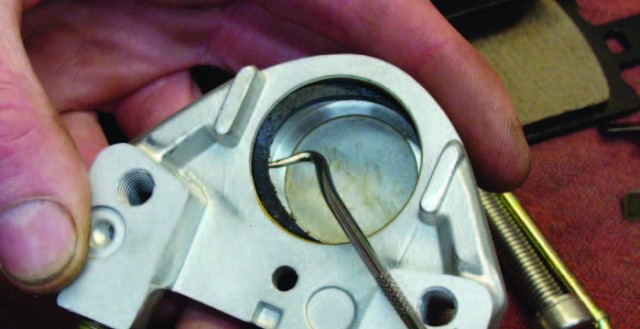
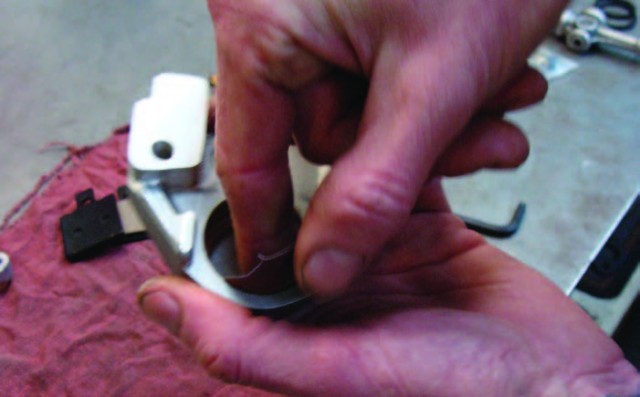
I use a small pick to remove the rubber seals from the caliper body. As you can see form the photo the seal was blown out and filthy dirty.
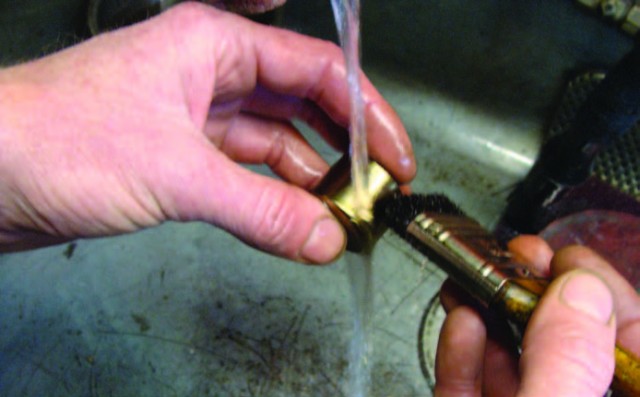
With everything disassembled I give everything a quick bath in the parts washer. Then blow everything off with compressed air.
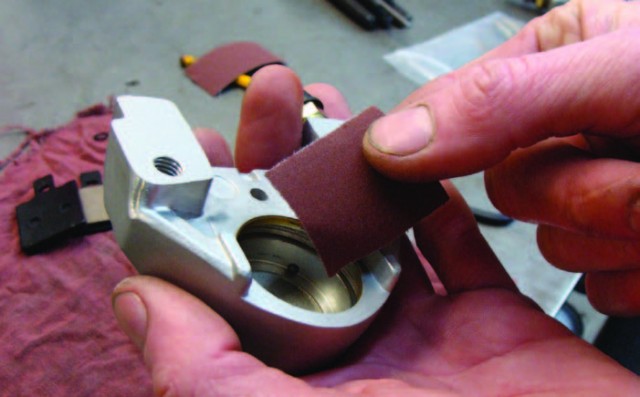
I use fine grit sandpaper to shine up the bore on the caliper bodies typically 400 grit here.
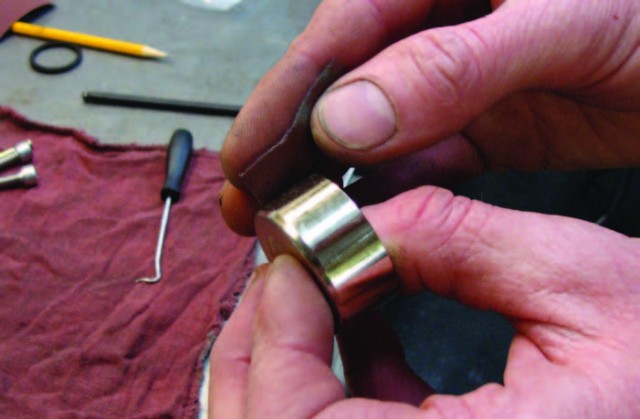
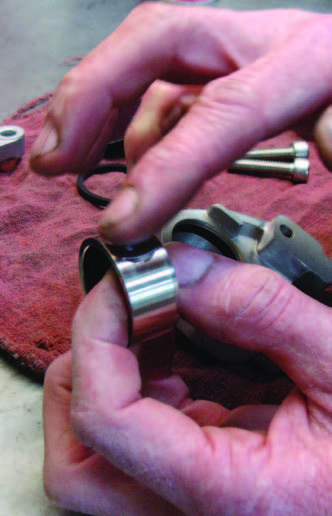
I also use the 400 grit to shine up the brake caliper pistons. When doing this check for any burrs, scratches and such. Here you can get away with a very little but make sure they are in nice condition. Typically my judge of good or bad is if you can feel it with your finger nail it needs sanded and if you sand it and you still feel it with your fingernail then it definitely needs replaced!
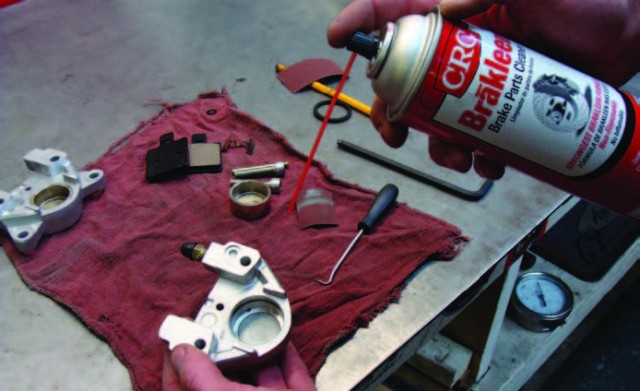
Before caliper assembly I give all parts a bath in brake cleaner and blow them off with compressed air. You want everything squeaky clean here.
I use K&L Supply for my source for Brake Caliper rebuild kits. Their quality is great and price is fair.
I use brake fluid as my assembly lube for all the O-rings for brake caliper final assembly. It’s a simple matter here just install the seals the same as you removed them. Don’t forget the little O-Ring here!
I also use brake fluid as a lube on the brake caliper pistons, place the piston into the bore you put the new seal in and push into place.
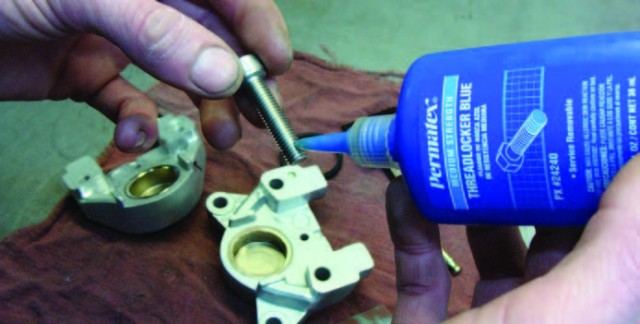
When putting the caliper bodies back together I always use lock tight on my fasteners, you don’t need your brake caliper falling apart!
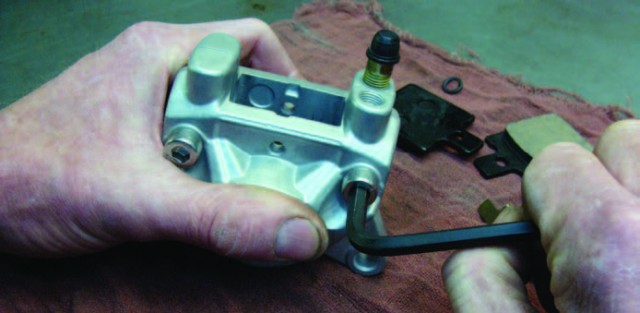
Tighten the bolts so you know they won’t fall apart. Go to your manual for the torque specs.
Reinstall the brake pads and get it mounted back on the bike. Now is a good time to flush your brake system with some clean brake fluid and get your new caliper bled out.

All cleaned up and no more leaky business, ready to rock n roll when the weather breaks! Rebuilding brake calipers is a very straightforward process from your motorcycle, minibike to your car. They all work the same way and you can use this tech on any of them, the only difference is they look different. If you are in need of caliper rebuild kits give me a call. So if you have any questions about this month’s tech feel free to give me a call at the shop. 419-576-6812 info@pandemoniumc2.com


