
Article and Photos By: Chris Callen
Originally Published In The September 2012 Issue Of Cycle Source Magazine

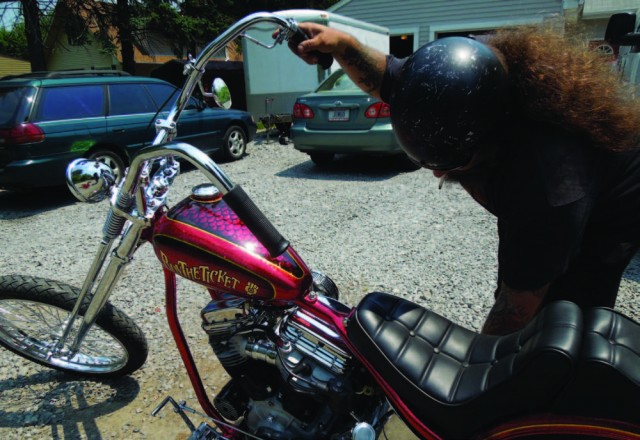
It’s no secret that I love my ’49, and riding a hardtail jockey shift everywhere from the city of Brooklyn to the hills of Tennessee has been a blast. I would change almost nothing about this bike, but lately the clutch has been kinda sketchy. Now I’ve had every half-ass, wire-tied-together motorcycle before this, but to think of how perfect this bike is in every other way, something like a weak clutch system is just a bug in the ass. So this month, we went to the good folks from Barnett’s and they provided us with a quick and outstanding solution, their Scorpion Clutch system. What makes this thing so great as a replacement for the old stock clutch is that it replaces the traditional clutch hub and roller bearings with a much more solid sealed bearing and hub eliminator. The eliminator also does away with the ten fingers that the Article and Photos By: Chris Callen I friction discs ride on, replacing them with about a hundred little grooves from the inside, a lot like an Evo style clutch. The importances of this, after having ridden it for a solid month now, is that the plates release and retract much more smoothly. Topping it all off is a billet aluminum pressure plate that replaces the old tin junky stock one. What you end up with is a clutch basket that has no movement as well as a clutch that is 100 percent positive throughout operation.
This is not at all a very technical installation, as a matter of fact if you have a basic set of tools, some snap ring pliers and an arbor press, it might take you about an hour to do the whole thing, so let’s get started.
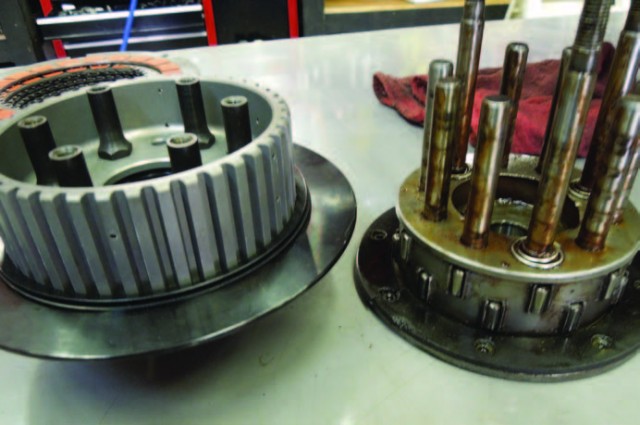

The first step is to remove the old clutch. The one thing to mention here is that I didn’t need a special clutch shell. It was the same one that my stock clutch hub used, so I was good to go.
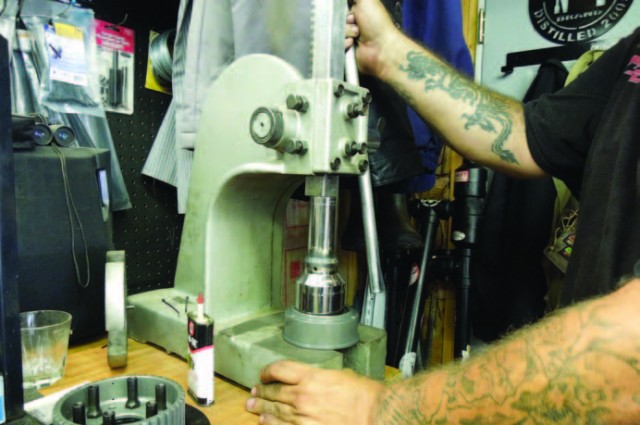
Next, we press the sealed bearing into the hub eliminator using the arbor press. Use a little oil to make this easier.
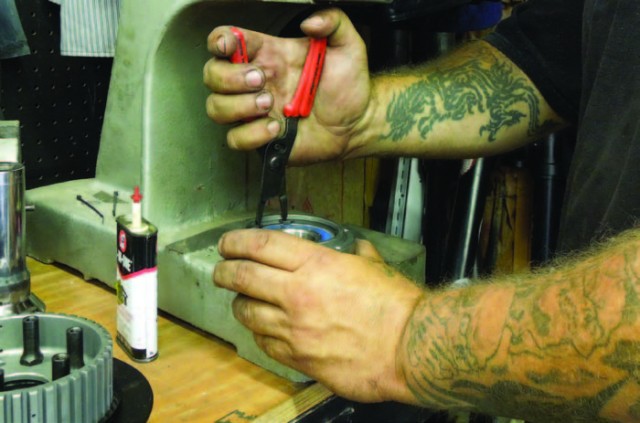

Then the retaining ring is installed to keep the bearing in place
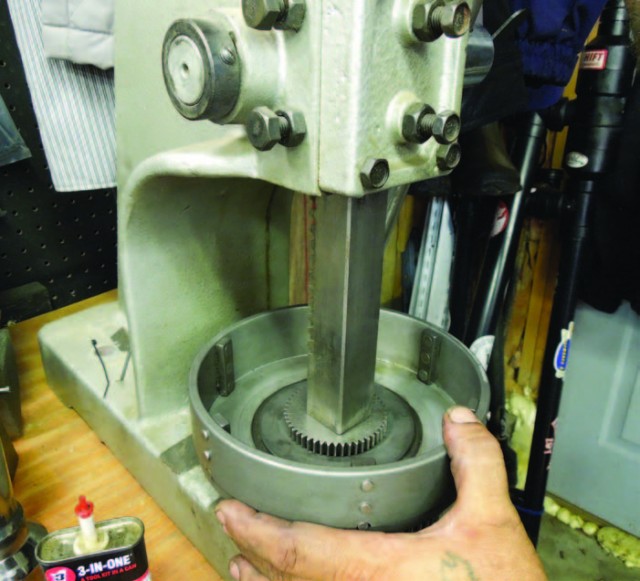

At that point, the hub eliminator can be pressed into the clutch shell. Again, keep the three-in-one handy.
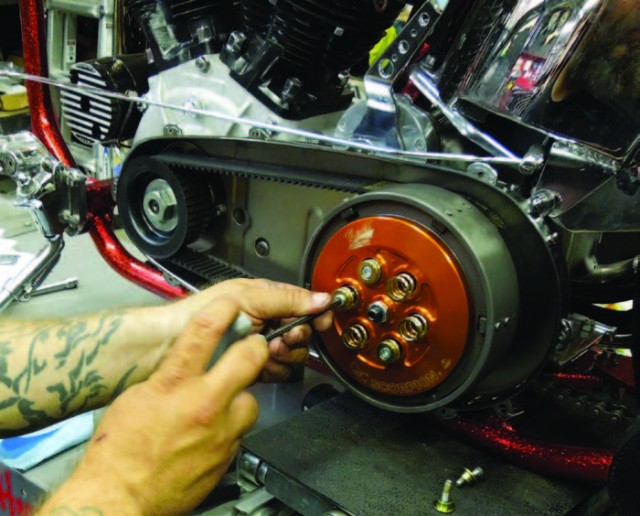
Once in place, there are six socket head screws that go into a locking plate that holds the hub eliminator assembly in the clutch shell. Blue Loctite is used in this step, and the bolts are tightened to 3-4 ft lbs.
Now the inner hub is pressed into the hub eliminator assembly, a little oil again and one more retaining ring on the back side.
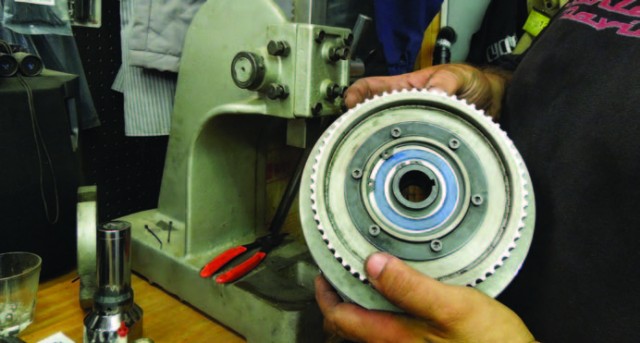

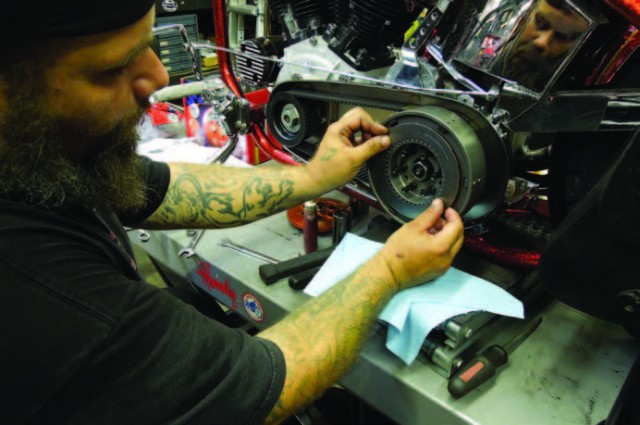
Here, you can see that the finished product is a clutch basket that is one solid assembly, hub and all. Very nice and eliminates a bunch of little parts that make trouble for the operation of a clutch on an old bike.
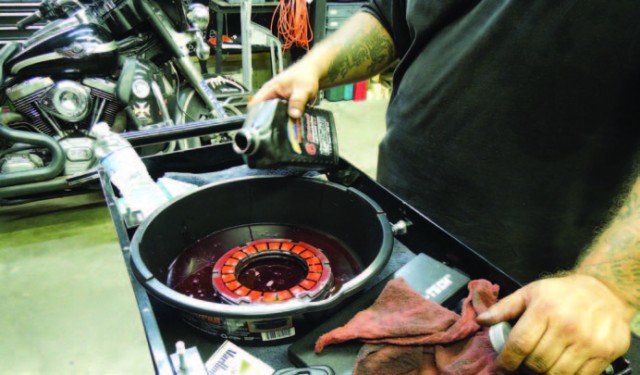

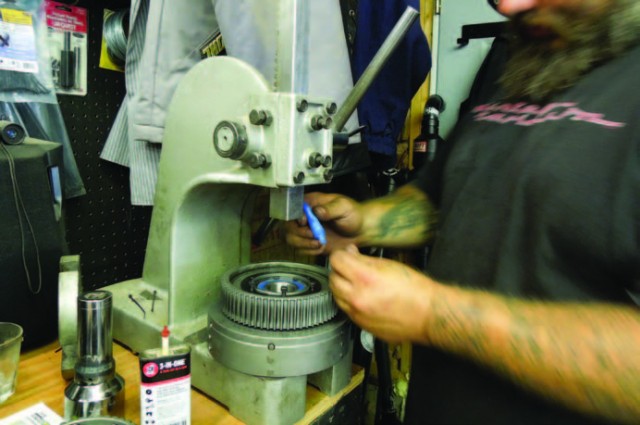
We presoak the friction discs for about 3 seconds with some Spectro oil of course. A quick wipe down and they’re ready to go. This helps for initial start up to promote separation of the discs from the plates.
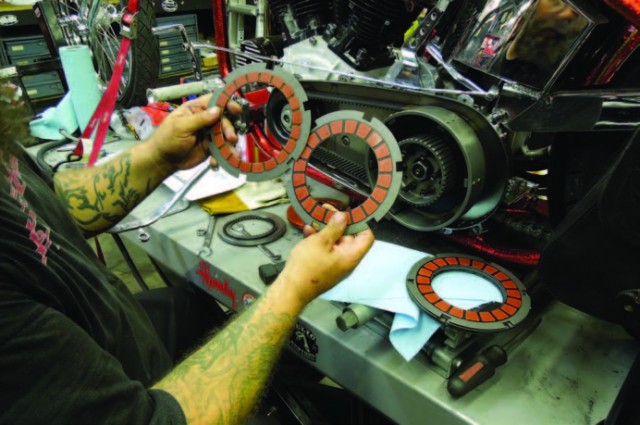
You can see the different ID of the friction disc that must be installed in the first position to clear the flat damper seat, then the dished damper spring with the white dot facing out.
Now we start to slide the steel plates in. You can see how much better of a design over OEM this is already. Alternate the plates until you end with a steel disc.
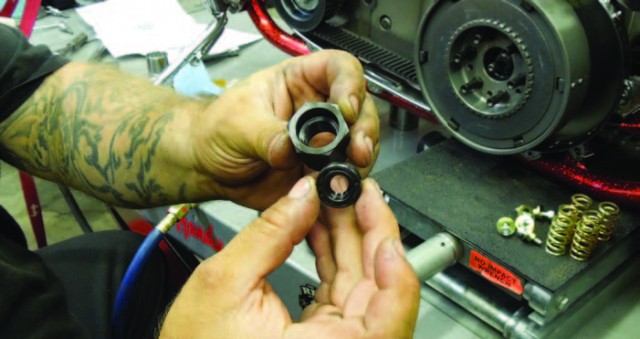

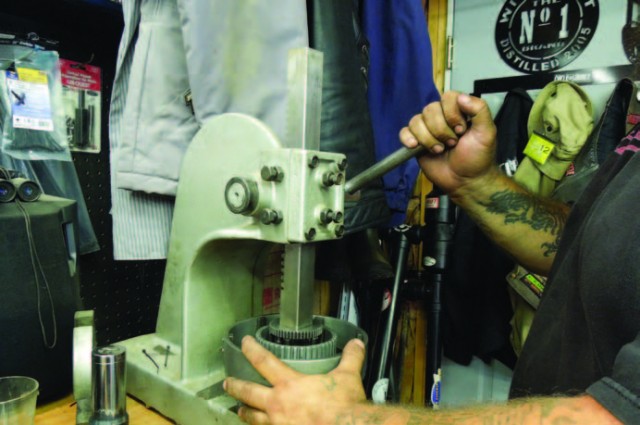
Before we install the clutch hub nut, there is a small seal that goes inside the end.

After all the discs and plates are installed, we finish it off with the billet pressure plate followed by the six springs and keepers. These are tightened to 5 ft. lbs.
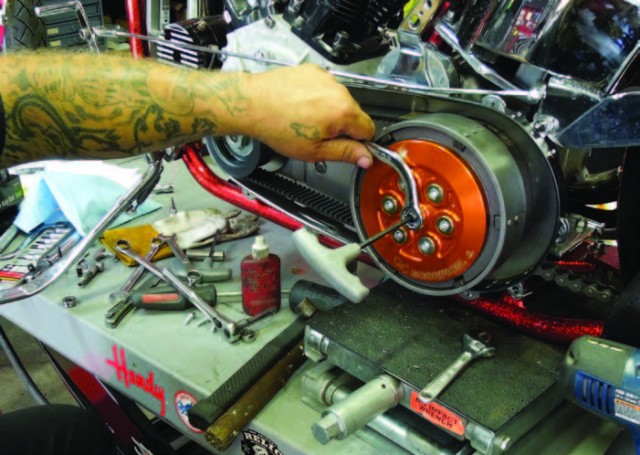

The clutch adjusts just like the OEM unit.

With the bike off the table, we give it a quick start and check out the clearance and how it’s running. Since it doesn’t wobble like before, it’s already starting off great.

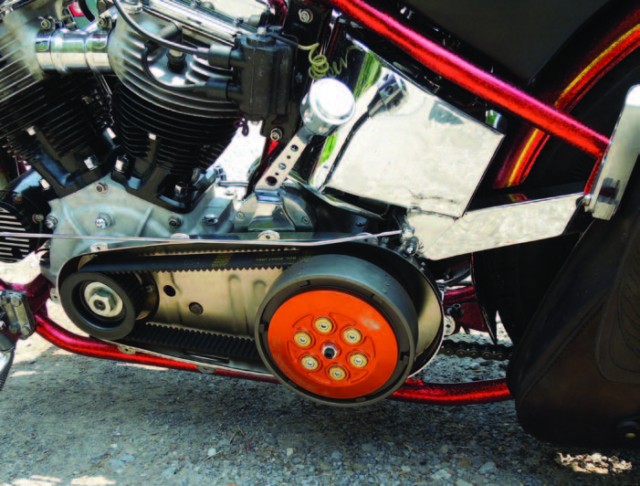
For the road test, I decided not to put the outer cover back on. I know, that’s a waste of all these pretty parts, but this is how I roll with the ’49. As soon as I started the bike, I was blown away. Normally, with almost any belt system you expect to hear clutch rattle as you sit waiting to pull out, but this one has practically none. I took off a little tentative at first because like I said in the beginning, the condition of the old clutch was getting sketchy. I was amazed that my shudder was gone; I had a great sweet spot in shifting and the bike didn’t surge anymore when I sat with it in gear waiting to go at a light. I took it around the neighborhood and decided there was no reason to keep the cover off. Since the installation, I probably have a couple hundred miles on the old girl and I can’t say enough good things about this product. For the retail price of around $500, you can hardly beat it, especially when you consider that in a ground-up, if you were using new old stock parts, you would have at least that amount in a clutch. This changed my whole ride on the ’49 and I truly, truly thank all the folks at Barnett’s for turning us on to such a great product.