


Article And Photos By: Lemme
Originally Published In The January 2012 Issue Of Cycle Source Magazine
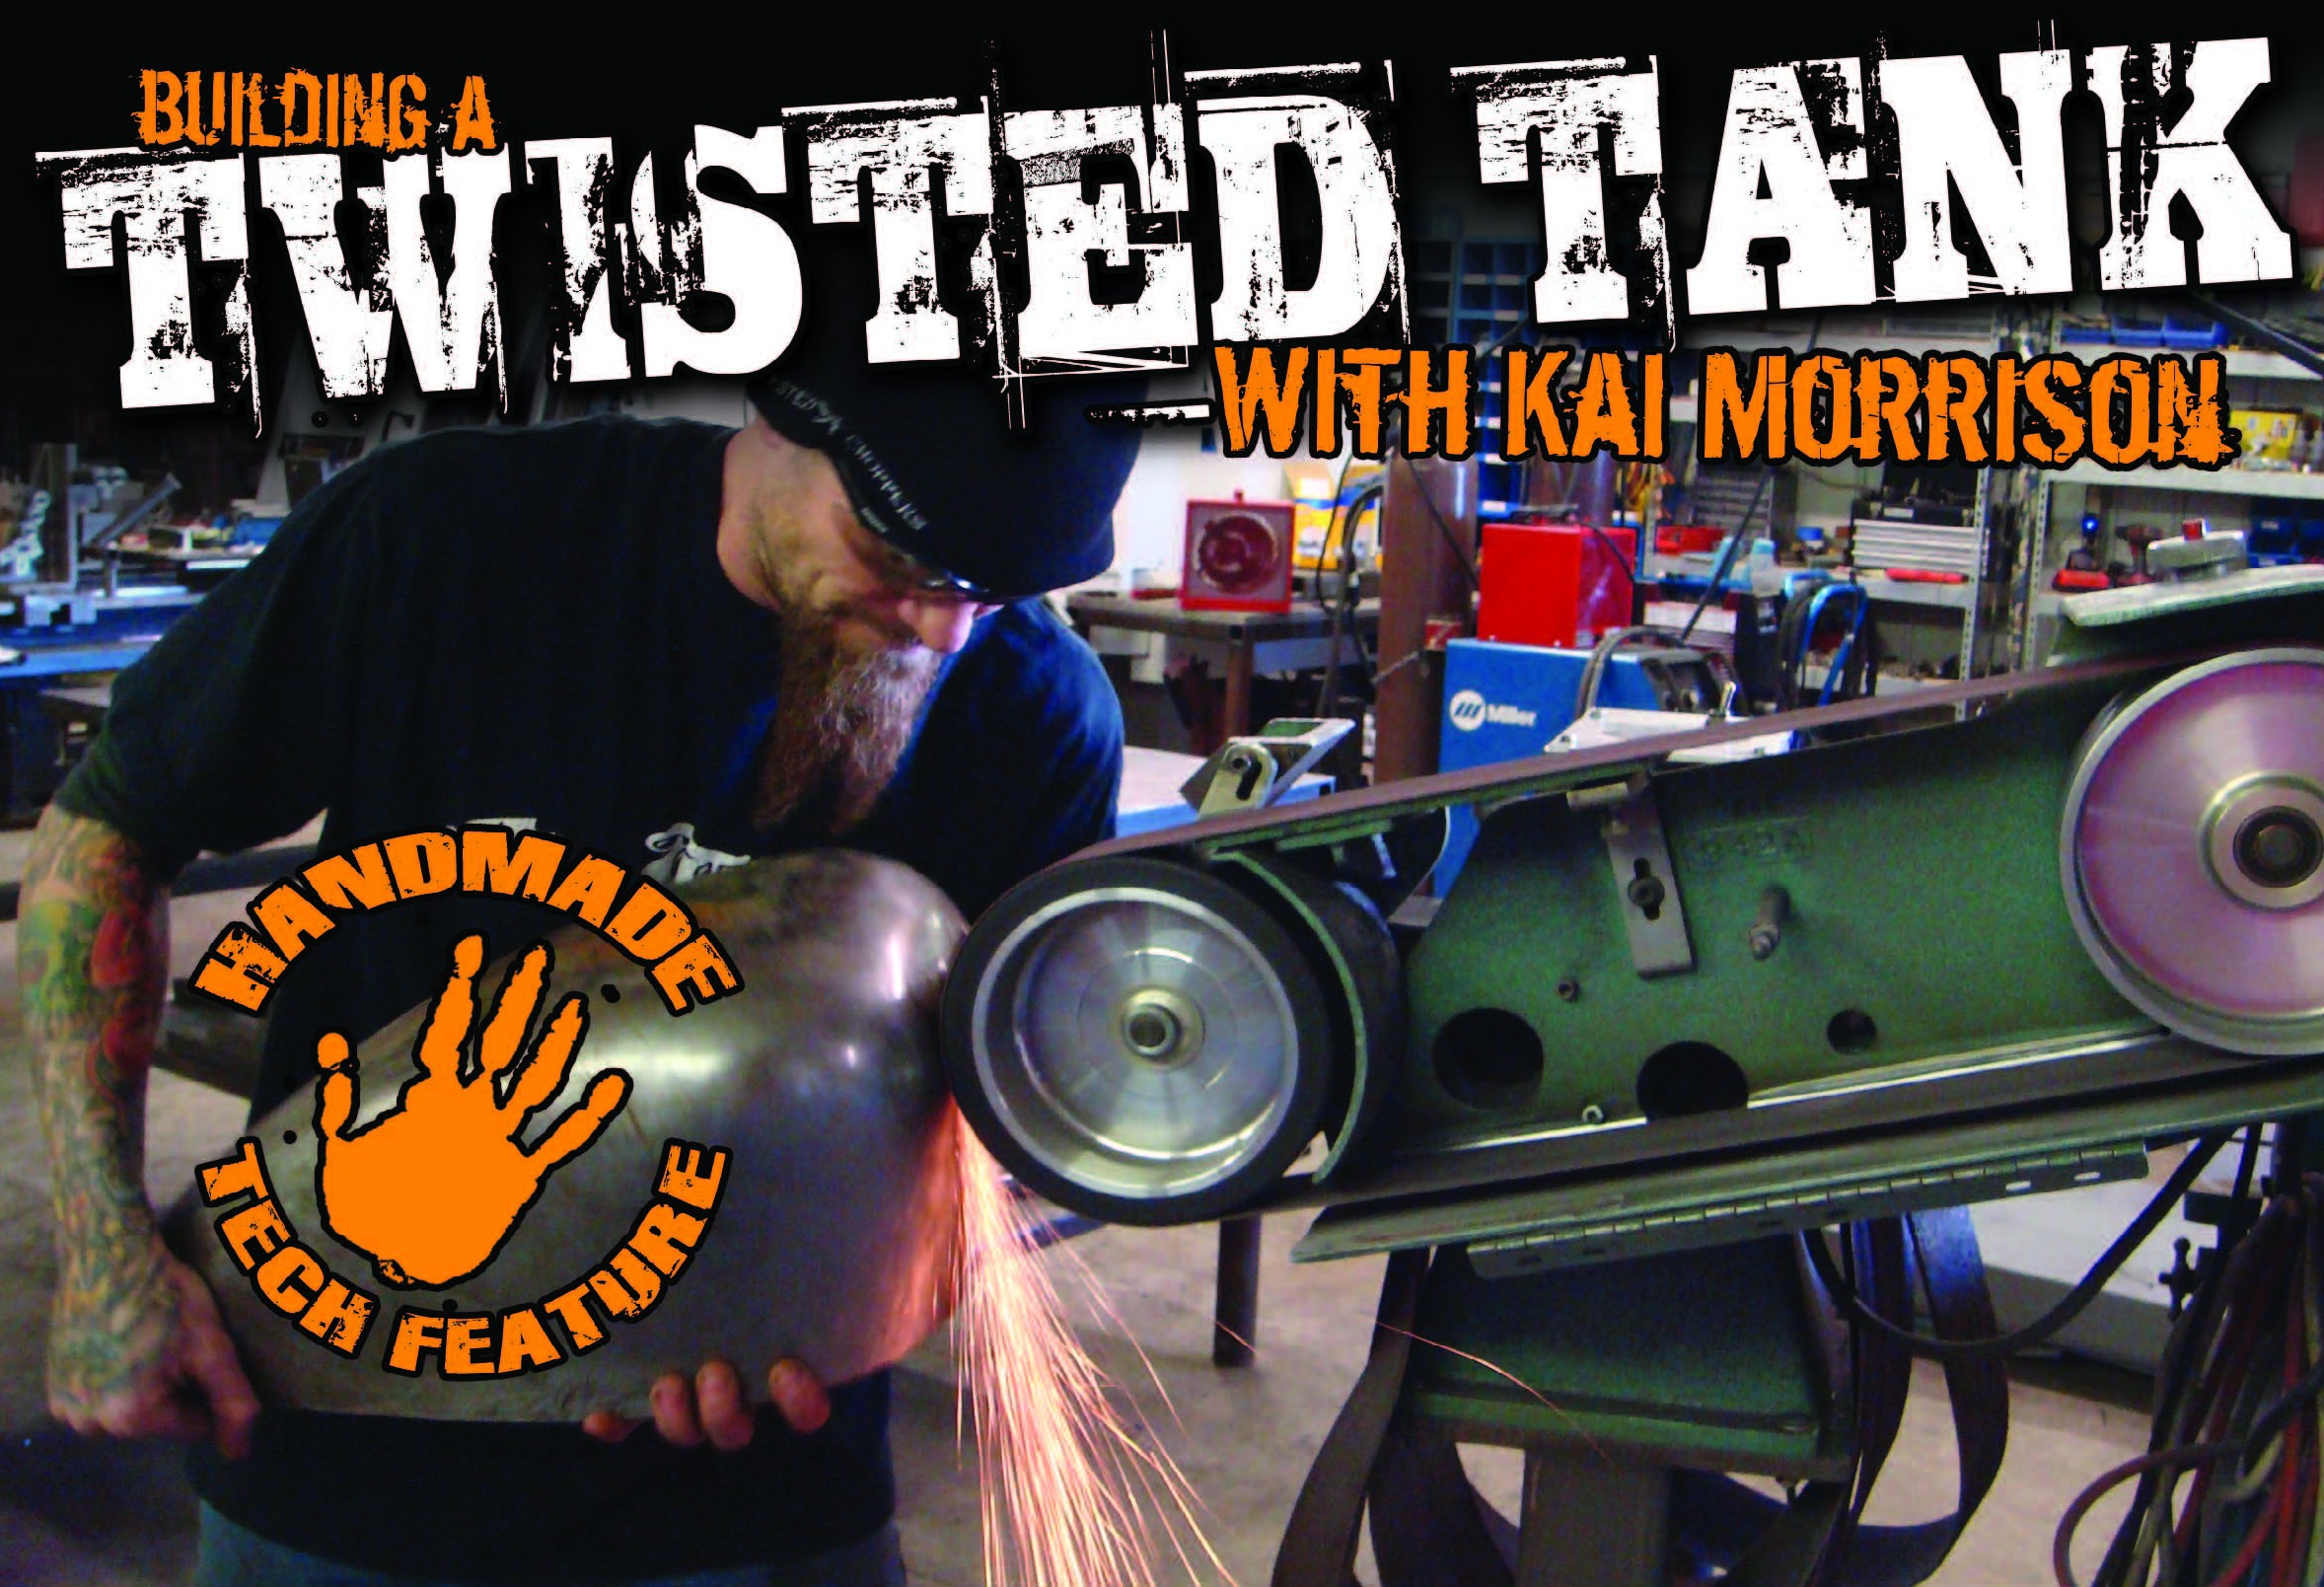
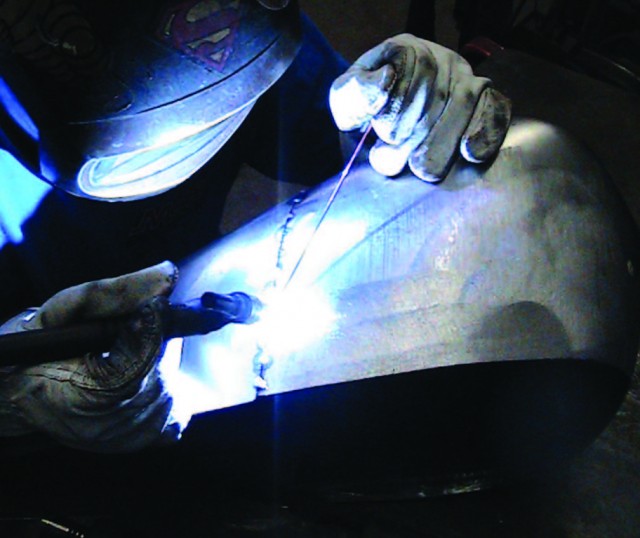
I’m back in hopes that your taste in reading hasn’t improved any, so here it goes. I was sitting in the driver’s seat, putting some miles on my home, enjoying a bottle of Vicodin and contemplating the useless nature of wide motorcycles. First off, they suck to turn, they make for dangerous lane splitting, and they leave too much room for a potential fat chick to sit on: nothing good. But what if you need more fuel capacity? What then? Of course you can crudely fashion steel to hold some extra fuel, but making it look good is a whole different sheet of music. I pointed my house in the direction of Twisted Choppers and set out to find Kai Morrison, sheet metal extraordinaire, and part-time hair farmer. I took a couple photos while he stretched out a Sporty tank and we argued about really important international problems like the comical value of the short name “Dick” in place of “Richard” and our maturity, among other things. Anyway, here is Kai to explain tank stretching to you all. There are photos included for those of you who can’t read, and by the time you’re done with this article, you’ll wish you couldn’t.
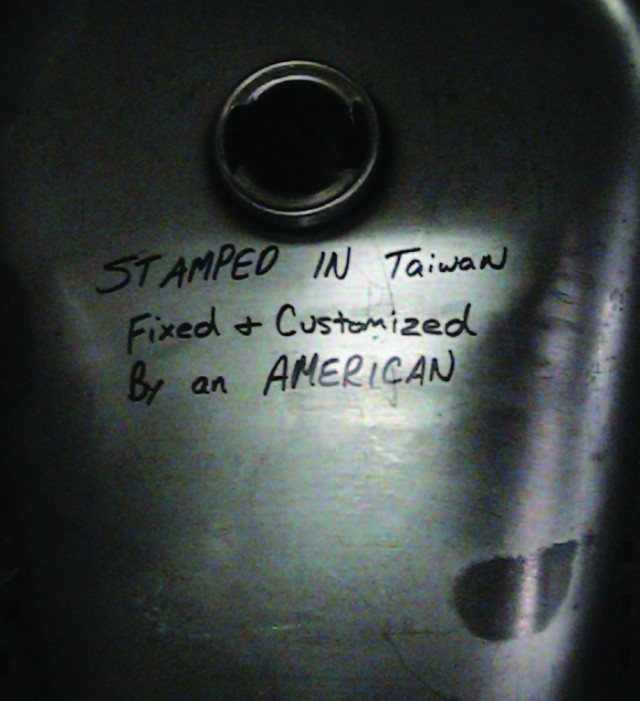
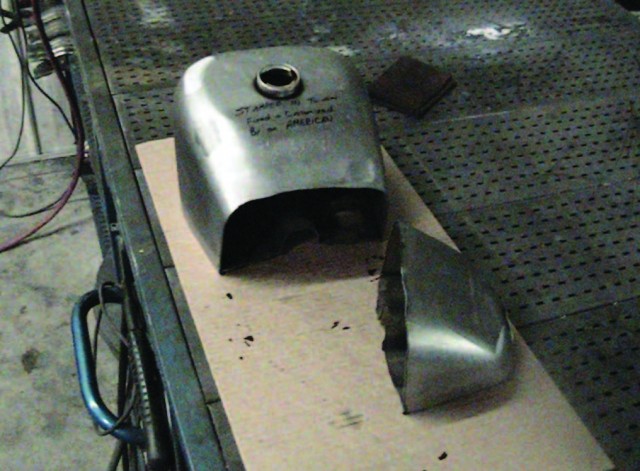
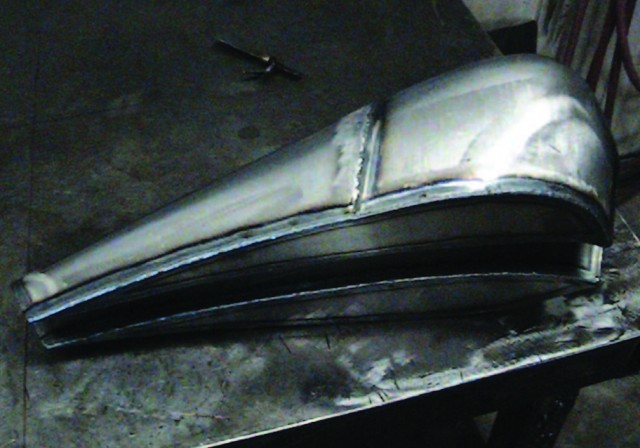
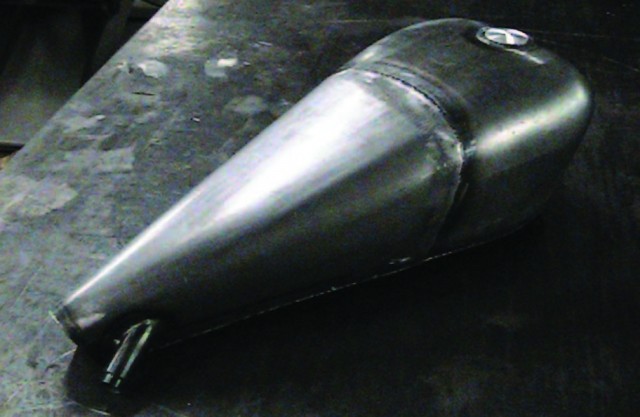
Here is our victim. Little does it know it’s about to be cut into pieces, but it’s a foreigner, so we don’t have to feel bad about it.
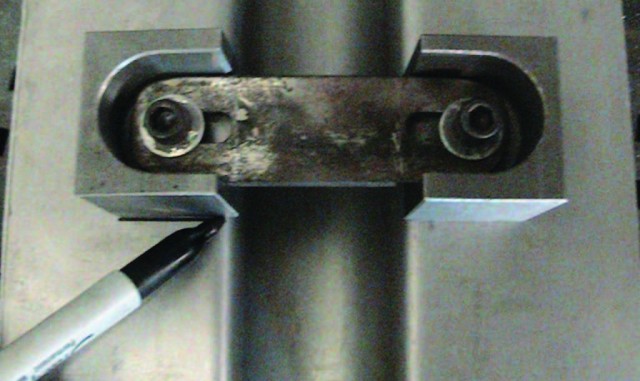
The first thing Kai does is remove the mounting tabs.
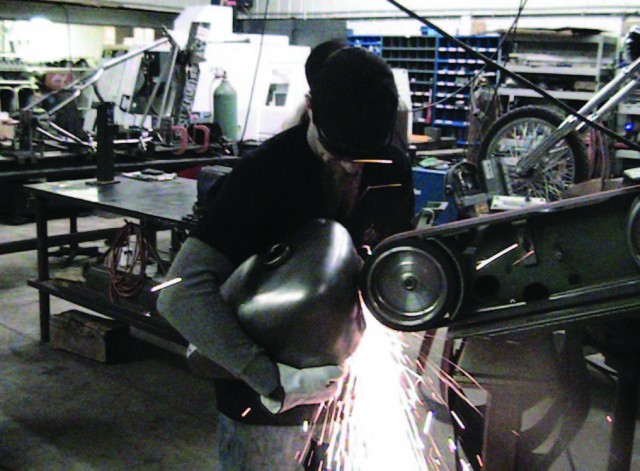
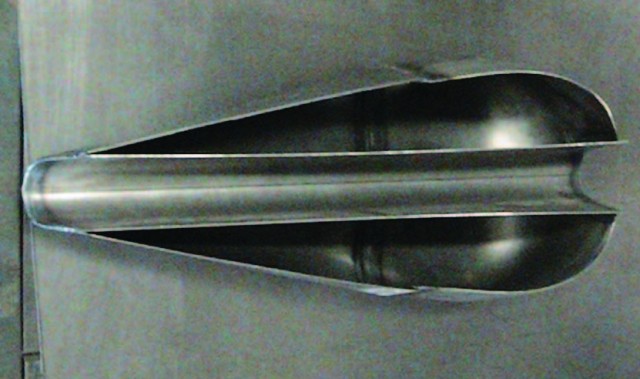
Now it’s time for a diet. He’ll cut off the rear section and grind the bottom off. Next, Kai removes the filler.
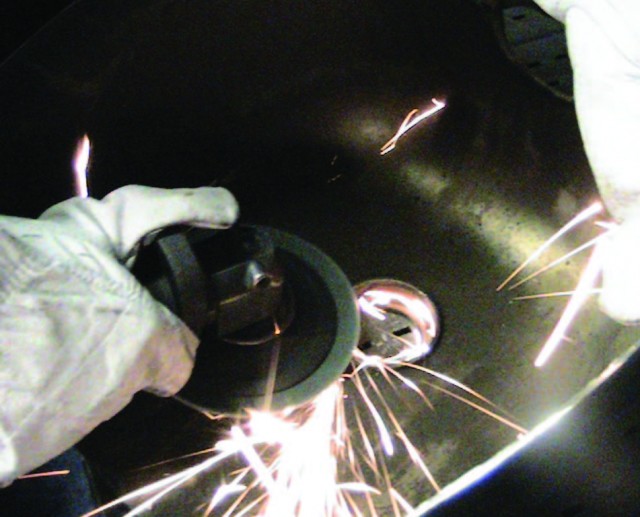
Just grind from the inside and it will fall out nicely…
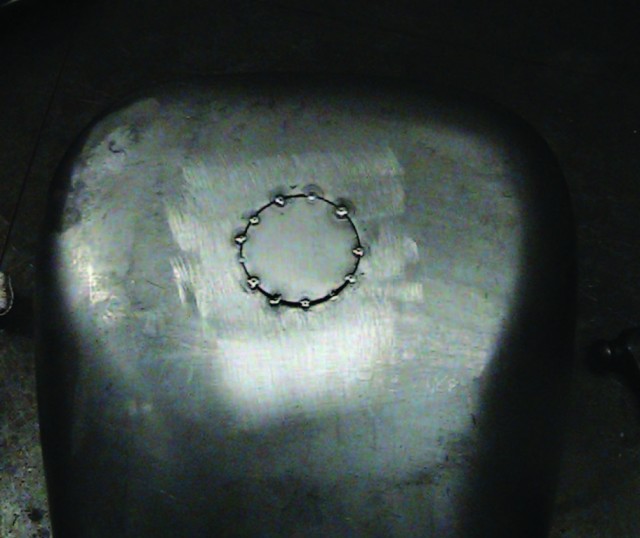
…then fill the bastard in so it’s nice and flush.
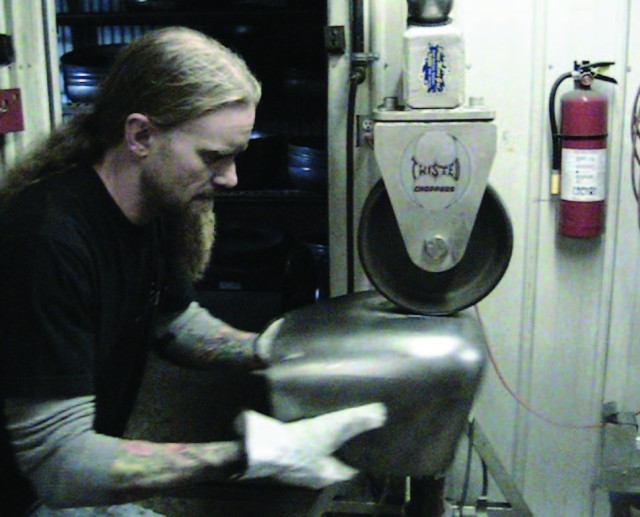
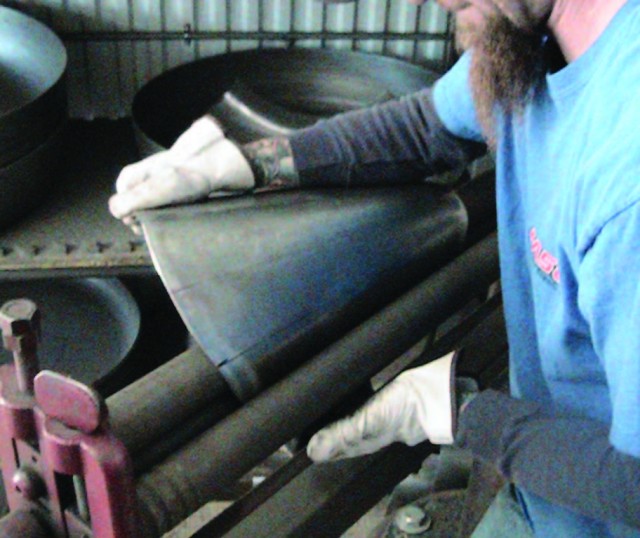
Now it’s time for the ol’ English Wheel to straighten out any warping due to heat during cutting and welding.
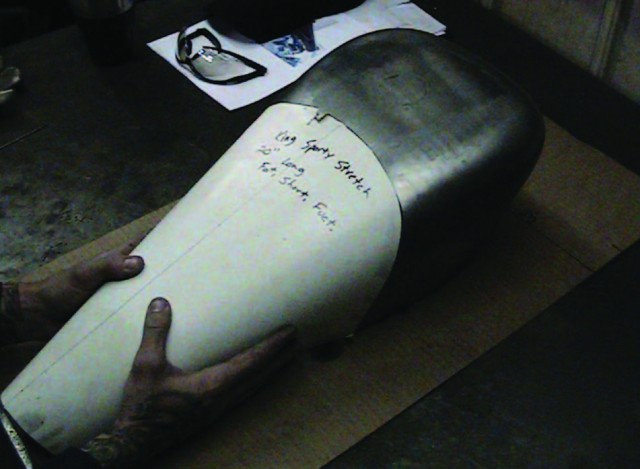
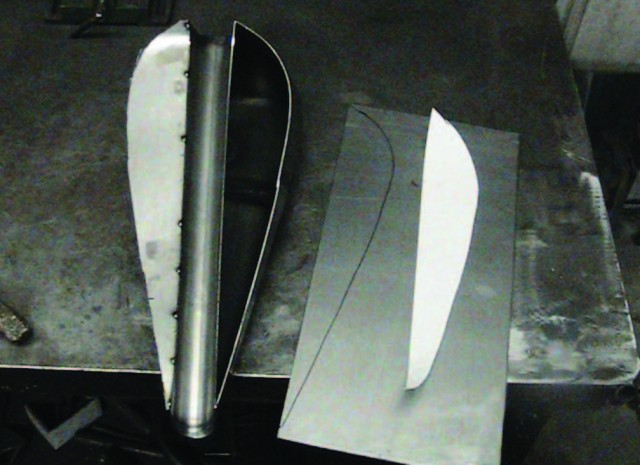
Here is where you start adding rather than removing. A paper template makes for much easier building.
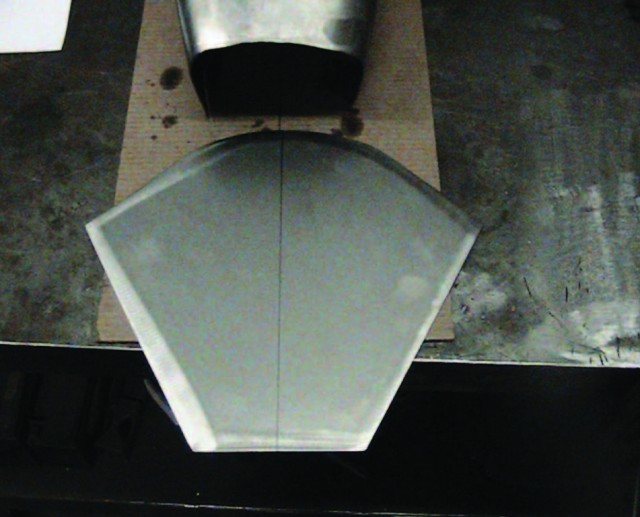
Then take the paper template and cut yourself some 18 gauge to add on.
Kai: “This part sucks! It’s gonna take you some time.”
Once you’re happy with your profile, mark out where your new piece lands and cut the tank accordingly. Kai: “Leave a little overlap for more solid welding.”
Now weld the damn thing together!
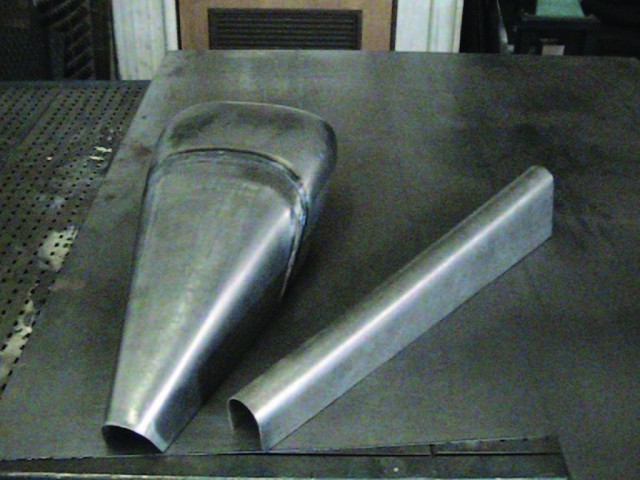
Next, Kai builds a tunnel out of 16 gauge for added strength. Note: Keep capacity in mind at this point. This tank will be Friscoed to add capacity and it looks nice as well.
Now just fit and weld.
Here, Kai cuts bottom pieces to fit, which are also made out of 16 gauge. Also remember to leave a little extra overhang for welding purposes.
More welding…
Now Kai traces out some made-inhouse mounts, fits and welds them in place.
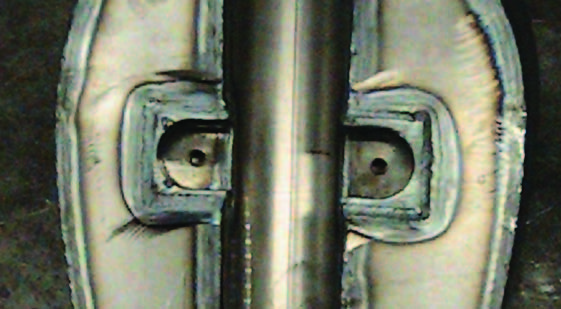
Here they are installed
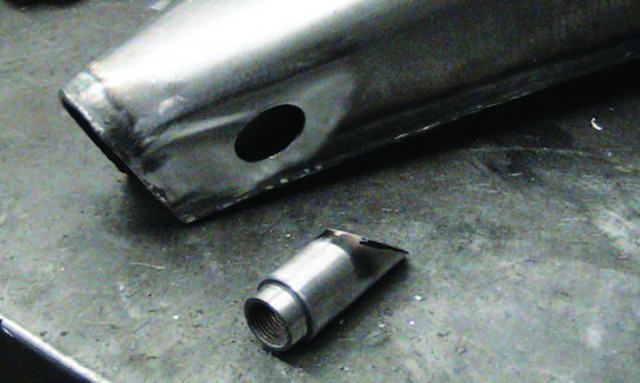
Next, you’ll cut a hole and weld on a petcock mount.

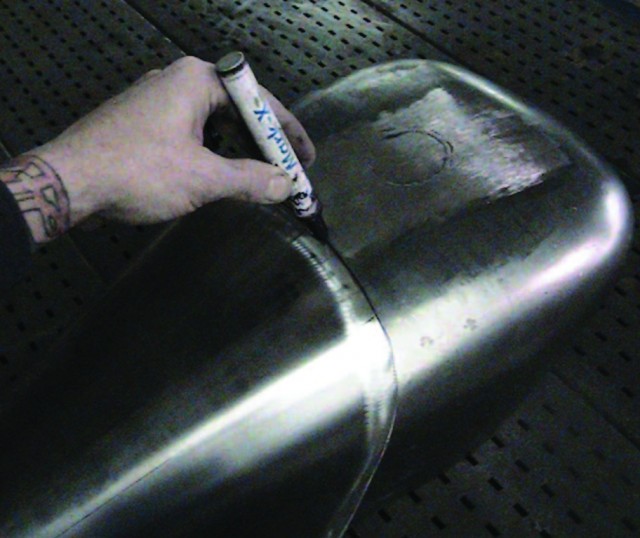
Then Kai marks out a filler bung, cuts a hole and welds ‘er in.
Voila! A cheap import hacked to pieces and made into a fine American product with both extra capacity and much better appeal. And there you have it. But before you dig in, Kai has a few tips for you adventurous types about how to dive head first into some heavy tank modification. “Remember to Scotch-Brite the inside of every piece so the sealer will stick to everything. Also, don’t get carried away when grinding welds. If you remove too much you’ll have problems when pressure testing and wind up welding it again anyway. Body filler is way better than fuel leaks, especially if you put some money into paint. Try to stay away from the plasma cutter here, but if you have to use it, be sure to clean up after it really well ‘cause that shit will contaminate your weld and you’ll have a pin-hole infested, fuel leaking nightmare on your hands. Also, make sure to fit your petcock BEFORE you weld the mount into place. You can’t drill a larger hole after the fact! And last, watch where you place your tank mounts so you don’t run into mounting problems later, such as a rocker box or something.” www.twistedchoppers.com


