


Sometimes You Just Gotta Make Your Own

Article by Daniel Donley
Inspired by Erie Hull
Originally published June 2019, Cycle Source Magazine
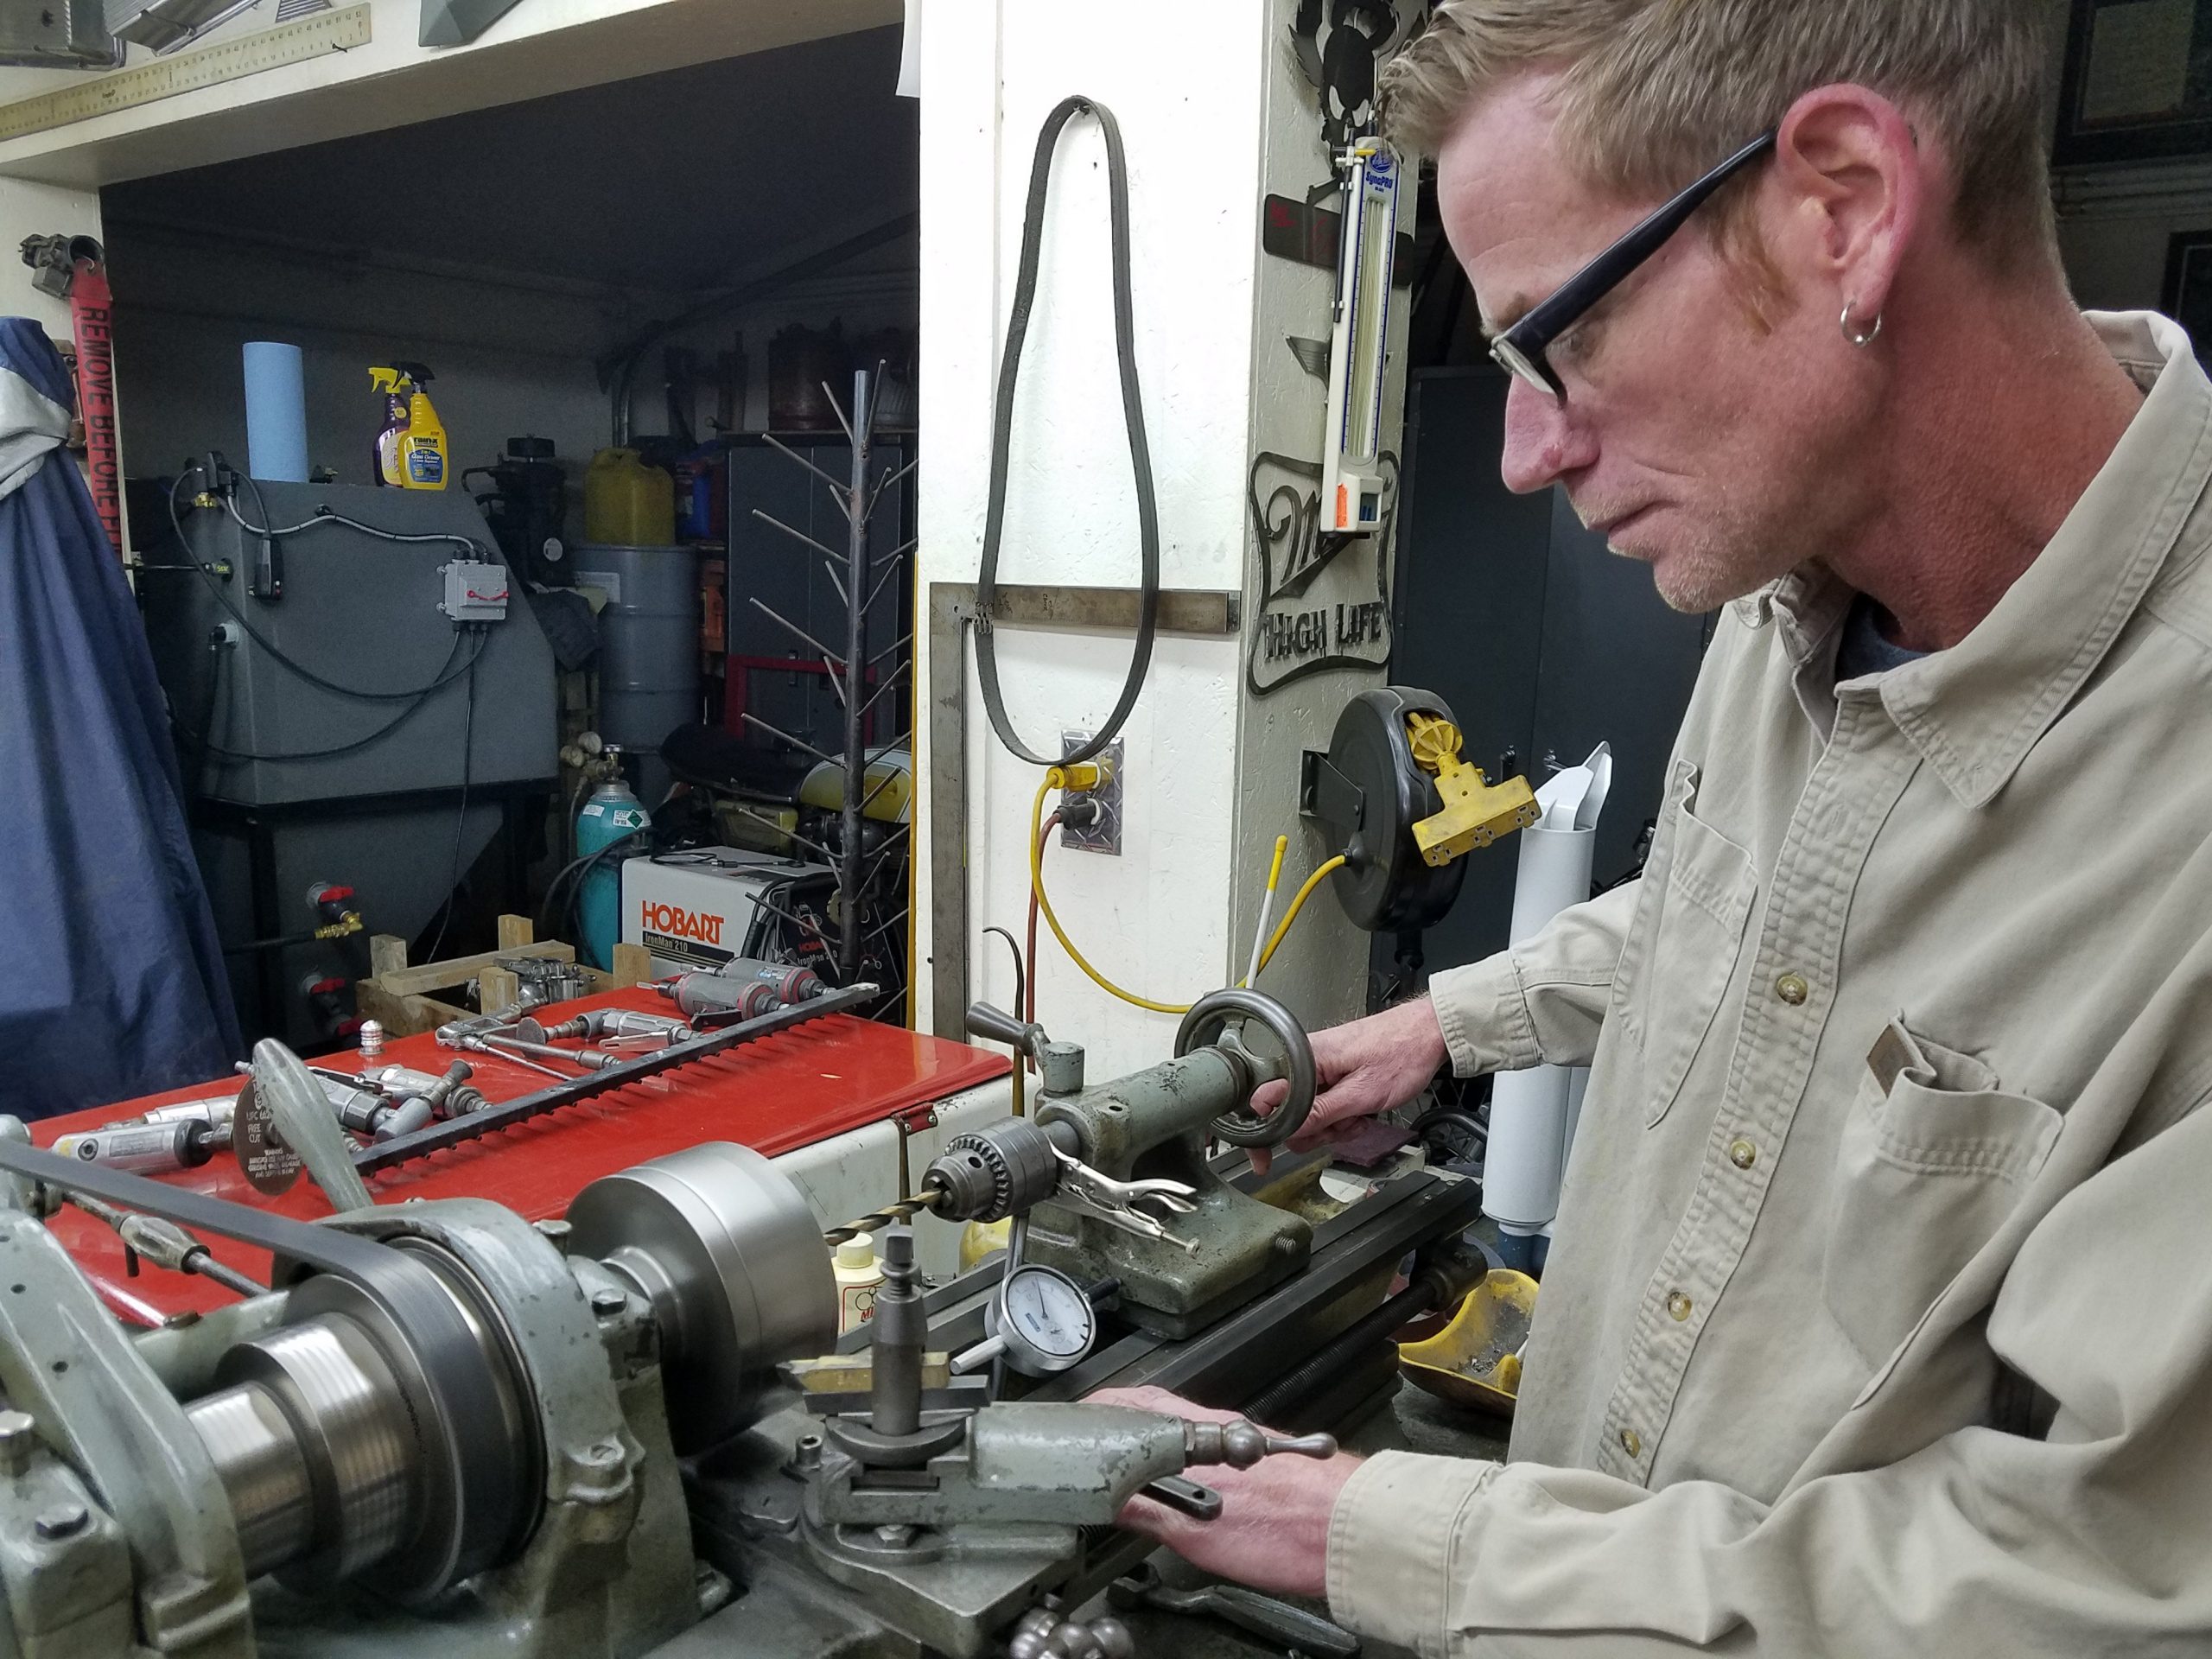
I have a small shop and the same size budget to go along with it. When I have time or extra money I improve or replace my tools. Definitely, no rockstar budget here. I have a lot of vintage tools in my shop, and I truly enjoy them, they have helped me get where I am today. But, as time goes on with wear and tear sometimes, they need a little fixing & sometimes even replaced. When a tool has helped you out, you kind of get attached to them and at times they are just too hard to replace. So, with repairs and occasionally some improvements you keep that old friend/tool doing what it has always done for you. I have a 1933 South Bend lathe that taught myself how to use many years ago. It has taught me a lot and has made many cool parts. But as time progresses so do we. This month’s tech I am going to show you an update/tool that I have come up with to help make this old South Bend lathe a little more accurate.

Dial indicators are high tech measuring devices…I think every one of these I own is secondhand. You know just like a tape measure that is 2ft short. If you build everything with it, it will come out fine. The magnet bases that these set on are universal for the most part until the magnet fails, and your dial indicator smacks the floor. Yes, it has happened a few times. After a few times, you end up with spare parts. So, I am going to use some of those spare parts to make an indicating fixture for my 86 year old lathe.

These are not leftovers, I stumbled across these a few years ago and thought they were cool. I never gave it another thought until recently when I came up with the idea for this tech article. These are called locking wrenches; the jaw style is designed to fit a nut or a bolt of multiple sizes. There are three versions of this 10, 7, 4LW; the number being how long they are and the size of the jaw. I am going to be using the 4LW along with my dial indicator spare parts to make this tool.


If you decide to make this handy tool for yourself your dial indicator and size of your lathe will determine which locking wrench best fits your application. By design, the locking wrench is designed to fit the hex of a bolt or nut. The shape of this tool will naturally clamp on anything square, triangulated or round. You can also see that the head of the locking wrench fits nicely on the way (runners) of the lathe.


The locking wrench works great for what it is intended to do. But the gnarly sharp teeth and edges on the jaws are definitely not going to work for us here. The jaws, as you can see, will only need a slight modification, the lower portion of the jaws will need to be removed along with the gnarly biting serrations. You definitely don’t want to mar up the “ways” on your lathe.


The lower jaw on the locking wrench has a sharp hook that needs to be removed as well as the serrations on the upper jaw. A cut off wheel on a die grinder takes care of the lower jaw with no problem. I was actually surprised at how soft the jaws were! I was able to remove the serrations along with all rough edges and corners with a hand file. Yes! I said a hand file. Hand files work great for intricate deburring.

With the locking wrench jaws prepped and a piece of scrap round bar and my leftover dial indicator and parts, you can now go to the lathe and figure out where you want to weld the round bar on. Please read entire tech article before making this tool. With a ball park idea of where I want to the round bar welded along with a few Sharpie marks, we are on to the next step.


You know those fancy weld fab tables that have all of the holes in them? Well, I have one of them too, they are called “1-2-3 blocks” and “4- 5- 6 Blocks” If you don’t own a set of these you should. 1- 2- 3 blocks are typically sold in pairs and measure 1” thick, 3” long and 2” wide, these can also be purchased in a 4- 5- 6-inch variation. I like to use these for fabrication and setting things up for small parts and pieces. The holes in these blocks are universal; some of them are even threaded and can be used in many different fabrication scenarios. I have the locking wrench bolted to the block, and the round bar clamped to it with another modified locking wrench. Always hold something round on a flat surface. Along with these blocks, I have a bunch of left-over brake caliper shims that range in thickness from .005 through .060; these help to adjust the height or shim something a little bit one way or the other. With everything bolted and clamped into place, I joined the round bar to the locking wrench with a tack weld ONLY.


A good friend of mine named Erie really gets into making things that have more than one purpose or use. So, this one is for you Erie! Now it’s time for a test fit of the 4 in 1 indicating tool. Yes, Erie, one tool four jobs, hope you dig it! Slight adjustments may be necessary; this is why I wanted you to only do a small tack weld. This tool can be used in the following ways. 1) tool can clamp onto your drill chuck, and measure depth of drilling. 2) Clamps onto the crossfeed for measuring a step or a groove depth. 3) clamps onto lathe way for truing up a 4-jaw chuck. 4) The amount of side to side movement of the lathe carriage. Every lathe is going to be a little bit different in shape and size, that’s why I really didn’t give any measurement here. This tool is capable of working on all lathes but will be specific to each machine. Make sure you test fit before final weld.

Here is the completed indicating tool, the adjustment mechanism on the backside of the dial indicator gets moved around in many different configurations to allow the four different uses of this one tool.
With this being my 99th Tech Article I want to thank all the readers for your continued support! With that being said, in a near future tech article “99 PROBLEMS” I would like to include you in that article. What I am after is a problem or situation you have encountered and how YOU fixed it or a tech tip on how to make a job easier. This can pertain to bodywork, fabrication, on the side of the road repairs, shop equipment, you see where I am going here. Email me at info@pandemoniumcustomchoppers.com with a couple good clear photos and explanation of what and how you fixed it or made it better. Please include your name, email and phone number and PLEASE use 99 PROBLEMS in the Subject line.
This year is my 8th year writing for Cycle Source and my 99th tech article so If there is something that you would like to see me do an article on please call me or email me with your idea!
If you have any questions, please feel free to call me at the shop anytime 419-576-6812
Daniel Donley
Pandemonium Custom Choppers
Facebook- Pandemonium Custom Choppers
Instagram – pandemoniumc2
info@pandemoniumcustomchoppers.com www.pandemoniumcustomchoppers.com


