
Article & Photos By: Daniel Donnley – www.pandemoniumcustomchoppers.com
Originally Published In The May 2016 Issue Of Cycle Source Magazine

Last month I showed you how to internally wire a set of handlebars on a 1997 sportster. With the bike already being in the shop the customer decided his sporty was in need of a facelift. First on the agenda was his riding position; with him being 6’ tall riding with mid mounts his knees are in the sky, this was not the riding position he was after. He was looking for the cruising comfort that you get with a set of forward controls. So with that decision made I called upon TC Bros Choppers for a set of their Sportster Forward Controls. I am going to run you through the installation of the TC bros kit. So lets get to it!
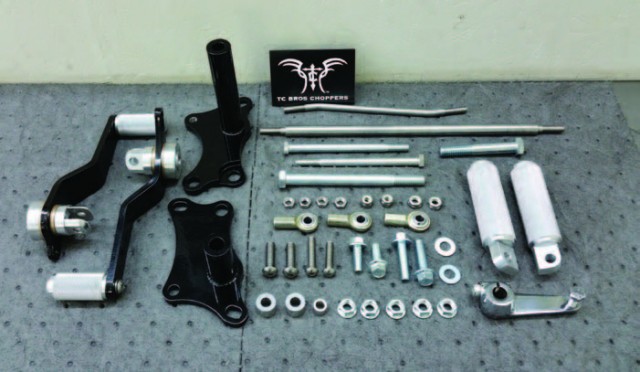

Within a couple days I received the TC Bros Choppers Forward Control Kit. I was very curious to check this out and I tore into it like a kid at Christmas. I was very pleased with the quality, fit and finish of the kit. The powder coat was nice, the machined parts are quality CNC’d pieces. The kit also included very detailed installation instructions, which are always a good thing to have.

First thing on the agenda, is to remove the midmount controls.

Next, I had to remove the 2 front lower engine mounts. So far so good, piece of cake!
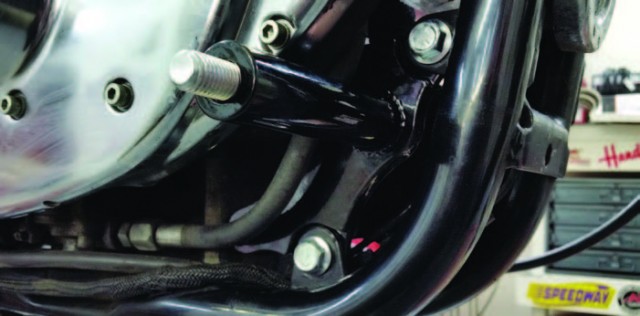

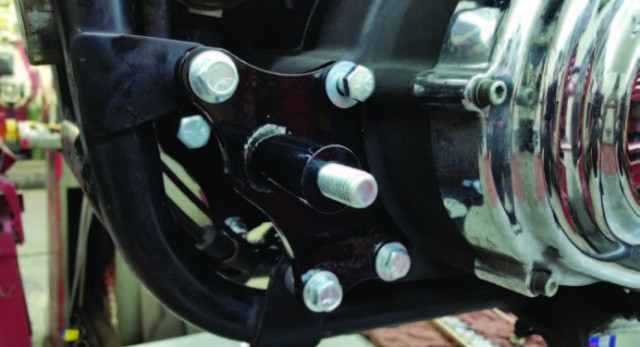
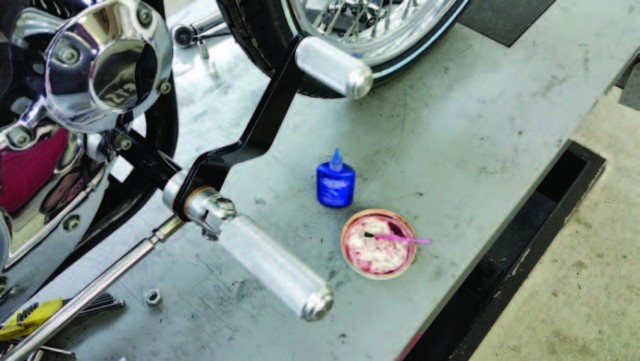
The front lower engine mounts are then replaced with new front engine mounts with integrated forward control mounting brackets. Quick reference to my instructions told me which fasteners needed to go where. I loosely installed all the fasteners finger tight. I’ve been here before and half the time, aftermarket parts never fit and always need some sort of modification. But… with this kit no modifications were necessary and the mounts installed as they should the first time!
After verifying the new engine mounts/control mounts fit properly I removed all of the fasteners and applied thread locker. Then torqued all fasteners to 30 foot pounds, as described in the instructions.

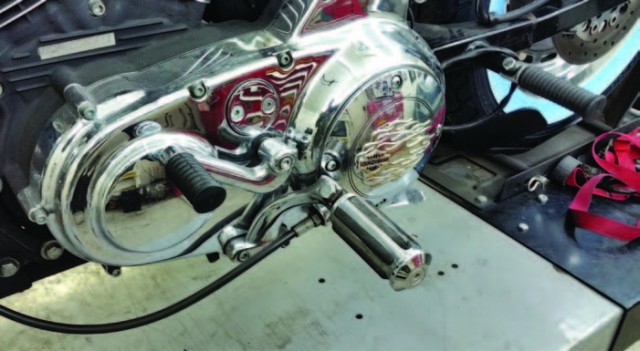
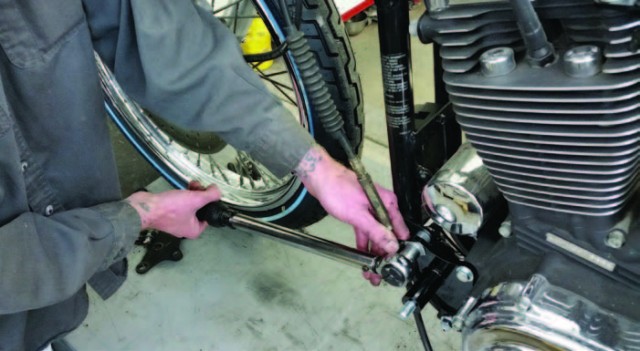
Next I installed each foot control assembly, with the ½” mounting bolt provided in the kit, I put a little bit of thread locker on each. You want to make sure to orient the foot peg mounting clevis so that the milled slot is at approximately a 45° angle to the ground, this angle will assist the peg in folding if it were ever to make contact with the ground while riding. You know, so you don’t wreck!
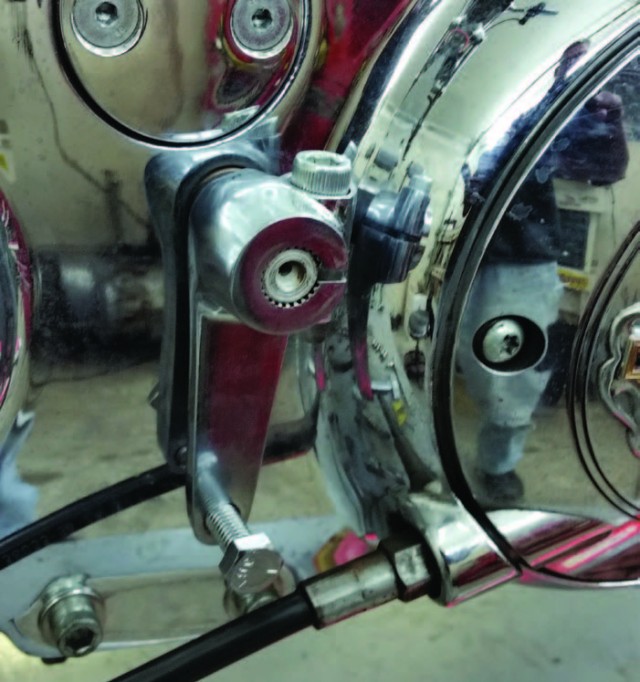

After removing the old shift lever, I noticed that the spline shaft had a lot of rust and corrosion on it. I used a small wire brush to clean up the splines. I then installed the new shifter lever provided with the kit on to the shaft. I used a rubber mallet to tap it into the 6 O’clock position. I used some thread locker on the shift lever pinch bolt and tightened into place.
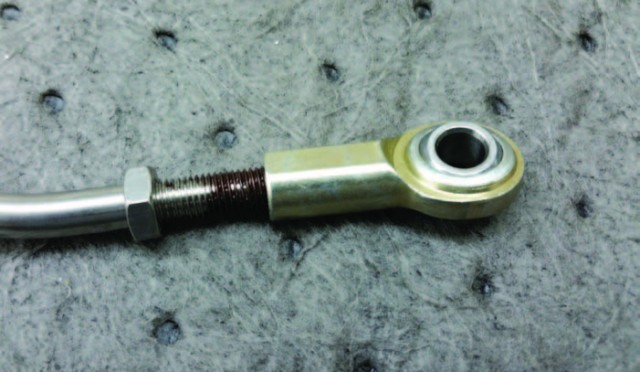
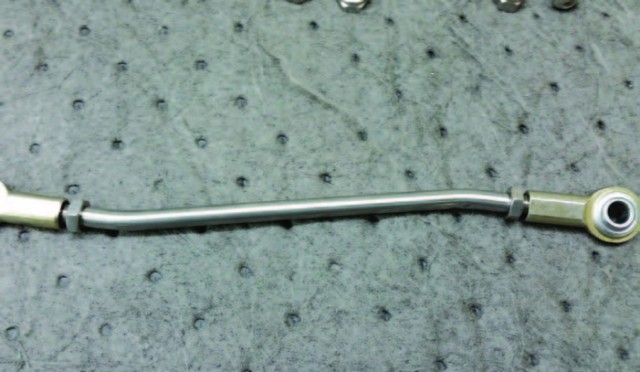
Assembling the shifter rod per the instructions. For ease of future adjustments, I also used some anti seize on the adjustment threads.
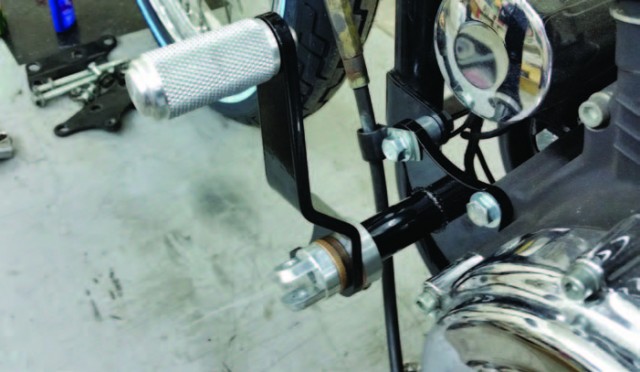
Place the shifter rod assembly onto the bike, finger tight all fasteners. We will adjust this later.

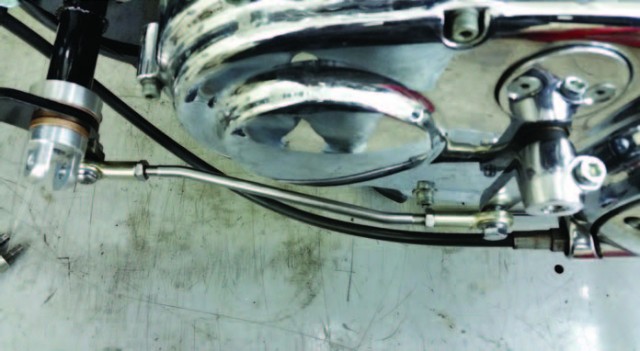
On to the brake side… I screwed the brake pedal pushrod into the rear brake master cylinder and attached heim joint to the brake pedal. I also left the fasteners finger tight here for future adjustments.

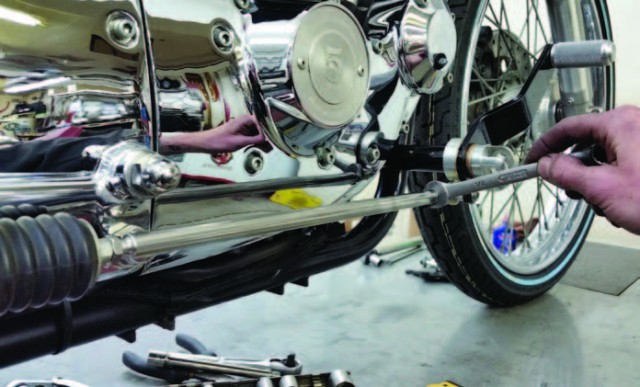
Next, is to install the foot pegs onto the clevis. I use a small amount of grease on the clevis pivoting surfaces. That way no galling will occur. I use thread locker on the clevis pivoting bolt and snug into position. You DO NOT want this super tight here! You want the pegs to be able to fold up in case they make contact with the road. But you also don’t want the pegs to be all flopping around either. Use your judgement and make them so they have some resistance. Now, it is time to sit on the bike and check out the placement of your shifter and brake pedal. You will then adjust the heim joints to put the controls in the most comfortable positions. This will vary from rider to rider depending on height, and how they sit. After all the adjustments are made now is the time to tighten down ALL fasteners! So when it all comes down to it… this has been an easy install with only basic hand tools required, and a Saturday afternoon in the shop. The TC Bros Choppers Forward Control Kit is Made in the USA. This makes for a very high quality part and with the ease of install makes this a winner in my book! So check back next month we have some more work to do on this little Sportster. If there is something that you would like to see me do a Tech article on? Please call me or email me with your idea for a tech article! If you have any questions, please feel free to call me at the shop anytime 419-576-6812 Daniel Donley Pandemonium Custom Choppers info@pandemoniumc2.com
Reference: TC Bros Choppers www.tcbroschoppers.com 419-265-9399