


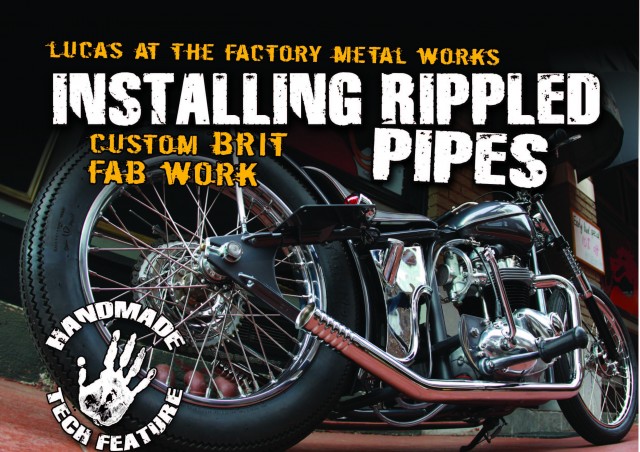
Article By: Lucas Joyner www.thefactorymetalworks.com
Originally Published In The May 2013 Issue Of Cycle Source Magazine
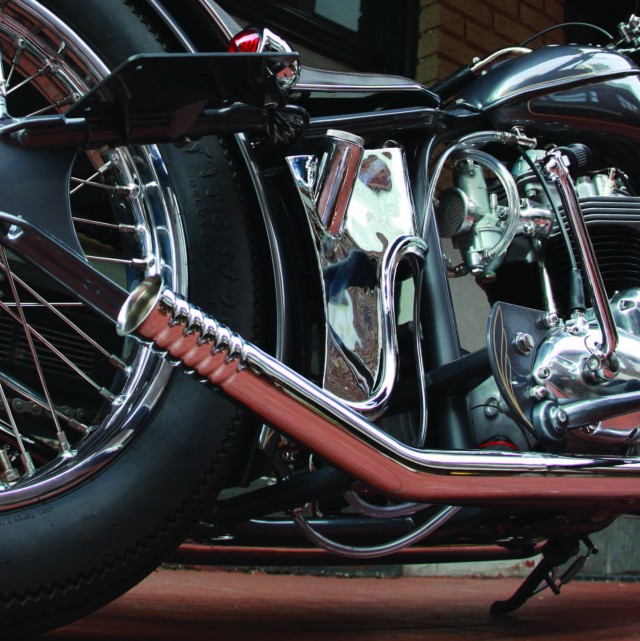
This month, The Factory Metal Works will show you how to install that shag carpet feel on your new or not so new exhaust systems. We started offering vintage styled rippled exhaust tubing about 3 years ago and have never looked back. The tubing is made right here in the States by industry professionals and is currently offered in 3 different sizes of ripples and numerous sizes of mild steel tubing. Hell, we even have new oil tanks made from 4.5 and 5 inch tubing. We get asked a lot of questions about installation so Chris and I thought it may be a good idea for a little “how to.”
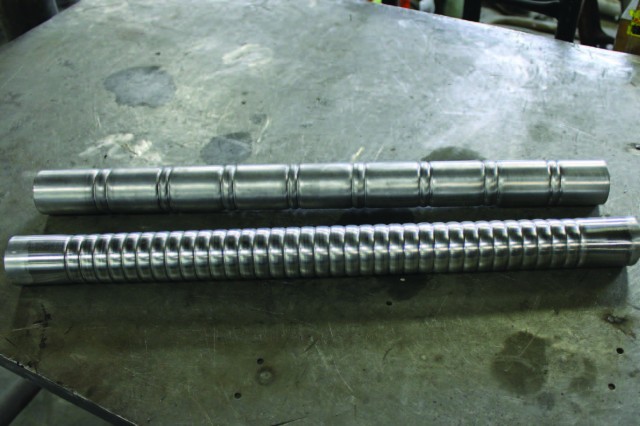
Our ripple pipe comes in 22 inch long sections and is made from .065 wall mild steel exhaust tubing. First we will start with determining the length of ripple section we want to install. Then we will cut down the rippled tubing in the center of the biggest part of the ripple.
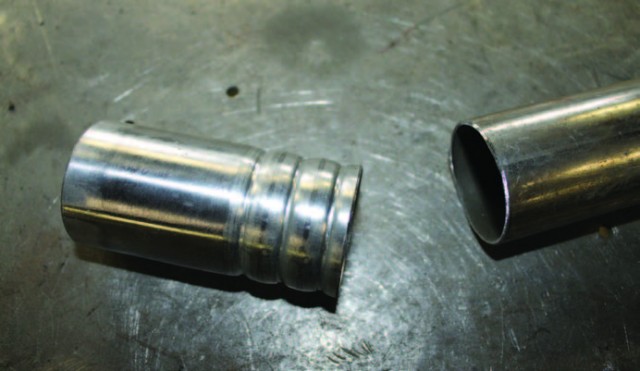
Cutting the ripple pipe in the center of the tube will allow for the splice to look seamless once welded and ground down.
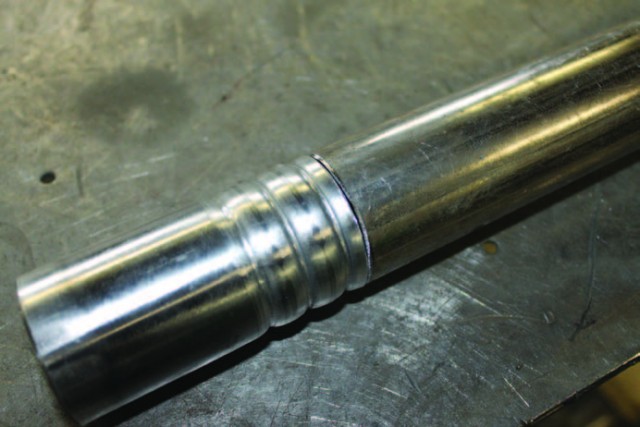
With your preexisting exhaust in place on your mock-up motor and frame, or carefully on your daily rider, take a piece of angle steel and hold it tight against the pipe marking a center line on the exhaust system, then do the same to your predetermined cut down length or ripple pipe.
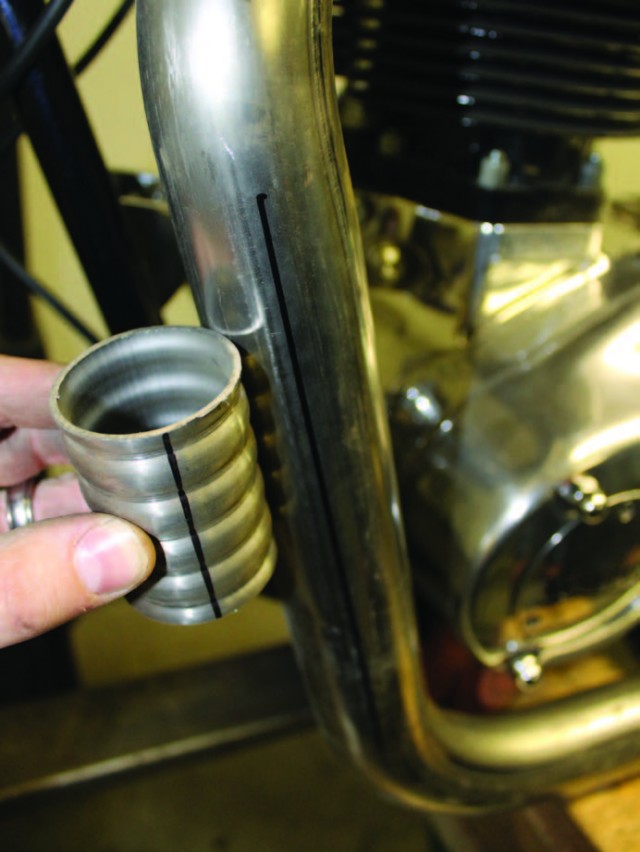
Now, mark on your exhaust system where you would like to install the ripple section. Once you cut your small section of straight tubing out, the lines on the ripple pipe and exhaust system will help you relocate the pipes back to the stock position it was in before being cut on. If the system has coating on it, be sure to grind away any chrome or ceramic coat at least a 1/4 inch from the weld surface and clean the inside as well. We have a small fixture for holding the exhaust in place so it’s straight again before we tack it up, but the piece of angle and some clamps will do the same job. Just make sure the seams are flush with each other and you’re ready to tack and weld. Here at The Factory Metal Works we purge weld all of our exhausts with argon and use mild steel Tig rod on our exhaust. We do this because a lot of our systems get chromed and you don’t want to use a mix rod or anything with stainless in it if you plan on chroming the pipes. Chrome doesn’t stick to the stainless when heat is applied to the system. Believe me, you will be pissed at the outcome.
We hope this little bit of inside info will help you build the exhaust of your dreams or sometimes nightmares, and remember we can make up any size tubing you may need for your systems so please just hit us up for questions or custom orders and be sure to check us out at www.thefactorymetalworks.com, like us on Facebook and follow us on Instagram. Don’t forget- -buy American and support the Source!


