Article By: Tyler Malinky
Originally Published In The May 2011 Issue Of Cycle Source Magazine
There are a lot of ways to do it, but this is the simplest way we know, with the simplest of hand tools. We jacked around a lot and still did it in ninety minutes. What are dimples and why? Stock Harley switch control pods have wires that run out of them and through the inside of clutch and brake perches. The underside of the bars have dents or “dimples” for these wires to hide in, otherwise your controls wouldn’t fit over the wires. Yes, the best way is to ditch all that spaghetti and lose the pods, but that’s another day. This is for the the guy who wants to keep his pods and use them on bars without dimples. Why run smooth bars anyway? 1) If you make custom bars or have a set made, most builders can’t make dimples. 2) If you buy bars from someone who offers them with dimples (say, er, Biltwell) then you may want to shorten them. The dimpling process slightly ovalizes bars, and the throttle side will take some work to get the throttle tube working properly. Smooth bars give you the flexibility of shortening them as much as you want without worrying about ovalized ends or dimples in the way. 3) If you have switch pods now but think you’ll clean up the wiring down the road and ditch them; smooth bars are a good choice. Once all you have are perches and grips or just grips and a throttle housing, dimples are kind of ugly. For this experiment, we used our friend Mike D and his 2002 Street Boy Bob Fat FXWTF with stock bars and controls, minus the turn signals. Your experience may vary but probably not by much. Keep in mind if you are changing bar dimensions dramatically you may need different throttle cables, wiring and front brake lines, etc. In this case it was easy as it all fit using the stock parts on Biltwell Tracker bars.
Wrap your tank. You will drop tools on it, so take care.

Now you can start by removing the throttle side control pod screws, and remove the brake perch. You don’t need to remove the throttle cables. Keep your stuff organized. I like to replace most Torx bolts with regular stainless Allen heads anytime I take them off my bike. This is a good time to swap them out.
Pop out the little plastic cable hangers and remove from wires. Remove clutch side switch housing (pod) and clutch perch and unbolt bar clamp. Slide stock bar out of throttle housing. You can leave throttle cables in.
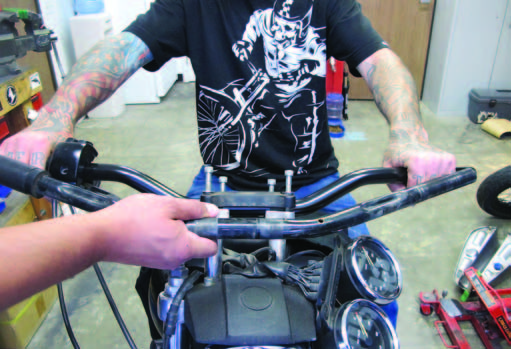
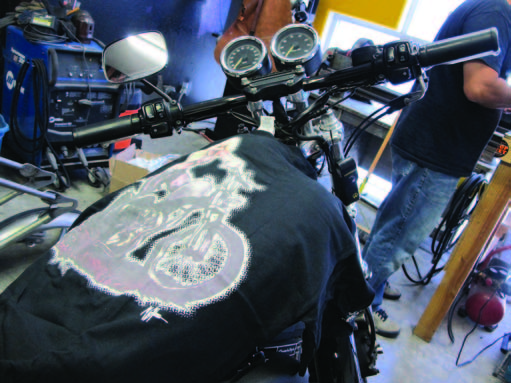
Slide new bars into throttle housing and lightly install in the handlebar clamps. Hold your control pod in place (it won’t tighten down because with no dimples, there isn’t room for the wires.) In this case, Mike wanted his bars as narrow as possible because he is a lane splitting terror. With the throttle and pod in place on the right side, we estimated that he could lose about an inch on each end of the bars. Be careful not to cut too much, it’s janky if your perches are too far inboard and clamp onto the radius of the bar. You want them mounted on the straight portion only.

Mark your pipe and cut as necessary. A pipe cutter works best but there is nothing wrong with a hacksaw. Always deburr your cuts. After Mike cut these and filed them down, he took both ends to the Scotchbrite wheel on the bench grinder. This is especially important on the throttle side of the bars. You want that throttle to snap! So, nice and smooth on the edges.
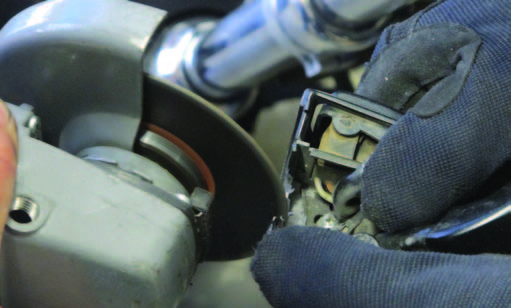
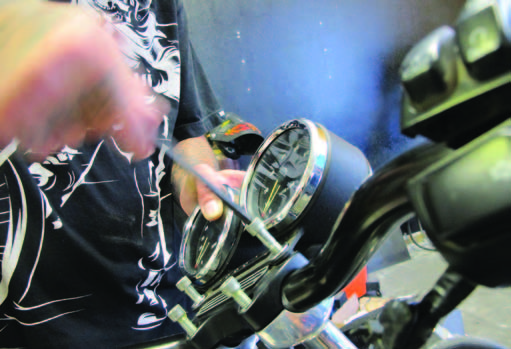
Everything up tlil here was as basic as it can get. Now it gets fun. Without taking the switches out of the controls, you can’t clamp these in a vise. This is where a friend with a steady hand comes in. One dude holds the control pod, and the other can carve out the notch using the high-speed rotary finger lopper of his choice. Gloves and safety glasses would be a good call here. We used a cutoff disc and carved small slices out of the bottom of the housing, in a sort of rounded-square shape. I’ve done this with a dremmel in one hand and the pod in the other and it wasn’t quite as dangerous looking. The amount of care you take here will determine whether you are rewiring your pods and how nice the final install will look from underneath. You’ll need to remove enough material to let the clump of wires exit the bottom of the pod.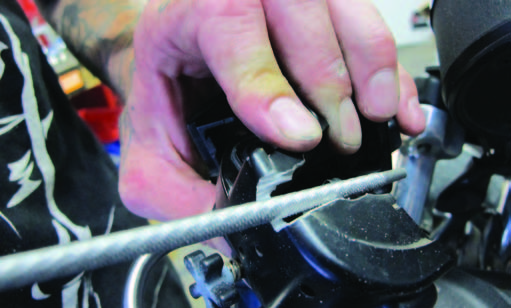
Round all these new edges with a file, sandpaper, then Scotchbrite. You don’t want any sharp edges chaffing your wires. This is a good time to put an extra wrap or two of black electrical tape around the loom where it exits, just for a little more protection. Shoot a little semi gloss paint on this new opening so it won’t stand out and look ghetto.
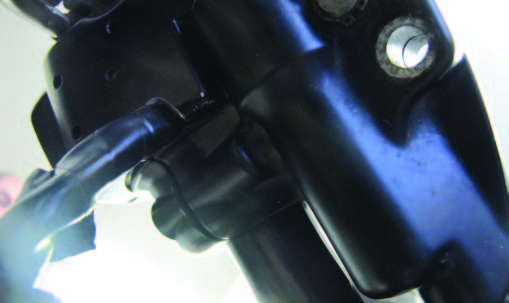
The money shot. This what you need to end up with. A dremmel with a round sanding bit will give you a better radius. The two important things are: no sharp edges and the hole needs to be big enough for the wires to pass through without clamping down on them too hard. When you are putting it all back together, slide the bar into the throttle housing first, get your cables going the right direction, etc., and then put the bars in the clamp. Rotate into a comfortable position, make sure bars are centered and tighten clamps. Now that it’s all sturdy, you can reinstall your switch pods. Run a zip-tie or two around the wires and bars to keep things tidy and you are done.