


Published In The August 2015 Issue Of Cycle Source
Article By: Chris Callen Photos By: Heather Callen

The process of learning a new skill set and doing something yourself carries a greater reward than simply saving money. The pride of knowing what you have accomplished and then sharing it with others is worth far more than any finacial gains. Lately I’ve been deep in the building trenches at Flat Broke Chops & Rods working feverishly on Board To Death. While I’ve been working on that project I’ve had the privelage to do some great tech articles on parts and projects that are avilable to the general consumer today. It was during a late night search and seize mission that I happened upon the web site of Hammer In Hand Customs. I have always wanted to try my hand at tooling a custom leather seat, but have never had the time to research the tools, the material or the proper procedure. I have long been a big fan of the work of guys like Duane Ballard and Curt Green, and the thought of doing something even in an elementary capacity in that genre was enticing. So, when I saw the Custom Leather Seat kit on their website, at just $299.00 I was in. I mean here was a pre-made package built just for cats like me. It had the basic seat pan, complete with upper and lower leather pieces, foam cushion already installed and all the tools to start my quest on tooling my own seat. It even comes with a DVD to show you how to tool, stitch and dye the seat. I immediately signed up for the deal and logged off for the night without another thought. The following article was compiled the day it came in the mail. In one day, with the girls working with me, we completed our first leather seat at the kitchen table, and I must say I’m pretty proud of the results. The best part of the whole package is the fact that the Instructional DVD that was included was so well nariated that I felt completely confident jumping right in and giving it a shot.
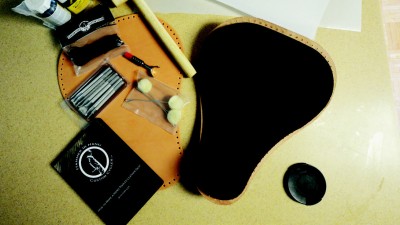
Here is the kit as it comes with all the tools, the seat pan, leather and even the tracing paper for your design to be transferred.
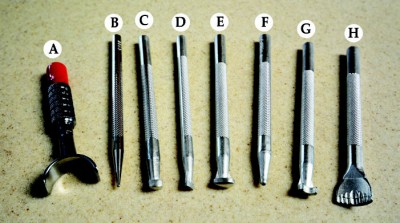
Pictured here are the six basic tools that are most commonly used in tooling leather. While a professional seat maker may have hundreds of these tools, these are a great start. A. Swivel knife B. Stylus C. Beveller D. Backgrounder E. Pear Shader F. Seeder, G. Camouflage and H. Veiner.
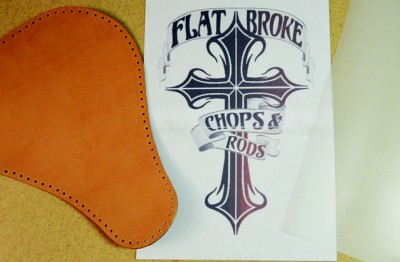
Here is the design we came up with for our first seat. It seemed appropriate to put the shop’s name on it.
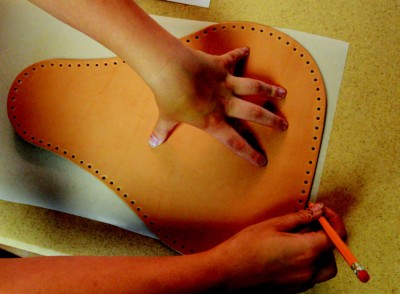
We start by tracing our seat pattern onto our tracing paper so we know how close to the edge we can get. It’s important to also mark out the stitch holes for this.
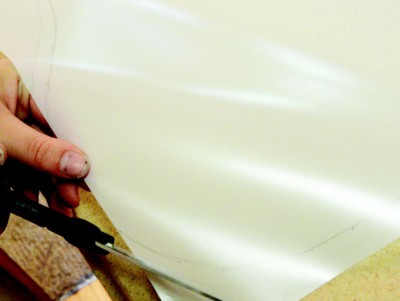
From here we can cut out the seat pattern so the design can be centered perfectly.

To further assist in that we fold the tracing paper in half side to side.
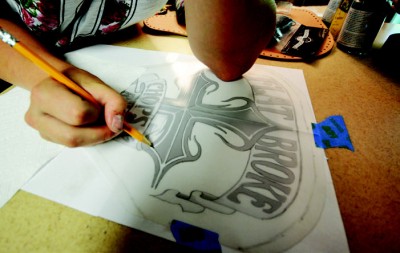
With blue masking tape we secure the location of the design on our seat template and begin to trace it.
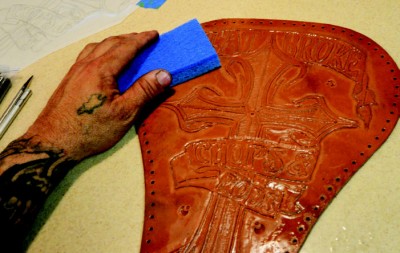
The beginning of the transfer starts with what they call casing the leather. This is basically soaking it down with water but not actually soaking. Water is applied with a sponge a little at a time. Too much water is as bad as not enough.
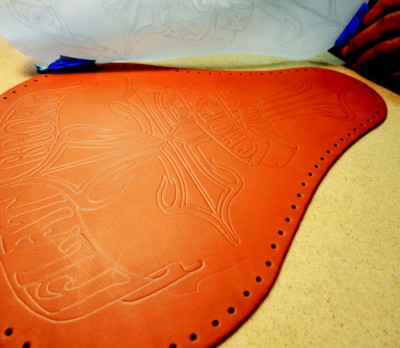
With the leather damp you transfer the design with the Stylus. Firm pressure tracing over the design embosses it onto the leather seat template.
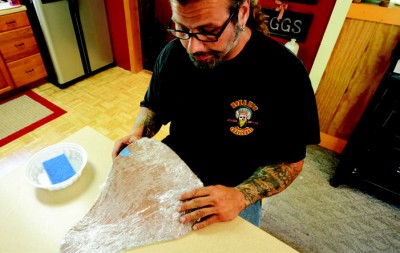
From this point on, the leather must remain damp. If you have to leave your work it is suggested that you wrap it in plastic and put it in the refrigerator. God my chick loved that part.
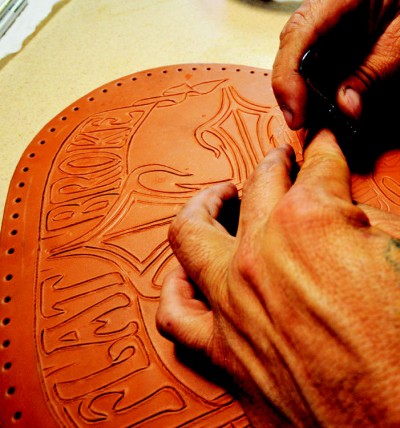
With the design transferred you start with the Swivel blade. The blade is kept at a 45 degree angle front to back and a 90 degree angle side to side. All cuts are pulled towards you and I found that keeping from going real deep is key. You just want to separate the leather for tooling.
Here is where you use the Beveller. With this tool you “shelf” one side of the line to give your work the threedimensional look. It takes some practice to figure it out but it’s a kinda quick to learn. This is where the amount of water comes into play. Too much and the leather is squishy and won’t hold a design well, too little and it will be hard to tool and will be bumpy.
With all the beveling finished we use the backgrounder, the seeder, the pear shader and even the camouflager for some different effects. Now this part just takes some practice and time with the tools. I already know the next seat I do will be better from the stuff I learned here.
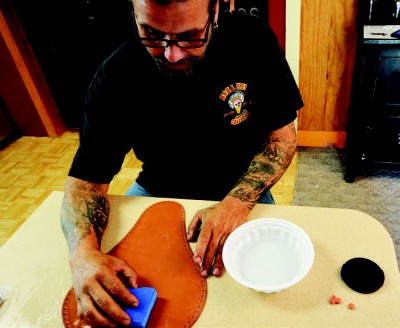
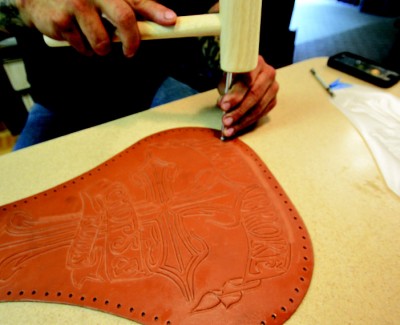
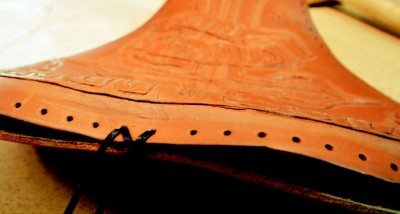
Once our tooling was done to our liking it was time to start stitching. To get the seat template ready we again soak it down making sure it will be nice and pliable while we mold it to the foam attached to the seat pan.

In this step you want to make sure your leather is not only starting to take the shape of the seat foam but you also want to start aligning it from side to side and top to bottom. An even amount all around will make the stitching process an easier task.
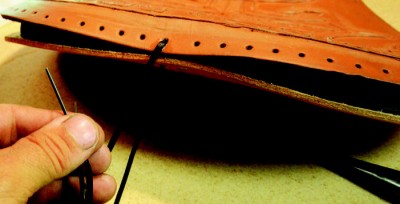
Stitching starts by setting an arms length of kangaroo hide lacing (provided) with a stitching needle (provided) on each end. The stitching has a top and a bottom and you want to always keep the shiny side up.
You begin by running the lace through and making the ends even, just like lacing new shoes. From there a single lace from each side is performed to get the leather tight and then six or eight laces from one side can be done.

This is a cross-stitch pattern so once the first six stitches are done from one side, we come back with the other end of the lacing, creating our crossstitch. Each time a lace is completed we check that the leather is tight and the stitch isn’t twisted.
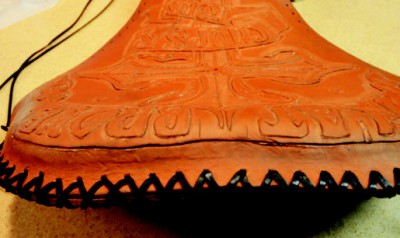
Once we get around the top of one side we thread another section of lacing with two more needles through from the middle and go in the other direction. This helps to keep the leather centered and distributed equally as we stitch.
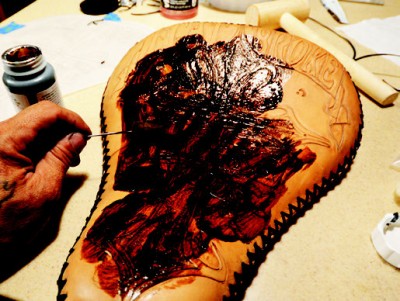
With the stitching finished, we move on to the dying of the hide. We start with the brown leather dye that came in our kit and apply a generous amount over the entire seat. Again, there are a million ways this can be done but for us a simple two tone will suffice.
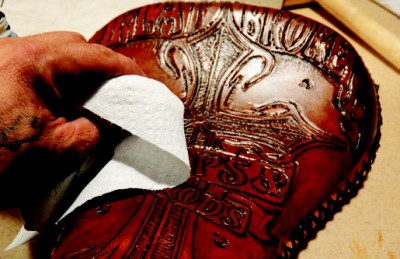
Once the hide is covered well we begin to wipe of the excess dye. Try not to let any part of the dye dry fully before you wipe it off, this keeps it from streaking.
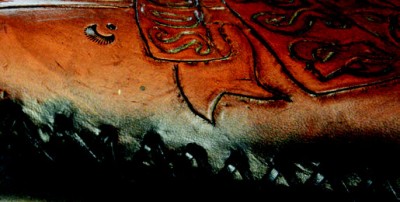
After the brown dye dries a little we come back and use the supplied black dye to go around our edges. After it is applied we wipe it down as well but we also use the dye to fade into the brown to give it the sunburst effect.
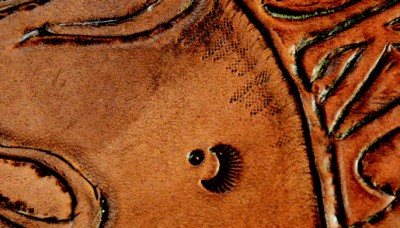
Here you can see one of the little extra details we made using the seeder and the camouflager. Like I said, a million possibilities but we kept it somewhat simple for this first one.
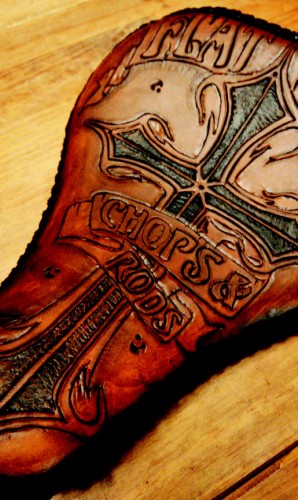
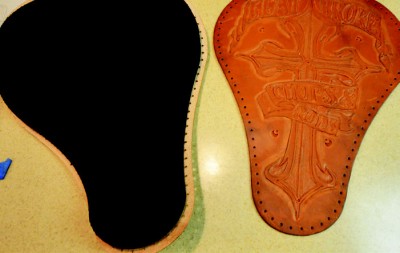
Our first finished seat, not too bad considering that we didn’t practice on any of the scrap leather first and just jumped in with both feet. As I mentioned above, the video was so good that I felt very confident. I am so looking forward to another chance to do this again. The nice part is I now have a beginners tool set and if I want to keep it simple I can order another blank seat template and seat pan from the Hammer In Hand guys for only $180.
Cycle Re-sources: Hammer In Hand Custom Cycles St. Johns, MI 989-227-2453 www.hammerinhandcycles.com


