


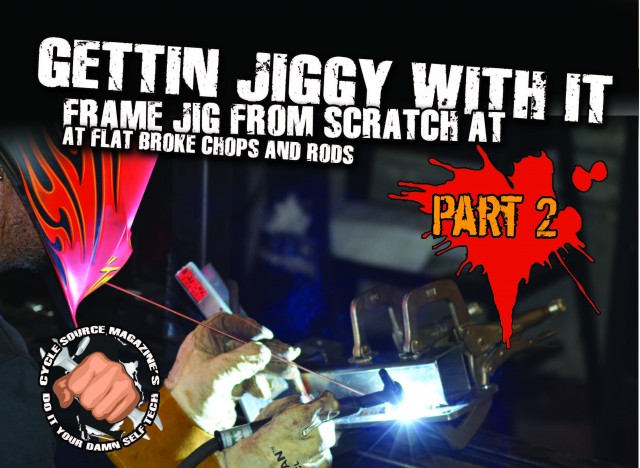
Frame Jig From Scratch At Flat Broke Chops And Rods – Part 2
Article by – Chris Callen – Editor In Chief
Photos by – Heather Callen – Managing Editor
Originally Published In The May 2015 Issue Of Cycle Source Magazine
So we last left off with the bulk of our frame jig finished and attached to our table. Since the first job on the chalkboard at Flat Broke Chops & Rods is the Ironhead Sporty we are doing for the Sportster Challenge at BMR this year, we are going to build the uprights to hardtail that frame in this issue. This is just a guide to how we are doing this and is not, by any means, the only way. With that said, let’s get started.
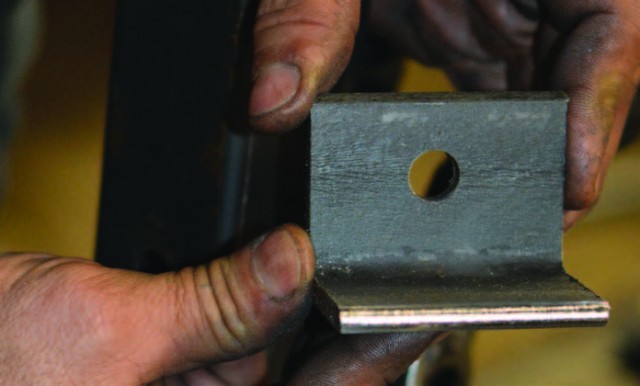
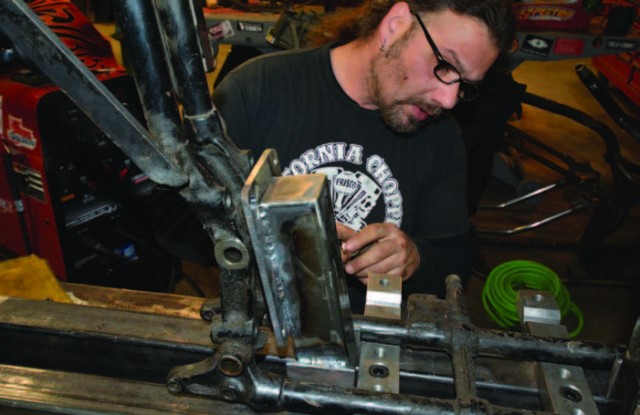
The first step will be the front motor mount locator and upright. We decided with the proximity of the front and top motor mounts, we could get the job done in one upright. We took a 2 inch by 2 inch piece of quarter inch box tubing and positioned it between the front and top mounts.
For the bottom front motor mount we simply added an additional section of the same box tubing off of the upright and welded it into place.
On that tubing we added a section of 2 inch by 3 inch quarter inch box tubing and welded it into place.
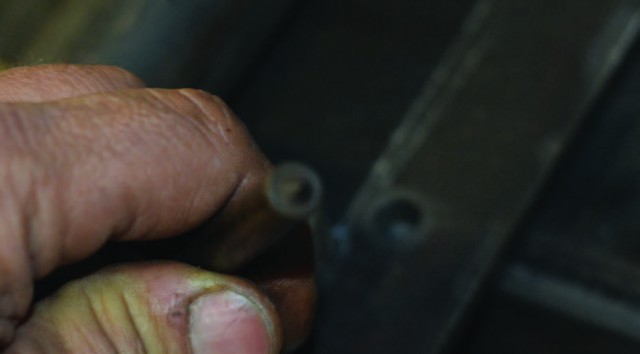
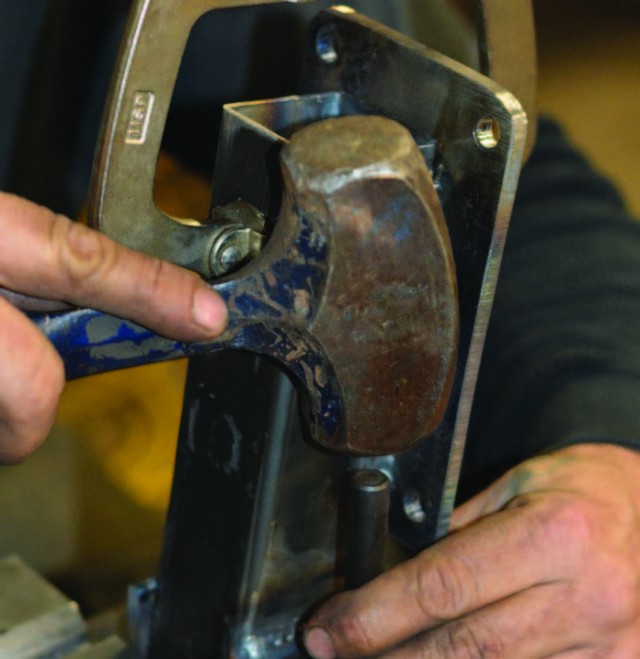
Here’s a good opportunity to introduce some of you to a tool you might not be aware of, the transfer punch. This punch will give you the exact center of the specific sized hole you are locating.
Using the transfer punch we locate the spot to drill to mount our fixture to the front motor mount of the frame.

Using the drill press we drill out the holes in three steps, pilot hole first and then graduated sizes.
We figure out the spacers needed to keep our frame in the center of the jig and dry run the hardware.
Now on to what was a much harder proposition, the rear motor mount upright. Due to the angle that the Ironhead motor mounts are at, the fixture must be made on that same angle.
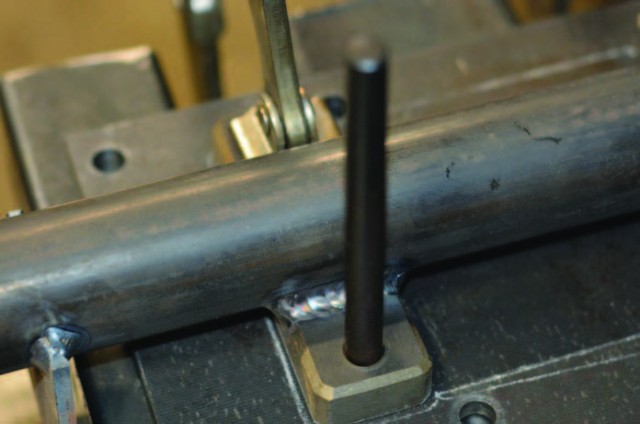
Using our transfer punch again, this time with our Led Sled hard tail kit. It was easier to use the hard tail as a template for our motor mount holes. We located the holes on a piece of quarter inch plate and took it to the press.
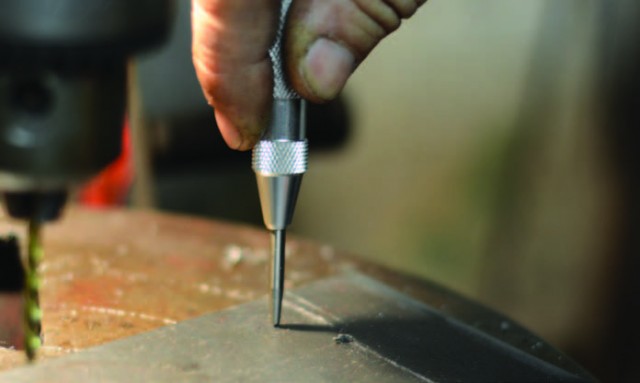
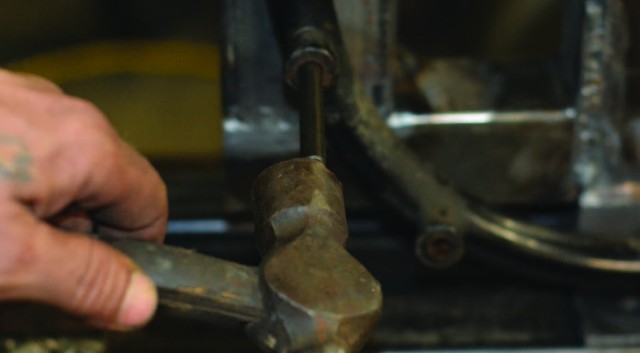
Just to make sure we use an automatic punch, a couple of times, to get a good strong dimple to drill.
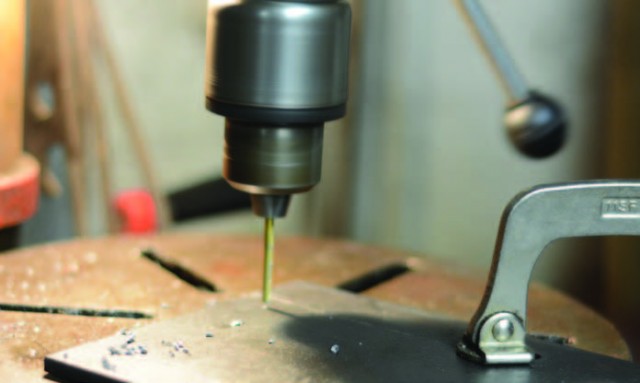
Again the holes are drilled in three steps, pilot then larger bits until the desired size is reached. This practice reduces the pressure on the drill bits thus reducing wear and maintaining accuracy.
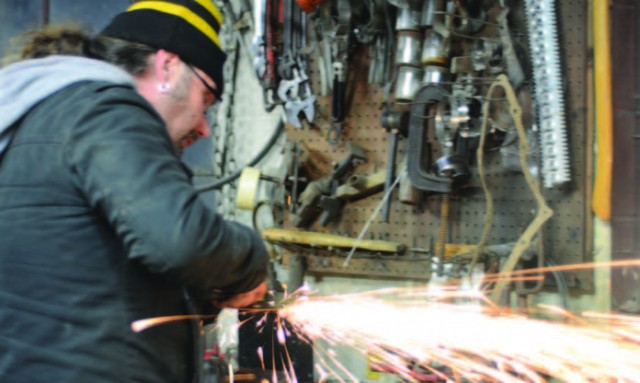
Using an electric angle grinder, the corners are rounded off and the drilled holes are deburred before we mock up the fixture plate.
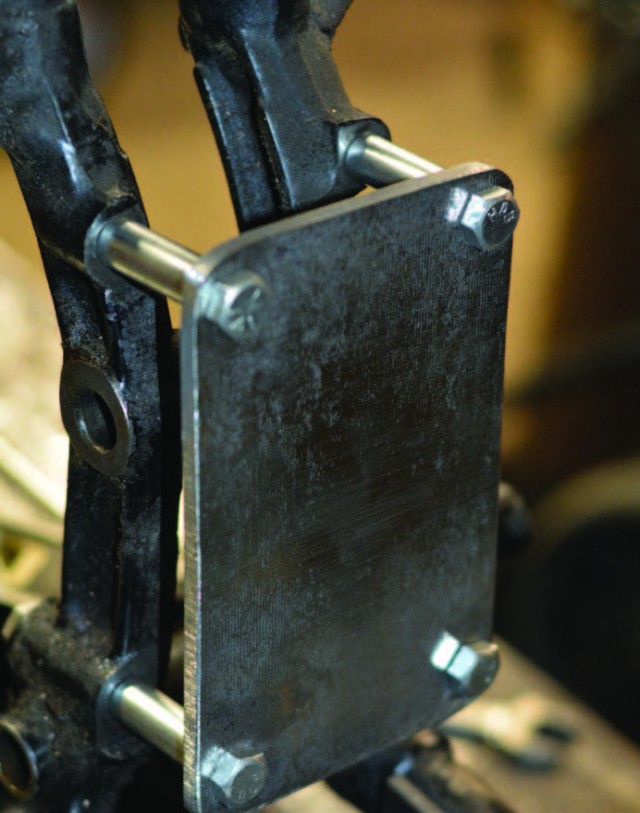
With matching spacers we fix the plate to the stock frame.

With the tight space we have between the rear of the frame and our frame tube lock down bars, we see we have to cut away some of our upright to make it fit the angle of the motor mount plate.
We use the same 2 inch by 2 inch angle steel to mount our upright to the main rails of the jig.
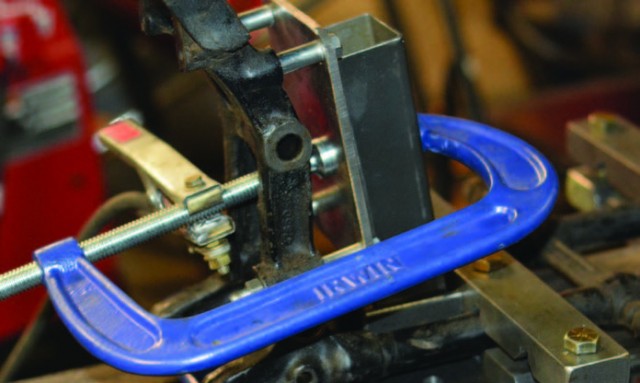
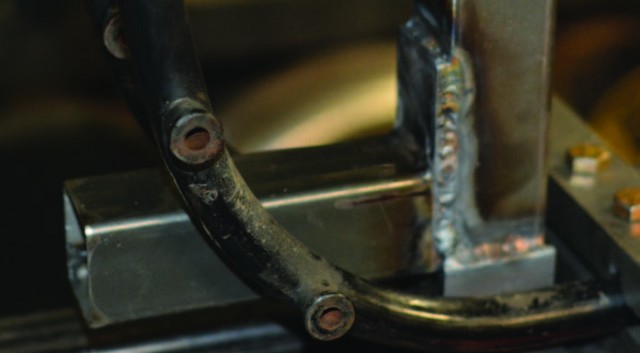
With everything clamped in place nice and tight, we tack weld it all in place. Before anything moves we scratch location lines on the main rails of the jig to locate the position of the upright mounts.
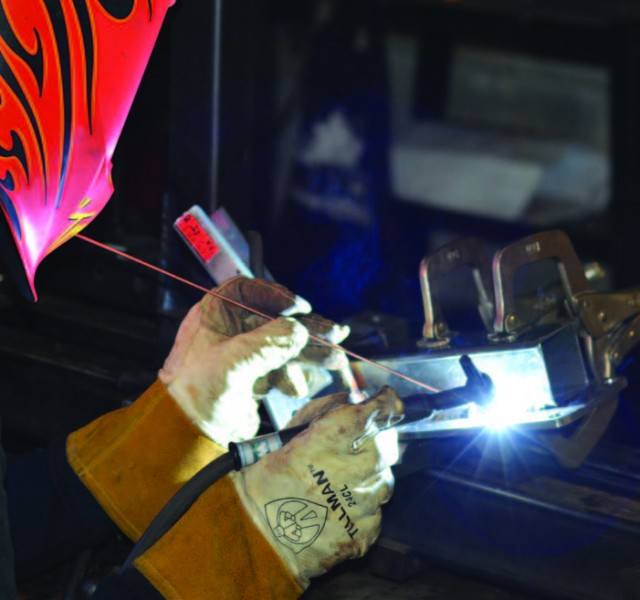
We disassemble the jig again and do all the final welds on both front and rear uprights.
Our old friend the transfer punch in use again, this time to mark the location where we will drill through the main rails to mount the uprights.
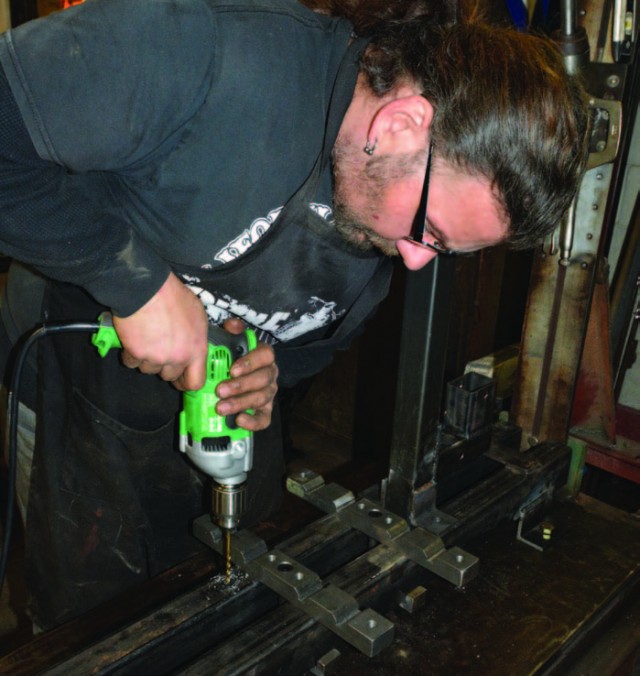
It would probably be far better to use a magnetic drill press here but we do the best we can to keep our electric drill straight as we make the holes needed to mount the uprights.
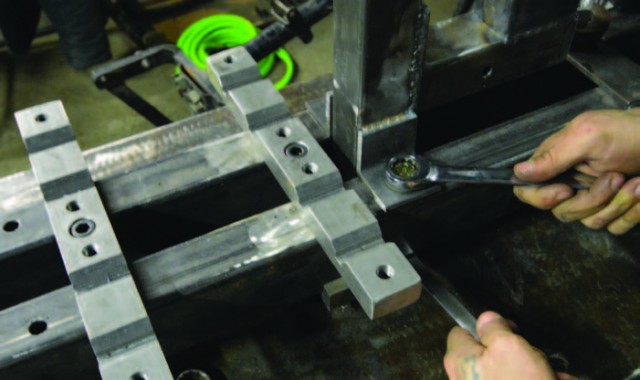
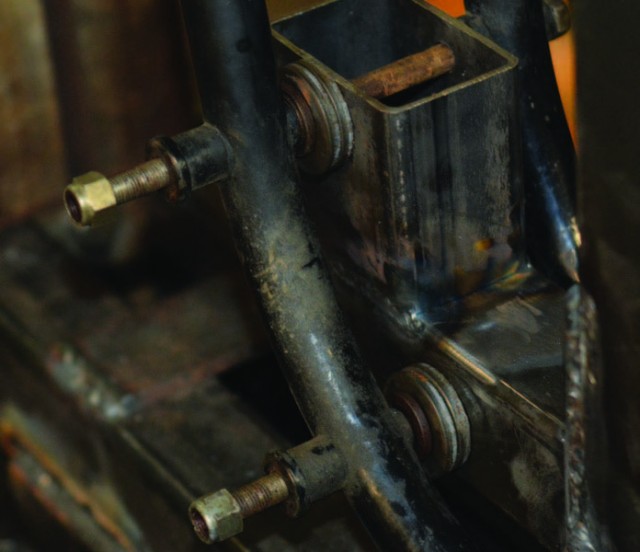
Using grade 8 three and one half inch bolts, we attach the uprights to the rails.
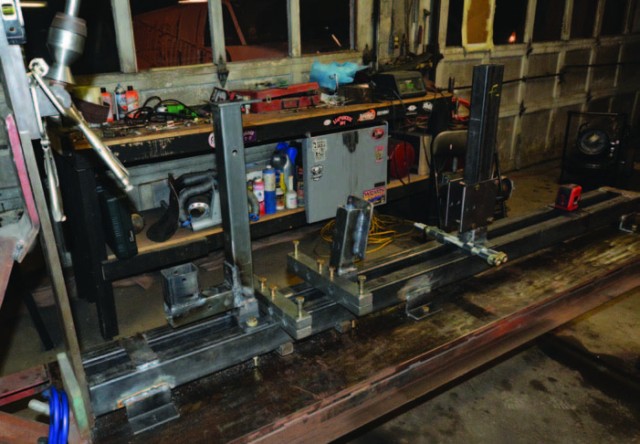
All the fixture work complete, we are ready to get to work on this Ironhead, and any other that comes along after it.

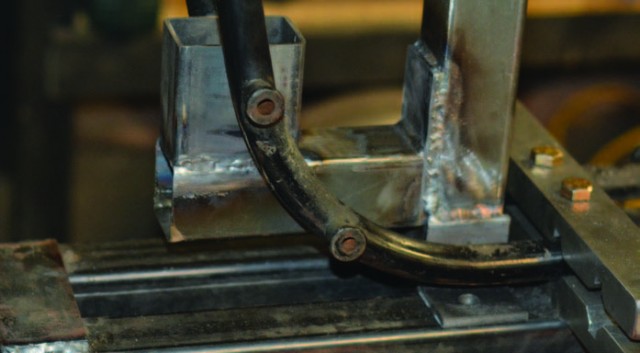
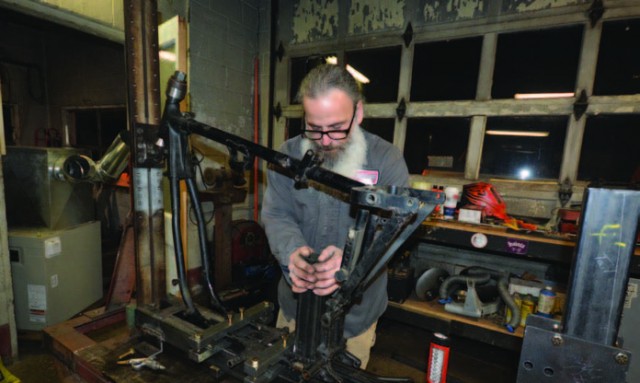
We slide the stock frame over the new uprights, the rear has to be put on as the frame goes on.
Next we reinstall the frame rail lock down bars.
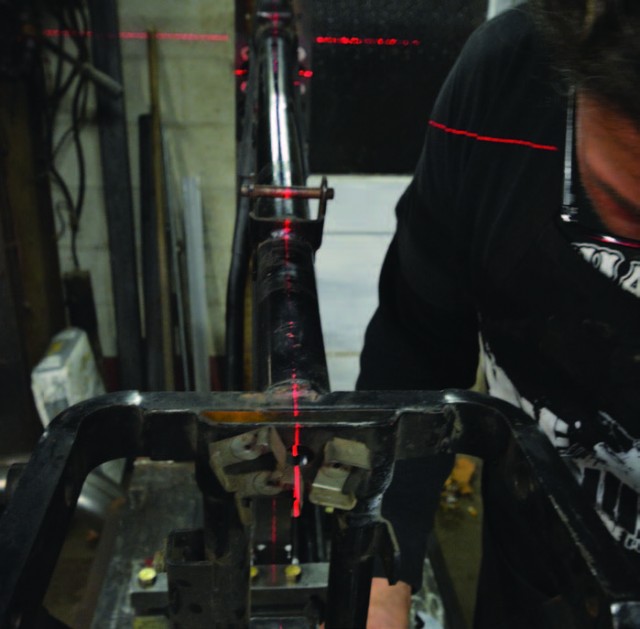
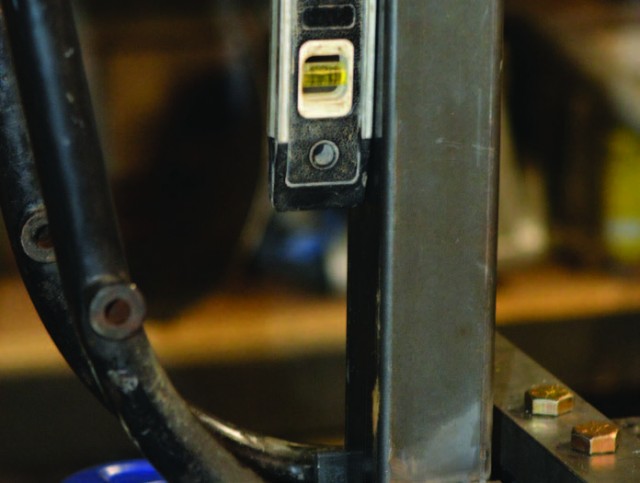
With everything in place and tightened down we run our line level to see what we have as far as alignment and to our extreme relief it’s dead nuts. At this point we are about $450 into building this jig and now ready to cut this frame and install the Led Sled hard tail kit. Right after that we will be moving on to making big twin uprights so we can work on the stainless steel frame again. Stay tuned and watch for all this in video format on cyclesource.com
This post is sponsored by:


