


Article And Photos By: Daniel Donley
Originally Published In The May 2019 Issue Of Cycle Source Magazine
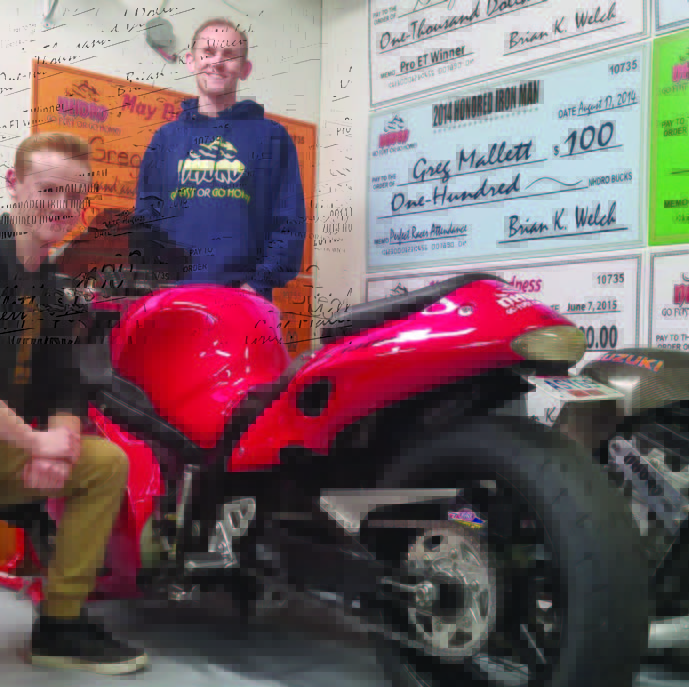
A local kid named Evan comes from a family of drag racers. The family has been drag racing and street racing for over 40 yrs. It was only natural that when Evan came of age, he made his first pass down the track. Evan, now 17, has over 200 passes under his belt and is showing that he is going to be a force to be reckoned with. Greg, Evan’s dad, recently picked up his first Harley and has been enjoying cruising it around. Obviously coming from the drag racing world and taking care of the drag bikes his family is naturally on top of all maintenance and repairs that those bikes need. Since this is Greg’s first Harley, he knows that they are a different breed than the bikes they are used to. Greg hit me up one night with an issue of the intermittent throttle sticking. While talking with him I knew it would be a great tech article, so I headed over. There was young Evan showing much interest in learning, so I told him he was going to learn how to fix it himself! He jumped right in. With the later model Harley there is a lot going on in the throttle control assembly that could cause this. So this month’s tech I am going to show some things to look for and how to fix them.

For the Harley there are many aftermarket accessories available. Some of them are good, some of them are not. Handle bar grips are part of that equation here. You definitely get what you pay for. The problem here is the throttle is sticking intermittently close to wide open and not wanting to return. In the wrong situation this could be very bad. So, let’s get this thing torn apart to see what’s going on. We will let Evan do the wrenching, so he gets some hands-on experience.

For starters, we grab some basic tools that we know we will need for this task. Torx bits, cable lube, sandpaper, and red scotch brite pad. While we are getting things started it’s a good idea to cover the gas tank when doing any work above it. Better

to be safe than sorry. Evan knows what will happen if he scratches his dad’s bike!

Here you can see Evan is pulling back the rubber sheath that protects the throttle and idle cable adjusters. Start by loosening the jam nut on

each cable, then screw the adjuster to the point of no thread showing. This will put slack in the cable. We had a stubborn one here where the adjuster had corroded. To free it up, give it a couple sprays of penetrating oil and use vice grips to grab onto the cable lightly. Carefully work the adjuster till it is freed up. Yes, this is a little brutal, but it works.

With the throttle and idle cable slackened you can now remove them from the throttle housing typically with a wiggle and tug they pop right out. But here again I have found with lackluster quality cables it typically takes more than a wiggle and a tug…

Now it is time to remove the switch housing fasteners and brake lever clamp. But before we do that, I like to use a piece of tape and marker to mark the current position of the master cylinder and switch housing. This will allow you to put everything back to its original position. Once this is marked, you can remove the

fasteners from both. At this point everything comes apart at once, an extra set of hands is helpful here

Make sure you have your gas tank protected.

Now you can remove the little brass throttle and idle cable ferrules, from the throttle grip. With good quality components these will typically be easy to remove. That is not the case here and they were very stubborn. The brass ferrules are a separate piece from the cables so be careful not to lose them.

While removing the throttle grip Evan noticed right away that there were some burrs and heavy rub marks on the throttle tube assembly. Good

eye Evan! This here is the issue that was causing the throttle to stick. The throttle housing was rubbing on the tensioning foot inside the switch housing. A lesson learned here. Next time you’re shopping for throttle grips remember that you get what you pay for!

Evan was concerned that we needed to buy a new set of grips… I said “Well… kid let me give you a lesson on the “art of how to polish a turd.” Just about everything can be fixed with a little effort and elbow grease. We took some fine grit sandpaper

and removed the burrs from the throttle grip and any sharp edges. Just a little at a time here, no need to get crazy. With a quick test fit we found we needed to remove just a touch more. Now they are fitting properly. Typically, anytime I remove the handgrips from any motorcycle I like to polish the surface on the end of the handlebar to make it super slick. Evan used a red scuff pad to remove any goo or grime and it gave it a nice smooth surface

While we were in this far, it’s a good idea to lube the throttle and idle cables with a good quality cable lubricant. I like to lube and work them back and forth a little then lube again until you have smooth action of the cables.

There is a dimple in the bottom of the handlebar. This dimple makes a passageway for the switch wiring to pass through. If careful attention is not paid when reinstalling the brake master cylinder clamp this wiring harness can get pinched in between

the clamp and master cylinder. I like to take a file and knock this edge off the clamp. It will give the harness a little extra bit of room as it passes through. If you pinch this harness you can have many wiring issues. The company later figured this out and actually did this modification to the clamp straight from the factory. A quick touch up with a black paint marker and now we are ready to go back together.

Ok, so the next part is putting this all back together. An extra set of hands will make this a lot smoother. There are a lot of things going on and attention needs to be paid to every

detail. You will be installing the grip, throttle, brake cable, master cylinder and switch housing all at the same time. You will want to make sure you are not pinching the wiring harness. Be sure that the brass ferrules and throttle and idle cables are installed correctly. It is VERY important when you are putting this all back together that you apply the hand brake when installing the switch housing and master cylinder. If you DO NOT you WILL break the brake light switch that is in the hand control. Do NOT forget to do this! If you do forget to do this the first time you pull the brake handle you will hear a POP and that sound is typically telling you that you just broke your brake light switch and replacing that is not a fun job… The key thing is to take your time and pay attention to every detail Do NOT FORCE anything together. You can use the piece of tape and black sharpie marker to return this assembly back to its original location.
Before I go any further, I check the movement and feel the throttle all the way to wide open. Yes, I know the cables are not adjusted yet, but I would rather see a potential problem now than later. I advised Evan how to adjust the throttle and idle cables, mind you hear I am not a factory Harley tech this is just how I do it.

We adjust the throttle cable first by unscrewing the adjuster to expose some threads. Keep adjusting until you can achieve wide open throttle with the hand grip. Do NOT ADJUST any further than you have to. Next, we can adjust the idle cable but wait… you will notice that when you grab the throttle grip there is a lot of back and

forth movement. We will use the idle cable to take out this back and forth movement. I typically shoot for about and 1/8th to 3/16ths of throttle grip movement. You MUST have some movement here, if you have NONE the idle cable is too tight. Now you can lightly tighten the jam nut to the adjuster. Now check to see that you can achieve full throttle in different locations ¼ turn, ½ turn, ¾ turn and make sure the throttle will snap back on its own. You may need to go back and adjust the idle cable a bit to make sure the movement remains

There you have it…. Some DO’s and some DONT’s…. Out of curiosity I asked Evan what he thought about working on a Harley and he was quick to respond. He said they are much more difficult to work on than his drag bike. I just laughed… It’s awesome to see young guys showing enthusiasm and interest in this motorcycle world that we live in. We need more young kids like him to keep our motorcycle community alive. So, next time your wrenching and that cocky ass little kid walks by your shop maybe you should holler at him so you can show him and explain what you’re doing and why. You might spark the interest of one new motorcycle enthusiast. This year is my 8th year writing for Cycle Source and my 98th tech article so if there is something that you would like me to do a Tech article on please call me or email me with your idea. If you have any questions, please feel free to call me at the shop anytime 419-576-6812
Daniel Donley, Pandemonium Custom Choppers
Facebook- Pandemonium Custom Choppers
Instagram – pandemoniumc2
nfo@pandemoniumc2.com
pandemoniumcustomchoppers.com


