


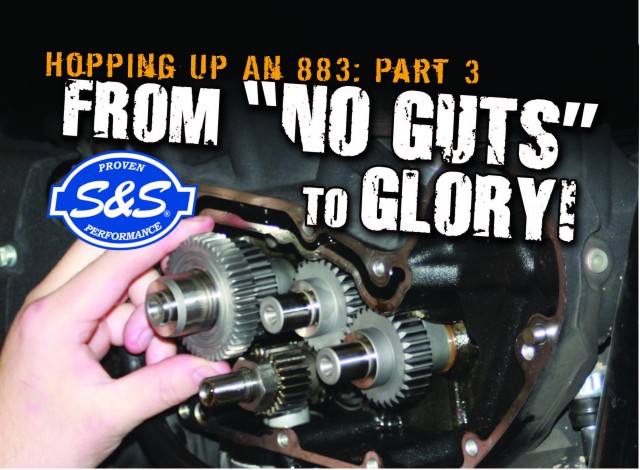
Part 3
Article And Photos By: S&S Cycles
Just in case you’ve missed the first two articles in this series, here’s what’s happened to date. We took Ryan Wessel’s totally stock 2009 Harley-Davidson® 883 Sportster® into the shop as a guinea pig to work out the best steps to hop up these economical but performance challenged bikes. In the first step, we installed a set of S&S slash-cut slip-on performance mufflers and an S&S Stealth air cleaner with an Airstream cover. We also loaded one of our free EFI tune files into the ECU with a DynoJet® Power Vision Tuner. This got us an 11 horsepower improvement from 45 to 56. The second step was to install an S&S 883-1200cc Conversion Kit, a set of S&S Quickee Adjustable Pushrods, and another of our tune files for the Power Vision. That brought it up to 68 horsepower.
So where do we go from here? This month, we’re going to install a set of S&S 482 bolt-in cams and go for some more horsepower! Installing a J set of bolt-in cams isn’t something a person with no mechanical experience would want to tackle, but it’s not really that hard. The first step is to remove the stock cams. We made that easy for ourselves last month by installing a set of S&S Quickee Adjustable Pushrods when we had the topend apart to install the 883-1200cc Conversion Kit. The Quickees can be removed and installed without opening the rocker covers and removing the rocker arms. Since the S&S 482 cams are truly bolt-in, you could use the stock pushrods to try to save some money on parts, but the cost of the labor, mucking about with the rockers, would just about pay for the Quickees. Gotta love a Quickee!
With the stock cams removed, we inspect the cam chest to make sure everything is OK. Since this bike has so few miles on it, everything is in cherry condition. We’re using this bike as a lab rat and since we know it’ll be apart again soon for another cam change, we are reusing the stock tappets. So we just lift them and hold them out of the way with magnets. Normally, we install a new set of tappets with a cam change. We reused these only because we’re going to install a different set of cams very soon — in the next article. Rest assured that when we install the final set of cams, and are done abusing Ryan’s bike, we will install a set of new S&S Premium High Performance Tappets. At which point he can abuse it on his own.
Installing the new cams is as simple as plugging them into the bushings in the crankcase and lining up the timing marks. Using boltin cams means that we don’t have to worry about clearance between the crankcase and the cam lobes, or exceeding the lift capacity of the stock valve springs. Not having to check any of these clearances or replace any other stock components can save you a ton of cash in parts and labor.
The engine was back together and ready to run, but the fuel system was not. Before we even started it up, we connected the Power Vision Tuner and loaded a tune file for this engine configuration. It takes less than five minutes to do. These files are available for free download from the S&S Website at www.sscycle. com/tune-files/power-vision/. The dyno showed that we had gone from 68 to 71 horsepower and from 71 to 74 ft-lb of torque. Enough tech talk, what does all this mean to the guy twisting the throttle? When Ryan threw a leg over his bike and hit the starter, the difference wasn’t really apparent until he had it out on the track and had it wound up to about 90 mph (the bike doesn’t have a tach). “It just seems like when you get it up into the higher rpms the power band is just a bit smoother and it’s extended. It just keeps pulling,” explained Ryan.
He also commented on the clutch modifications we did last month when we installed the S&S 883- 1200cc Conversion Kit. “The clutch is more positive now. It’s not mushy at all…it just takes off.” And the final comment sums up the whole point of the project. “It’s just a lot of fun to ride!” This was step three in our quest for more performance. Next month, instead of going to a fourth step, we’re going to back up to Step 2 and do a side step, a different line of evolution if you’ll pardon the pun. We’re going to experience the new S&S 1250cc Conversion Kit, 600 cams and CNC ported heads. More Power!
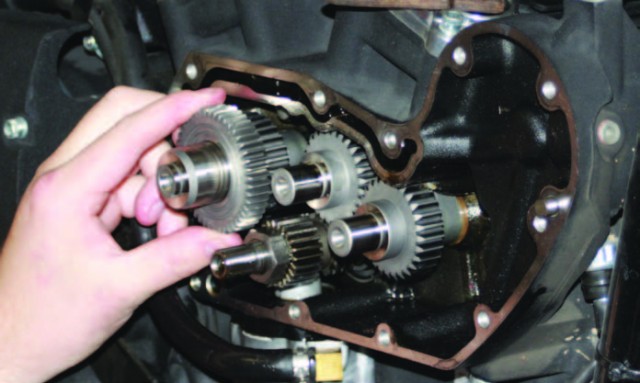
Cams #1, #3, and #4 were installed first. Cam #2, the one that engages the pinion gear, is held in place, but not installed yet. The crank and the #1, #3, and #4 cams are rotated so the timing marks on the pinion gear and #1 and #3 cams line up with the marks on the #2 cam. When all is aligned, the #2 cam is installed. This is SOP for all Sportster® model cam installations.
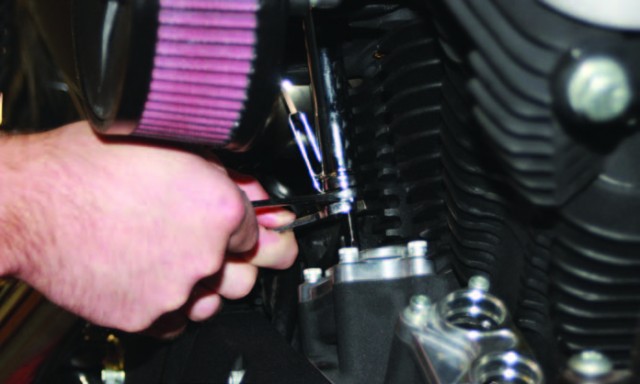
Next, the S&S Quickee Adjustable Pushrods are reinstalled and adjusted so the lower ball end is just touching the cup of the lifter. Then the adjustor screws are turned to lengthen the pushrods 4 turns, or 24 flats of the adjustor, and the lock nut is tightened. Now we have to wait for about ten minutes for the tappets to bleed down before we turn the engine again to install and adjust the pushrods for the other cylinder.
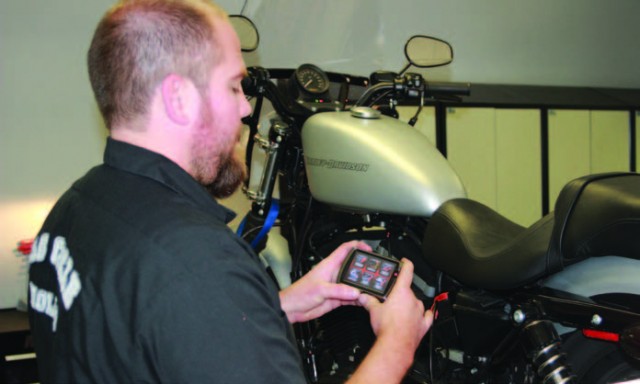
We used the Dynojet® Power Vision® tuner to load one of the free EFI calibrations from the S&S Website into the stock ECU. Older bikes with carburetors will need to be re-jetted.
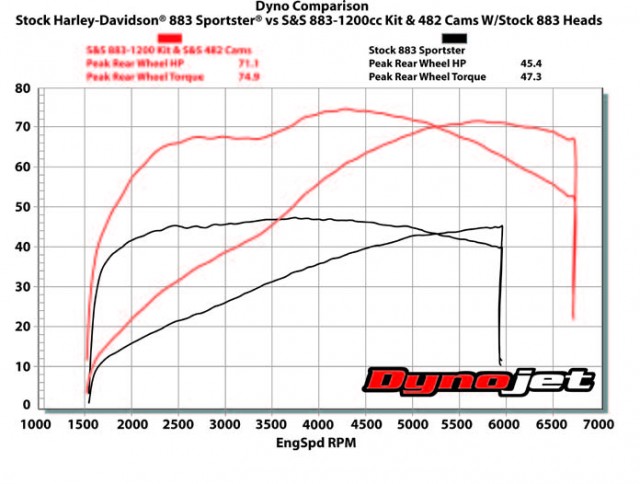
This dyno chart from our Dynojet® 250i chassis dynamometer shows the stock 883 baseline for comparison, in black, and the same bike with the S&S 883-1200cc Conversion Kit and 482 cams. Some serious bang for the bucks! Notice also all the additional area under the curves that increasing the rev limit provided. Ryan said it just kept pulling and that’s why.


