


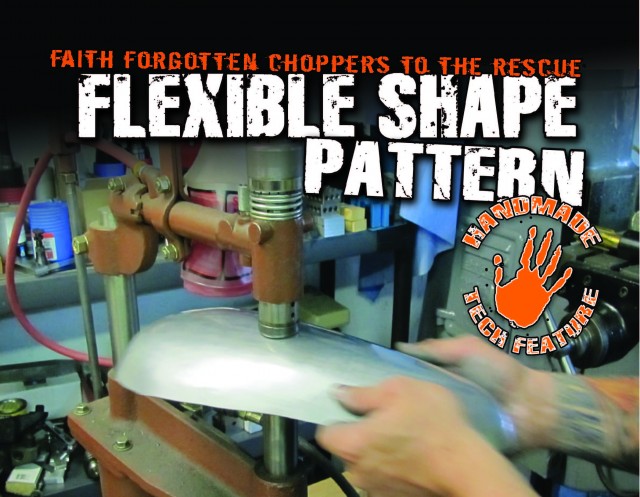
Article By: Will Ramsey – Faith Forgotten Choppers
Originally Published In The January 2013 Issue Of Cycle Source Magazine
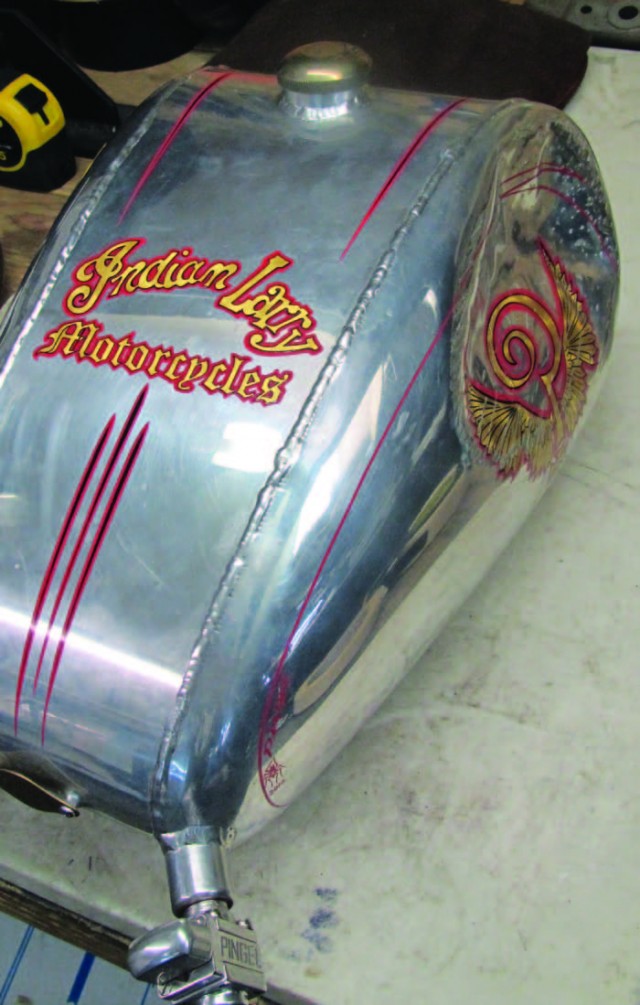
October, Bobby Seeger (Indian Larry Motorcycles) asked me to fix a polished aluminum gas tank that had been damaged in a wreck. We determined that the best course of action was to completely replicate the tank. I was thrilled to discover that the tank had originally been designed and built by Lock Baker (Eastern Fabrications). Lock has a very artistic eye and has built some incredible gas tanks which capture very unique shapes. It is an honor for me to replicate one of his tanks. Replicating a tank is much more difficult than simply “freestyle” fabricating a one-off tank. When banging out a new design, it tends to be a combination of control and acceptance. You push the metal toward the shape you have in mind and accept the final product. I often say that a tank built in I Article By: Will Ramsey – Faith Forgotten Choppers this style “builds itself.” The process of replicating a panel, either from an existing tank or from a three dimensional model, demands a much more deliberate process from the craftsman. The panel must be patterned, read, and replicated to near perfection. In the case of a polished aluminum tank, the stakes are even higher since every detail is magnified by the polished surface.
This first tech article will demonstrate how to make and use a Flexible Shape Pattern in order to replicate the side panels of this aluminum tank. For this tank I have chosen to use American made .080” 3003 H14 aluminum. 3003 aluminum is easy to work and will polish to a bright finish. We will dive deeper into the metallurgy of aluminum alloys next month when we discuss welding this tank. For now let’s focus on patterning and replicating the side panel, and remember, the devil is in the details.
The damage to the right side of the tank is extensive so the pattern must be made from the left side of the tank.

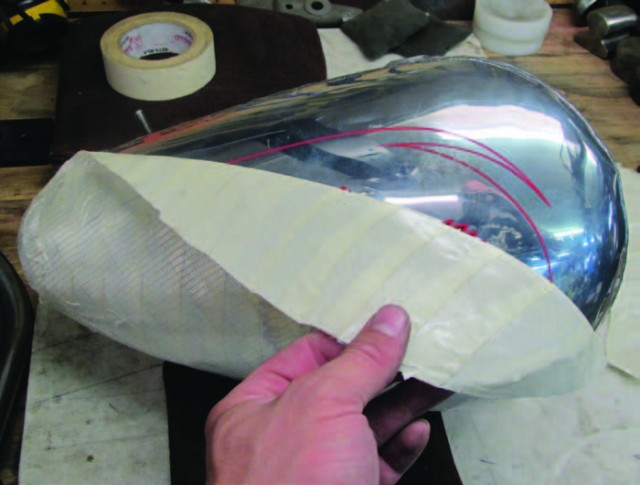
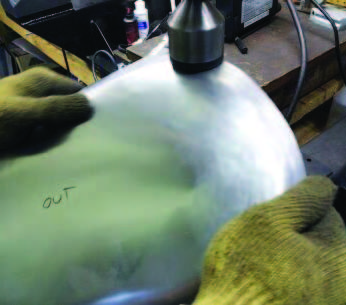
Using low tack masking tape, the panel is covered in overlapping sections. The overlaps should be approximately ¼” and kept equal across the panel.

If the tape is laid down carefully, then the creases will indicate the areas of metal that will need heavy shrinking to obtain the proper shape.

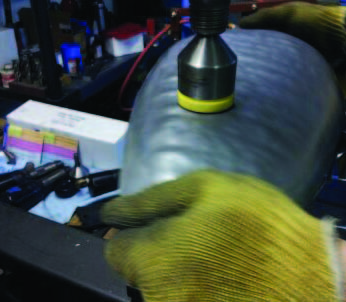
Reinforced packaging tape is laid down at an angle to the masking tape. Again, the overlaps should be consistent and the folds in the tape will continue indicating the areas that will require shrinking. A razor blade can be used to cut the pattern along the edge of the weld seam. An accurate cut line in the pattern will prove useful in marking the final trim line of the shaped panel.
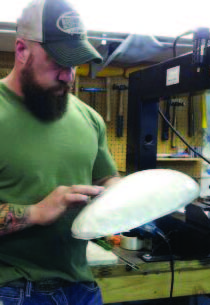
The low tack masking tape allows the flexible shape pattern to be easily pulled away from the original panel.
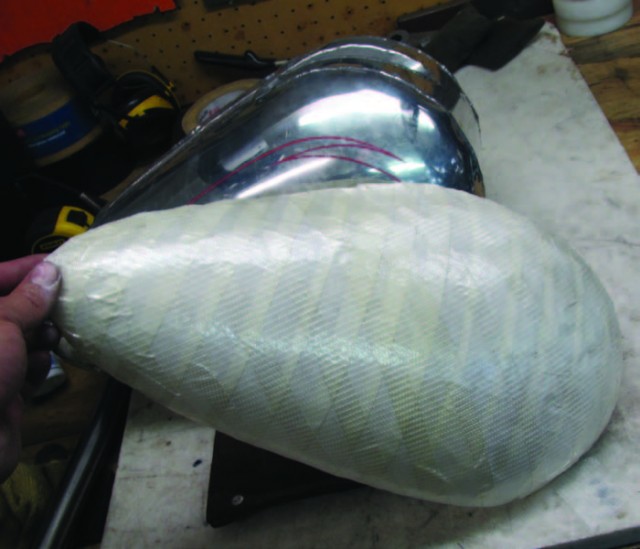
When held unsupported, the pattern maintains the shape of the panel and will be easier to read than a basic paper pattern which tends to collapse when not supported by the panel. A light dusting of powder will neutralize the sticky tape, allowing the pattern to be handled easily.

The pattern can be flattened out on a piece of aluminum and traced for a cut out. It’s a good idea to leave about ¼” inch of extra material.
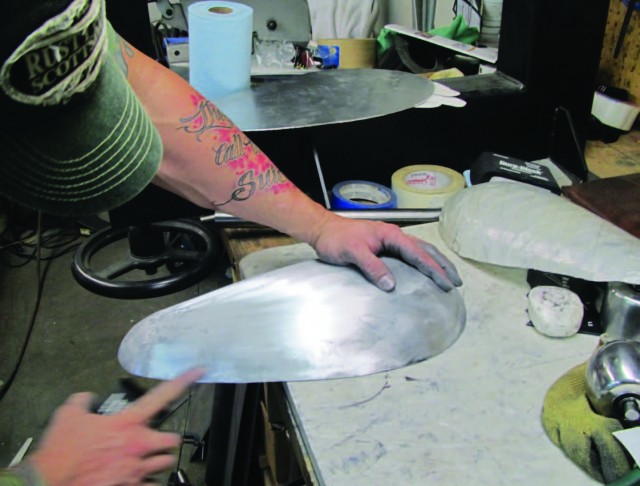
Once the blank has been cut out, the power hammer is used to accomplish some serious shrinking. This can be done by hand but will require that the aluminum first be annealed. The power hammer possesses the ability to shape the aluminum in the H14 (half hard) tempered state, thus maintaining the strength of the material.
After the shrinking has framed in the panel, the center can be raised using a rubber head on the hammer. This is similar to using a hand held mallet and sandbag, only much faster.
A few planishing passes with a steel head on the hammer brings the surface to a smoother finish allowing the pattern to be used to assess the shape.
By laying the flexible pattern on the panel, the low areas (which need more shape) can be found by simply pressing down on the pattern. The ability to read both the pattern and the material will develop over time. Practice and patience are valuable traits in metal shaping
Since this tank is to be fully polished, the English wheel is an excellent tool for finishing the panel. If the wheels are made of hardened polished steel and well maintained, they will transfer a mirror like finish to the aluminum. Most importantly, the wheel will remove any remaining hammer marks. Care must be taken not to over stretch the panel at this point.

The small CP style planishing hammer can be used to pick up any remaining low areas in the panel surface.
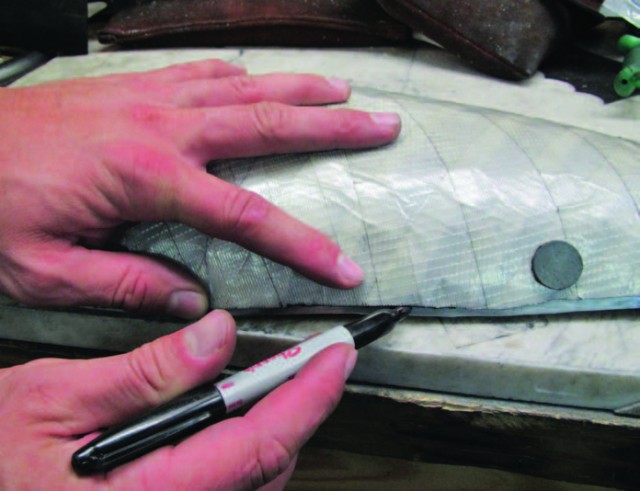
The flexible pattern is laid on the panel to ensure that the proper shape has been obtained. Then the final trim line can be marked and cut with hand snips.
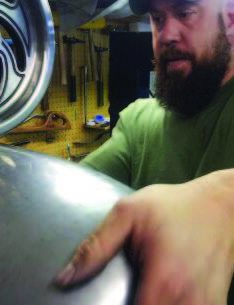
Once the shape has been replicated, the form of the panel is simply manipulated by hand to match the original tank panel.
Finally, the panel is block sanded with 320 grit paper. This will smooth out the surface and illustrate any low areas which have been missed and may need to be addressed before proceeding. The flexible pattern can be flipped inside out to reproduce the right side of the tank using the same methods described in this article.


