


Article And Photos By: Daniel Donley
Originally Published In The February 2018 Issue Of Cycle Source Magazine
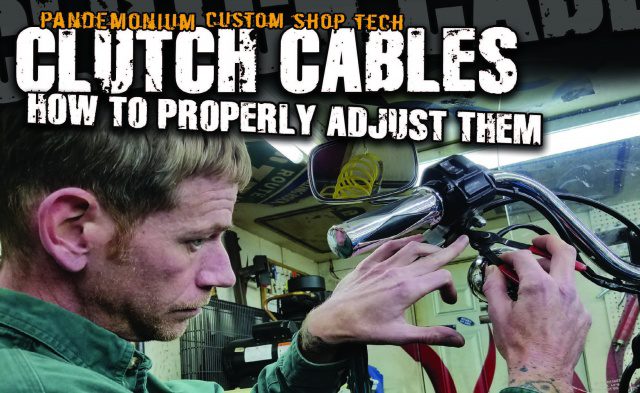
I was recently at an event and had the opportunity to speak with a lot of different motorcycle enthusiasts from sportbike to offroad and everything in between, and one question kept coming up was how to adjust your clutch and throttle cables. Well see, there are a lot of different ways to do a lot of different things. If the outcome is the same, it doesn’t matter how you got there. This month’s tech applies to most all motorcycles metric and American, some will vary but the concept is mostly the same. So, here is my take on proper maintenance and adjustment of clutch and throttle cables.
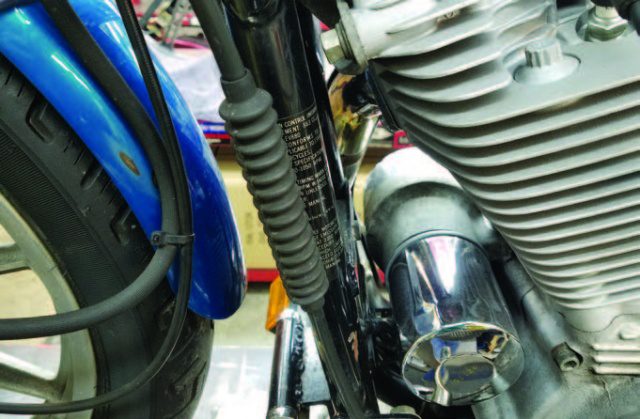
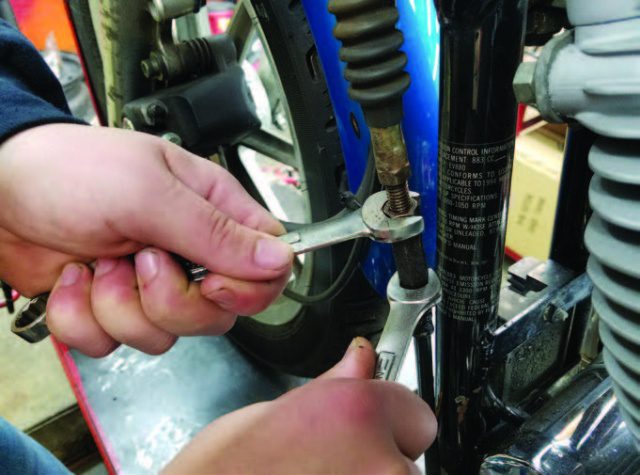
The bike in the pictures is a 1994 Harley-Davidson Sportster. Pictured is the clutch adjustment boot cover. This is to help protect the adjustment mechanism from weather. You will want to slide this boot in an upward motion, to uncover the adjustment mechanism.
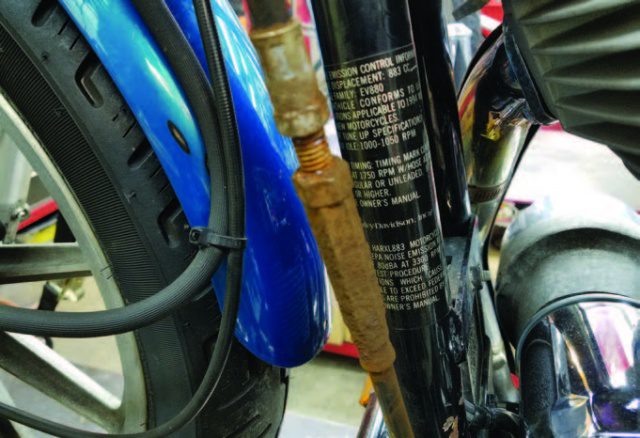
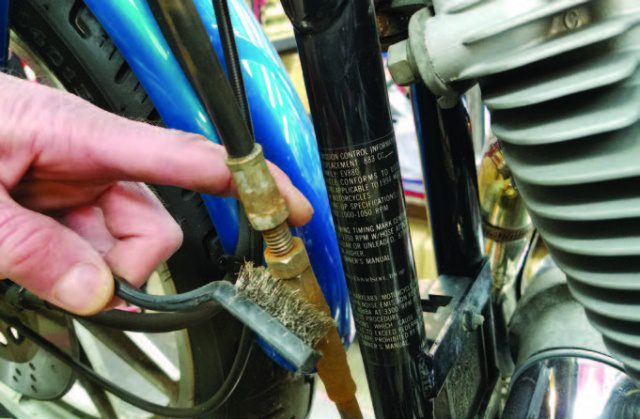
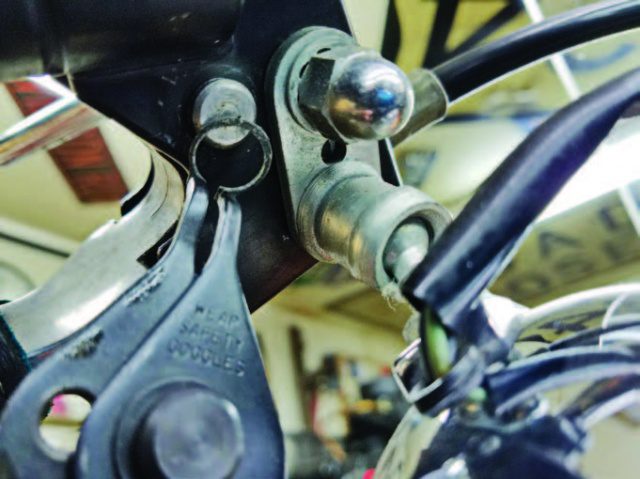
Here you can see that the clutch adjustment mechanism is heavily rusted. Definitely a lack of maintenance here… I use a small wire brush away as much rust as possible.
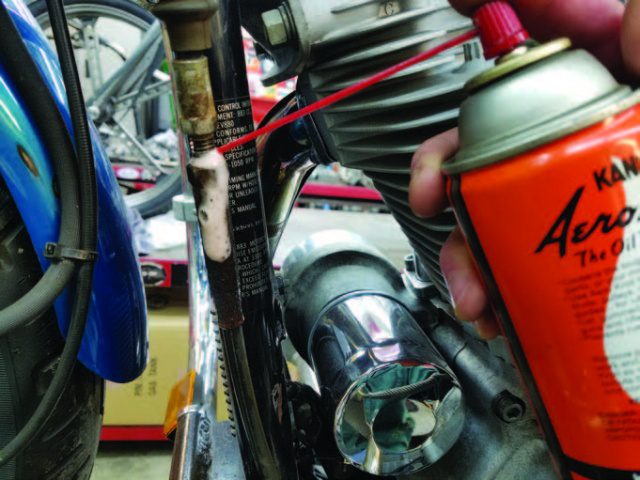
Obviously, the clutch adjusting mechanism was froze up because it was heavily rusted. So, a couple squirts of penetrating lubricant might get things freed up… You got about a 50/50 chance here. Sometimes they break, and you must replace the entire cable. Other times like this one the penetrating lubricant did its job and freed everything up.
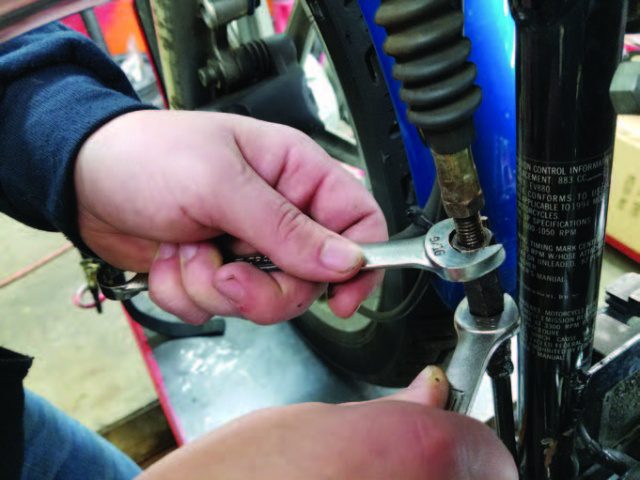
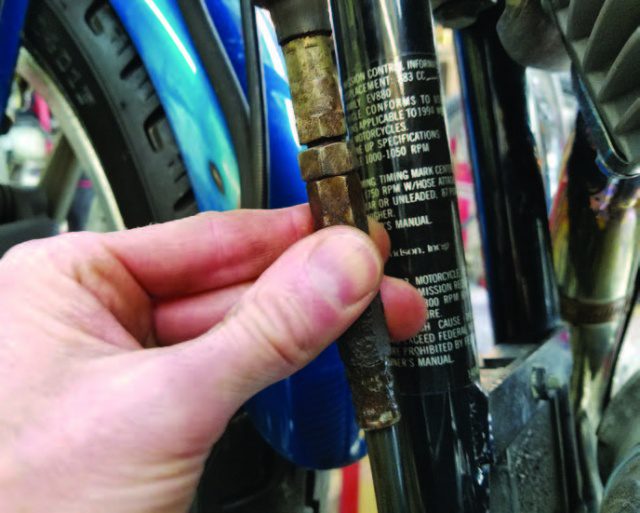
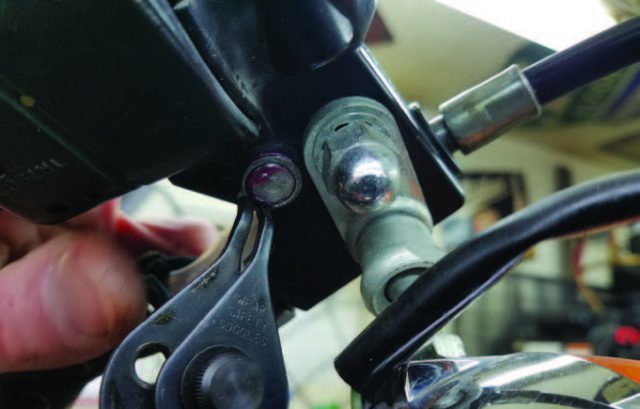
You will notice on the clutch adjusting mechanism that there is a nut that is jammed to the adjusting portion of the body. You will want to unjam this nut and screw the adjuster together. NO Threads showing. This makes the cable short.
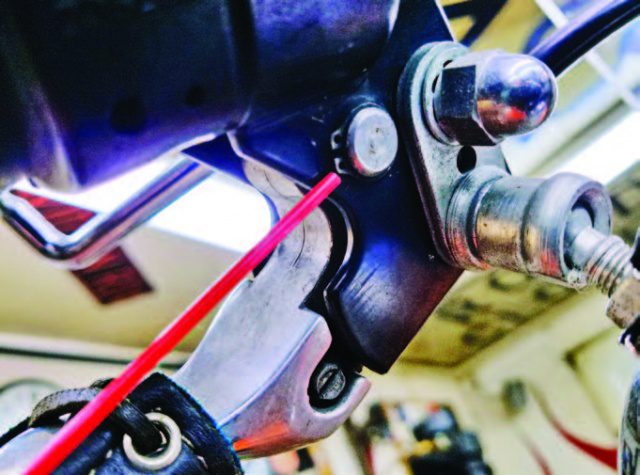
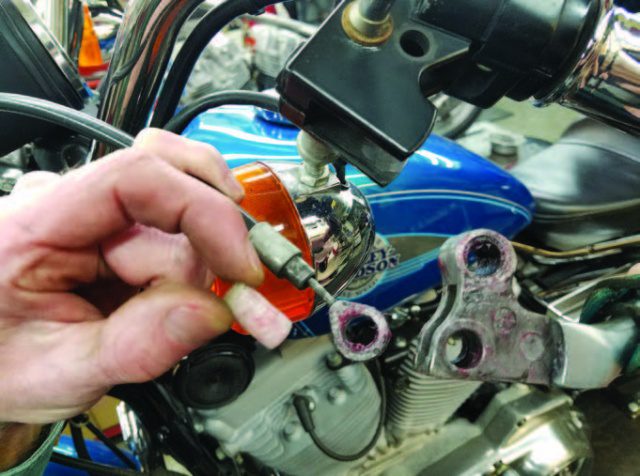
With the clutch cable being short there is now plenty of slack at the handlebar clutch lever. Different makes and models differ at the clutch perch. All the same concept though. On the Harley-Davidson, you will need to remove the external snap ring on the underside of the clutch perch. That retains the clutch lever pivot pin.
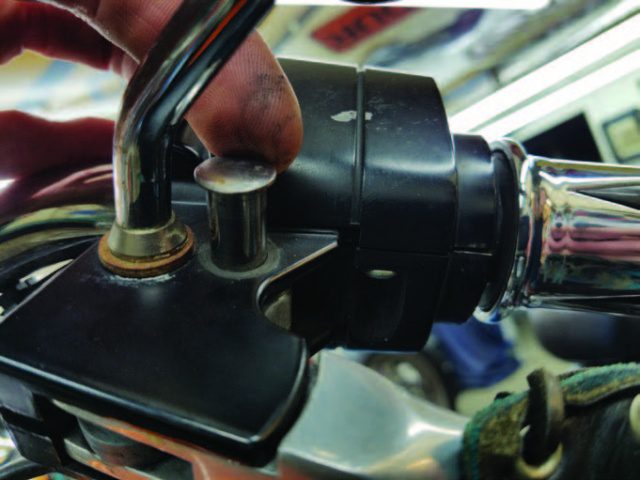
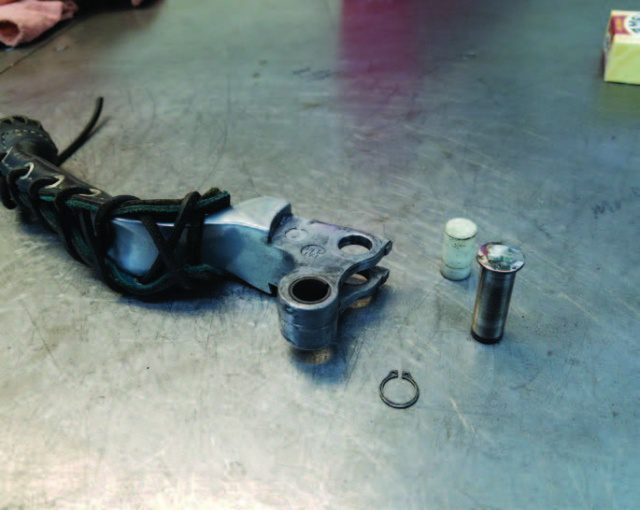
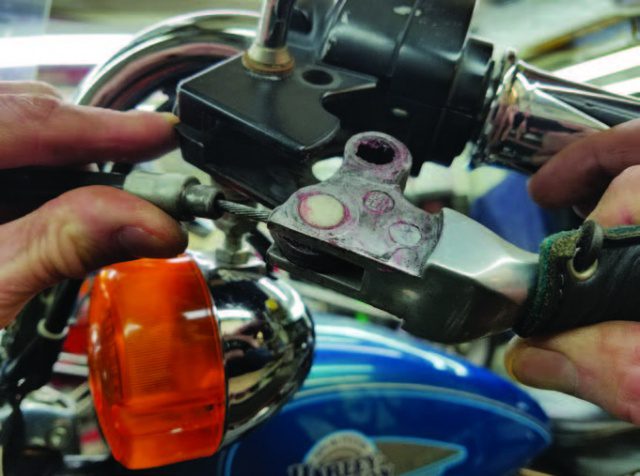
With the external snap ring removed you can now remove the clutch lever pivot pin and set it aside. Next, grab the clutch cable and pull it in an outward motion to remove it from the clutch perch. Now you can remove the entire assembly. There is a nylon pin that goes through the clutch lever and the cable eyelet you will also need to remove. As you can see it has been quite some time since this has been serviced.
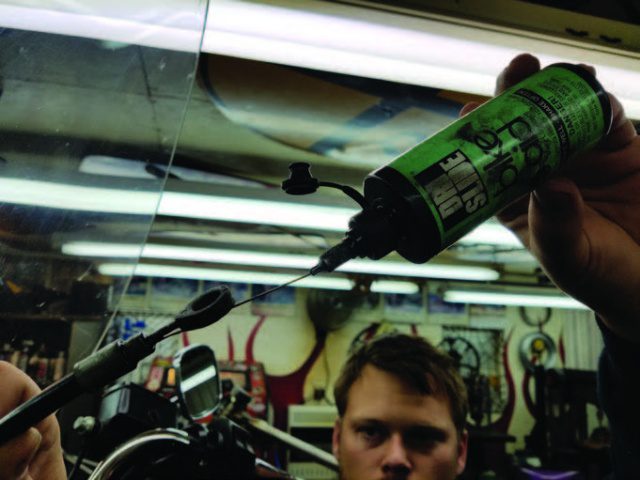
Now lube that clutch cable up and don’t be stingy here, lube that sucker up good. It is best to use a lubricant that is specifically designed for lubing cables. This lube works great for all cables. From your motorcycle to your kids’ bicycle.
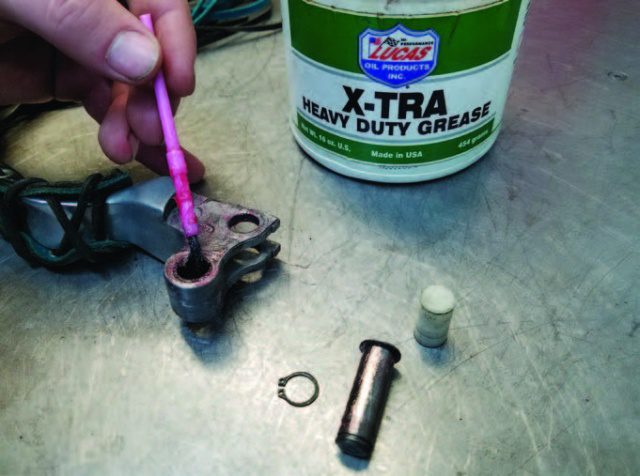
So, my opinion here if it moves… or pivots… or rubs… it needs lubricated. I like to use a heavy-duty grease here. This will help everything move as freely as possible.
Now that we have everything lubed up its time to put the clutch lever back into its perch. This is something I recommend being done at least on a yearly basis.
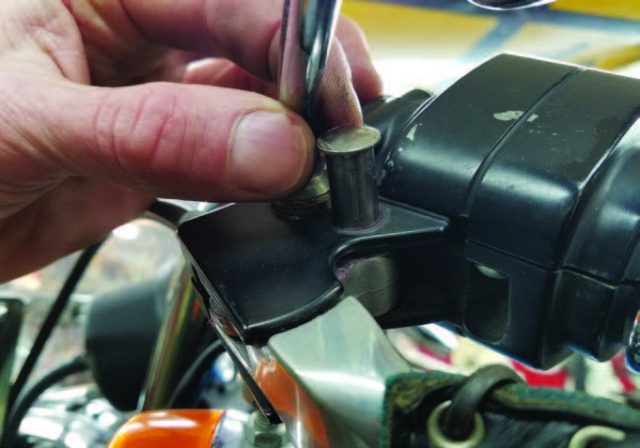
Reinstall the clutch pivot pin along with the external snap ring. Make sure the snap ring is properly seated in its groove.
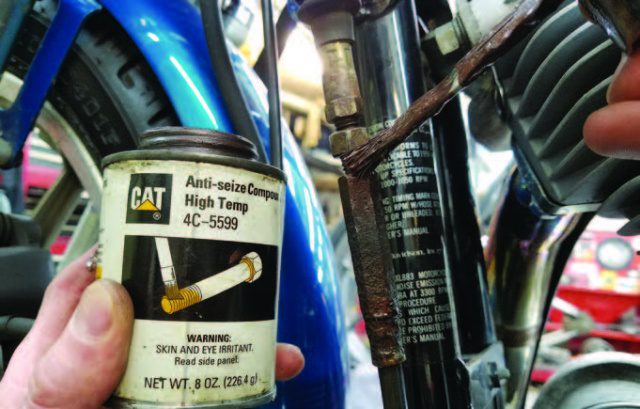
Now it’s time to adjust the clutch cable with the adjuster mechanism I like to use Anti-Seize on the threads and pivoting points. This will keep it from getting froze up down the road.
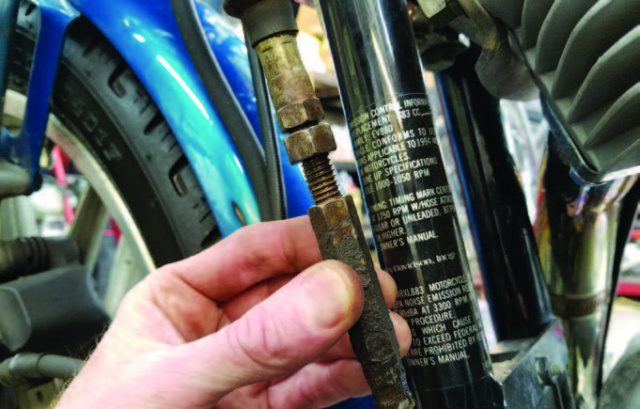
Start unscrewing the clutch adjusting mechanism to show more threads and this will make it longer. As you are doing this, you will notice that the clutch lever will start becoming closer to the clutch perch because you are taking up the additional slack in the lever.
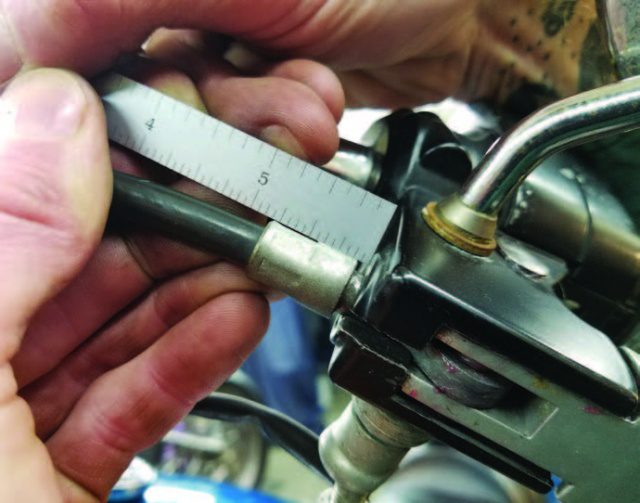
So, what we are doing here is setting the clutch cable free play you want this measurement to be approximately 1/16” to 1/8” this applies to most motorcycles. How I do, this is I pull outward on the clutch cable and measure the distance between it and the clutch perch. Then adjust the clutch cable adjusting mechanism to achieve this measurement. Less, threads showing makes it shorter being more free play, more threads showing makes it longer being less free play. Once you have achieved the proper adjustment, you can then lock down the jam nut on the adjuster. DON’T get crazy here as you can break the adjusting mechanism and then have to replace the entire cable.
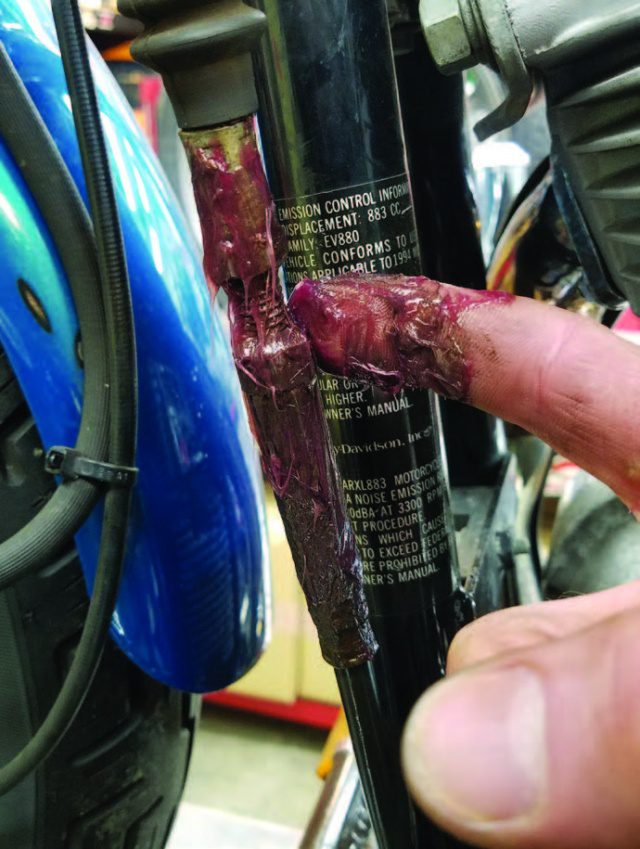
Maybe… it is just me being me, but now I like to smear grease over the entire adjusting mechanism before you slide the boot cover back into place. This way I will KNOW for sure it won’t be a rusty froze up mess the next time the cable needs adjusted! If there is something that you would like to see me do a tech article on call or e-mail me with your idea! If you have any questions, please feel free to call me at the shop anytime: 419-576-6812 Daniel Donley Pandemonium Custom Choppers info@pandemoniumc2.com or go to www.pandemoniumcustomchoppers.com


