Originally Published In The September 2013 Issue Of Cycle Source Magazine
Clutches can be easily overlooked as long as your adjustment is correct. We get on our bikes and as long as it’s working, away we go. Well, at least that’s what I do. I even learned that you should adjust your clutch every 5,000 miles. My clutch had been not “hooking” up; somewhat like that friend who’s hopelessly in love with a gal who never even looks his way. So, I decided at 60,000 miles on my ‘07 Street Glide to change the clutch out along with fixing a couple leaky seals. I really didn’t think my bike needed to mark its territory anymore. With the use of the products supplied from the kind folks from James Gaskets, Barnett Clutches and Cables, and the skillful, highly trained Harley Davidson mechanic, Wyatt from BC Cycles in Upland, CA., we (I mean Wyatt, but I did take pictures) got to work.
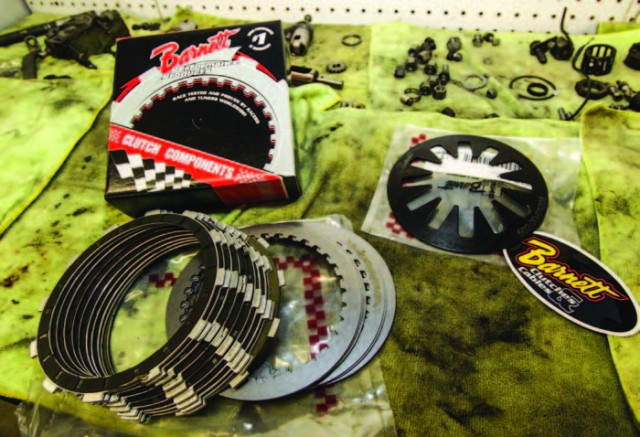
This is a great clutch install that anyone can do. Not only is it a simple and straight forward, it improves overall clutch performance. This is the Barnett Extra Plate Clutch Kit.
We used a 2007 Harley Davidson Street Glide for our install, but they sell this kit for all models. First we needed to get the right parts and then we needed somebody to install it. So we got our buddy Wyatt Chyrchel from BC Cycles in Upland, CA. to do the work.
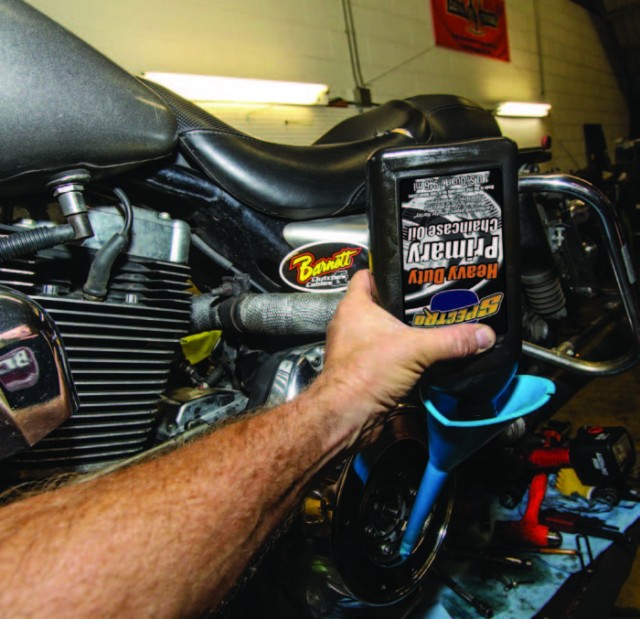
We got the Extra Plate Clutch Kit from our friends over at Barnett of course. This kit includes nine friction plates and eight steel plates, and adds 28% more surface area. We followed it up with a Heavy Duty Diaphragm Clutch Spring from Barnett as well. This is 20% stronger than OEM. Read the instructions from Barnett and get the correct primary fluid recommended for this install; it’s not your regular primary fluid. Also get a primary cover gasket for your year and model. With every install, if you happen to have a service manual for reference, that would be a good thing.
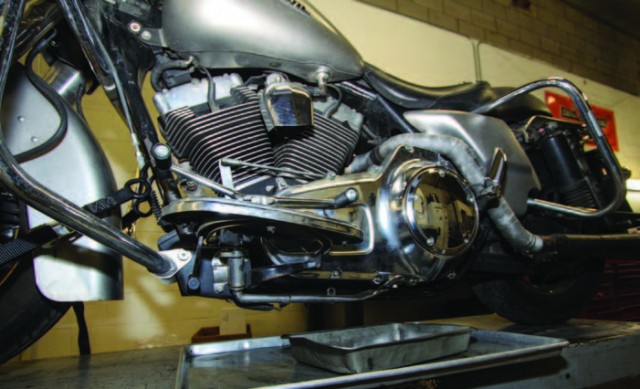
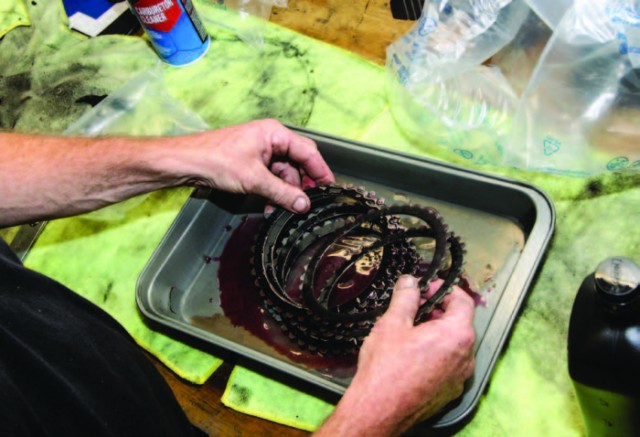
Let’s get this thing done. Disconnect the battery. The primary cover has to come off so drain the primary fluid. In this case, we also took the left side floorboards off, front and rear. Next, unbolt the primary cover. Put the bolts in the order you take them out. There are different size bolts. Take a second and layout the friction plates in a clean pan. Put a little recommended primary fluid in the pan so you coat the friction plates, but don’t drown them.
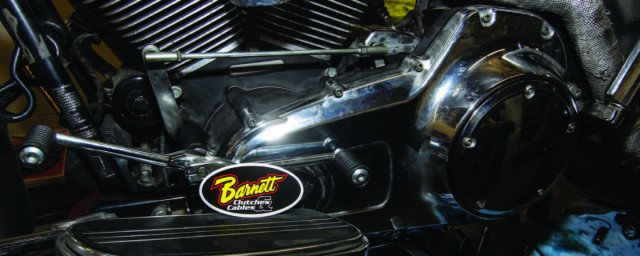
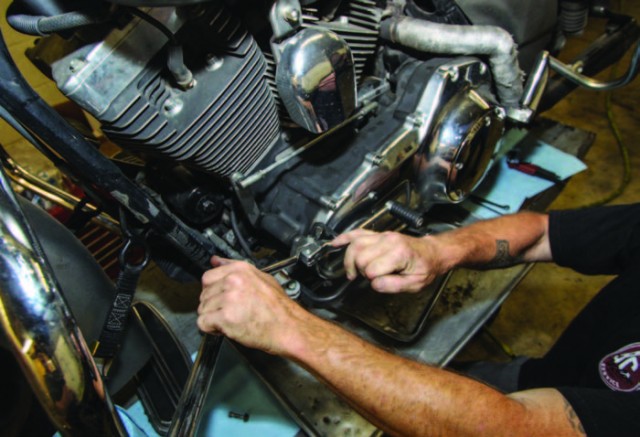
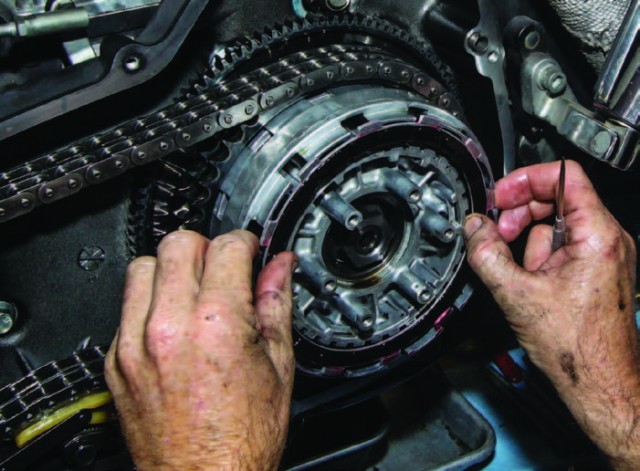
As you look at the clutch, unbolt the 10mm bolts that are holding the diaphragm spring down to the pressure plate. Unbolt in a cross pattern a little at a time to slowly relieve the spring pressure.
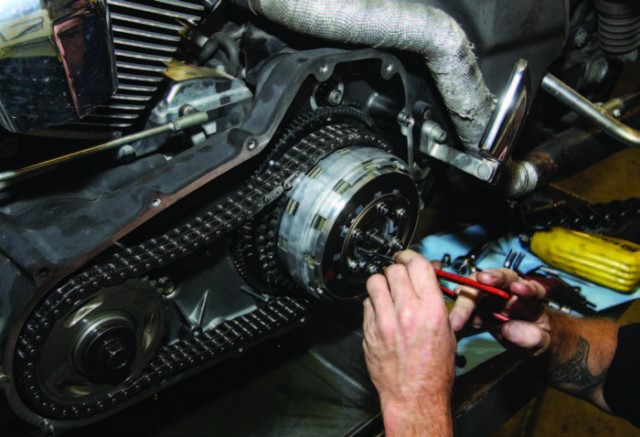
Once the bolts are out, take off the diaphragm spring, pressure plate,
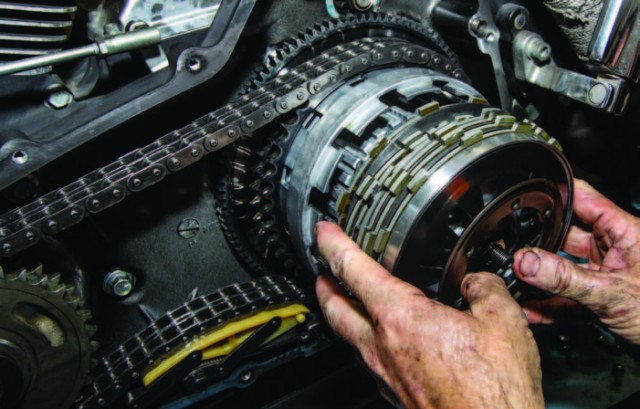
friction plates and steel plates. There will be two thin rings — one convex and the other straight. Leave those on the clutch hub, for they will be the last two pieces left. Reference Barnett diagram for proper order. This is when you need to stay true
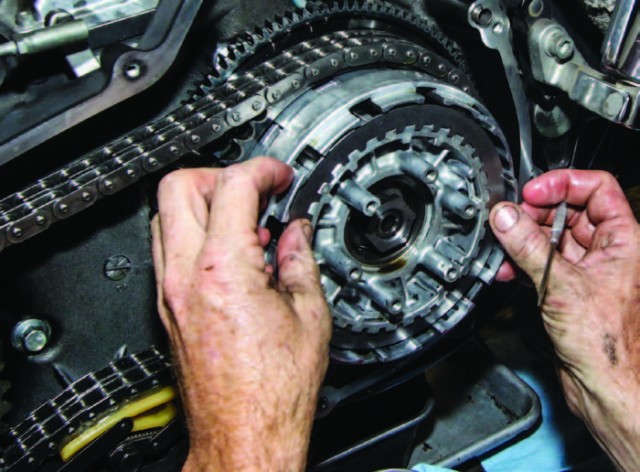
to Barnett’s instructions. There will be a thin friction plate that goes on the clutch hub first. Then you will stagger the steel plate and then friction plate until you use up all the plates ending with a friction plate. The pressure plate will then be
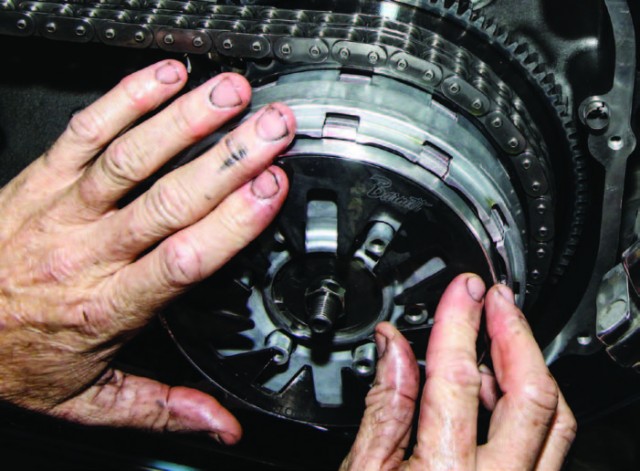
installed, followed by the new Heavy Duty Barnett Diaphragm Spring. There is a keeper plate that holds the diaphragm spring to the pressure plate. Slowly thread the 10mm screws to hold everything together. Use a cross pattern again to tighten down everything till it is all tight. Reference the service manual for proper torque on 10mm screws.
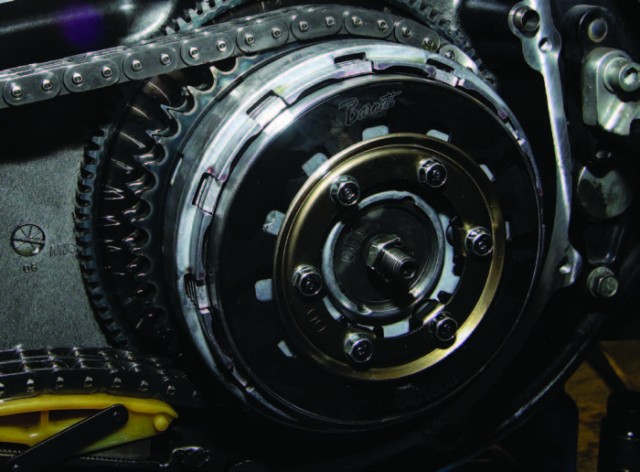
Install the new primary cover gasket and primary cover. Remember to install the bolts in the same holes they came out of using a cross pattern. Proper order of bolt placement is important. Reference the service manual for proper torque.
Remove derby cover or inspection cover to install proper amount of primary fluid. Re-install floorboards in this case. Adjust clutch in the

same procedure stated in the service manual. You’re done! This was great and the bike runs insane. The way that the clutch hooks up and reacts to a handful of throttle is a huge improvement over stock, not just at take off, but in every gear! Thanks Barnett and thank you BC Cycles for the install. After putting a few miles on the bike with this Barnett Clutch, I find myself extremely happy. The response and performance is incredible. All I have to do now is make sure I stay on top of my adjustment schedule.