
Article & Photos By: Lowbrow Customs – www.lowbrowcustoms.com
Originally Published In The June 2016 Issue Of Cycle Source Magazine

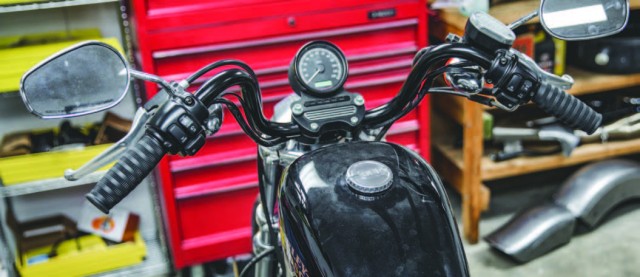
Swapping out the handlebars and grips on your motorcycle makes a big change visually as well as in handling. This step-by-step article will walk you through the process and ensure that you are completely comfortable in the knowledge that you can tackle this project in less than an hour and be back on the road.
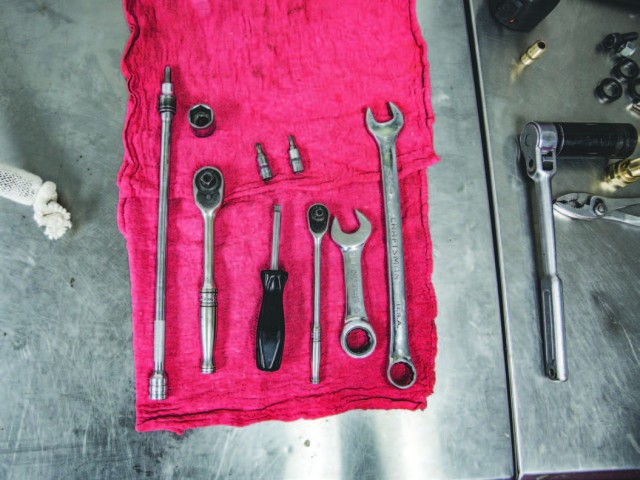

TOOLS NEEDED: 3/8 drive ratchet, 1/4 ratchet, 1/4 Allen socket, T25 and T27 torx bit, 3/4 wrench or socket
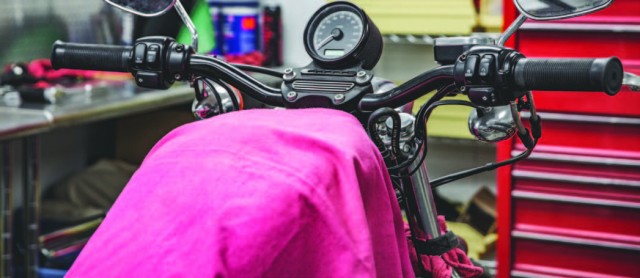

A towel or rag over your gas tank is cheap insurance to protect against a dropped tool or fastener!
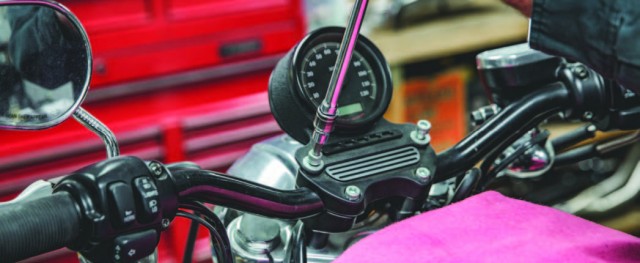

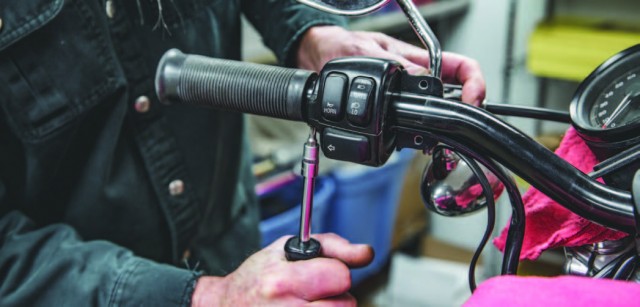
Remove the two allen bolts holding your speedometer mount in place, and carefully drop it forward out of the way onto your headlight (which you can also protect with a rag)

Loosen the two screws holding your clutch lever perch in place using a T27 torx driver and remove the clutch from the handlebars.
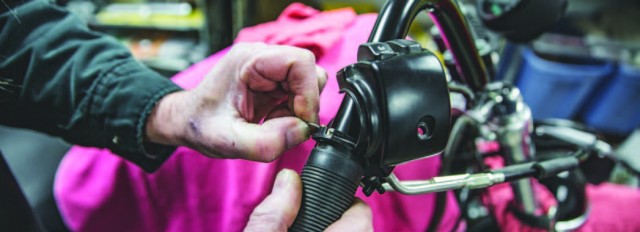
Using the T25 torx driver, loosen the two screws holding your left-hand switch pod in place. If you don’t plan to reuse it, the left-hand grip can easily be removed by carefully cutting through it with a razor blade and peeling it off of the handlebar.
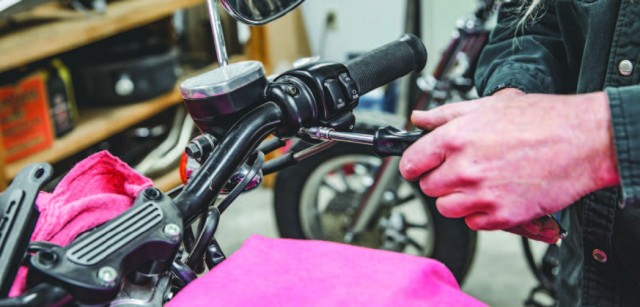
Using your T27 torx driver, remove the two screws holding your front brake lever in place and remove it from the handlebars. Loosen the two screws on your throttle assembly using T25 torx so you can slide the throttle off of the end of the bars and out of the way

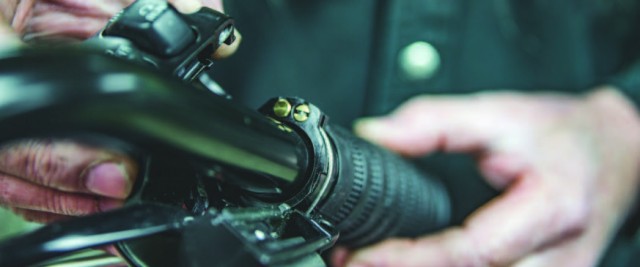
Now that the controls are all removed, you can remove the final two allen bolts holding the top clamp to the risers and remove the old handlebars.
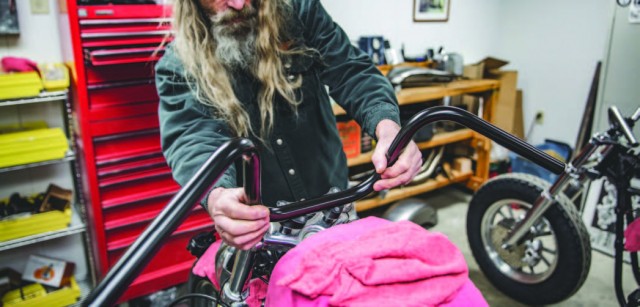
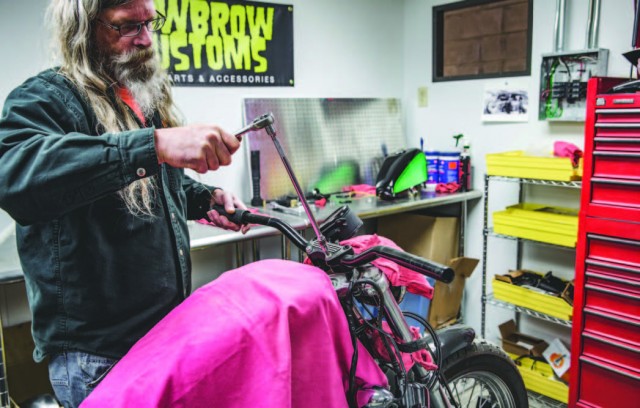
Take your time to center your handlebars in your risers. Install the top clamp tight enough to hold the bars upright, but loose enough so you can adjust the angle of the handlebars while sitting on your motorcycle.
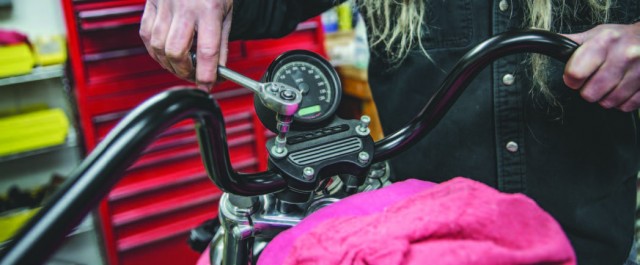

Once you have them positioned how you like them, replace your speedometer bracket and tighten all four allen bolts holding your top clamp in place.

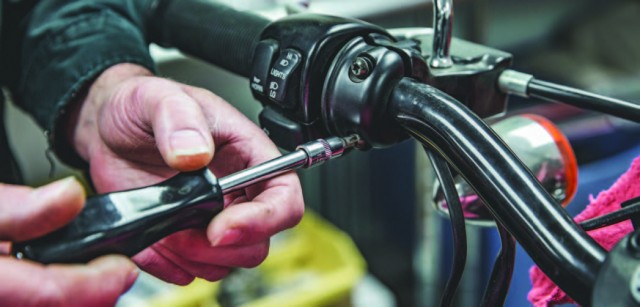
Time to swap the grips. Remove the screws holding your throttle assembly together so it exposes the end of the throttle cables and throttle tube.

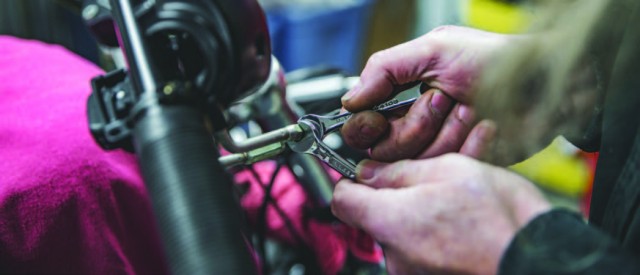
Loosen your cable adjusters with two wrenches and thread them in further to give you slack in your cables. This will allow you to remove the cable ferrules (ends) from the plastic throttle tube.

You can use a razor blade to slit the old grip on your throttle tube and peel it back if you are not going to save
the old grips.
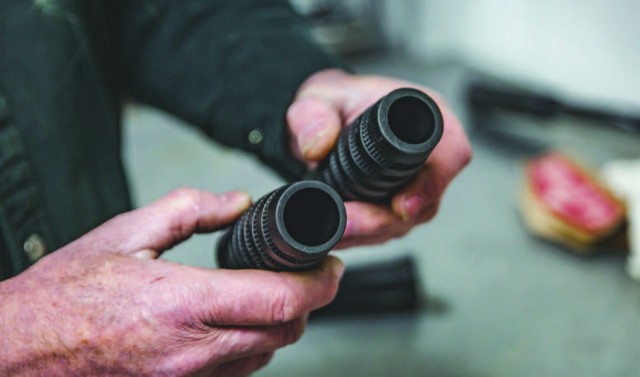

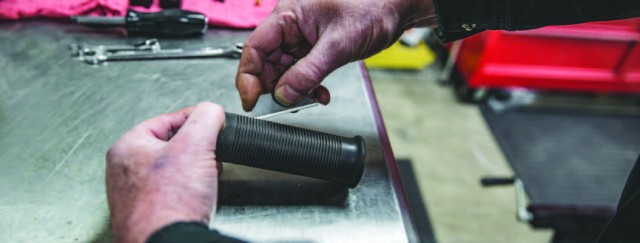
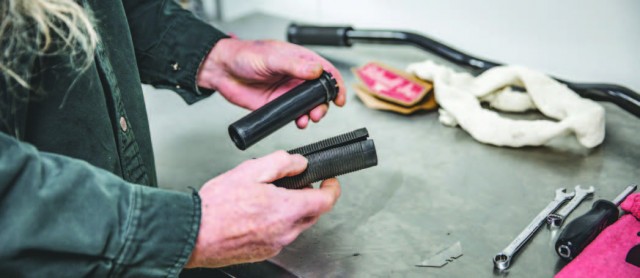
Note that motorcycle grips have two different I.D.s (inside diameters).

Using some WD-40 as lubricant, slide the smaller I.D. grip onto the left side of the handlebar.
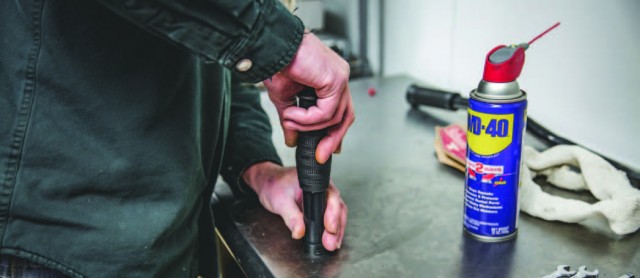
The larger I.D. grip is made to go over the throttle tube, which also benefits from the application of WD-40 to make the install easier. You can also use compressed air by sticking the tip of your air nozzle under the grip and spraying air while pushing on the end of the grip.

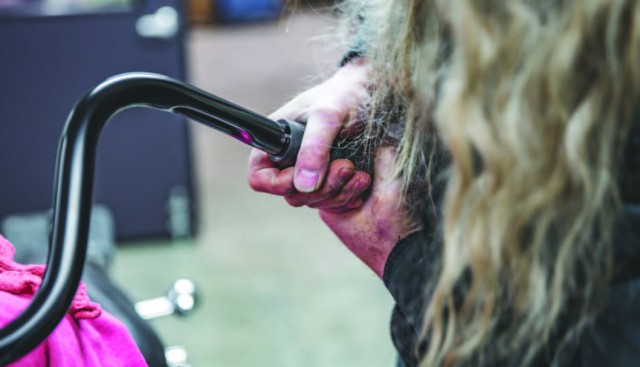
Reverse the disassembly. Slip the throttle tube over your bars and install the throttle cable ferrules into position and be sure to readjust your throttle cables. Install the throttle housing, switch housings, clutch lever and brake lever.

Be sure to check that all hardware is tight before taking it for a test ride to check out your new riding position and style!