


Article By: Daniel Donley At Pandemonium Custom Choppers www.pandemoniumc2.com
Originally Published In The July 2013 Issue Of Cycle Source Magazine
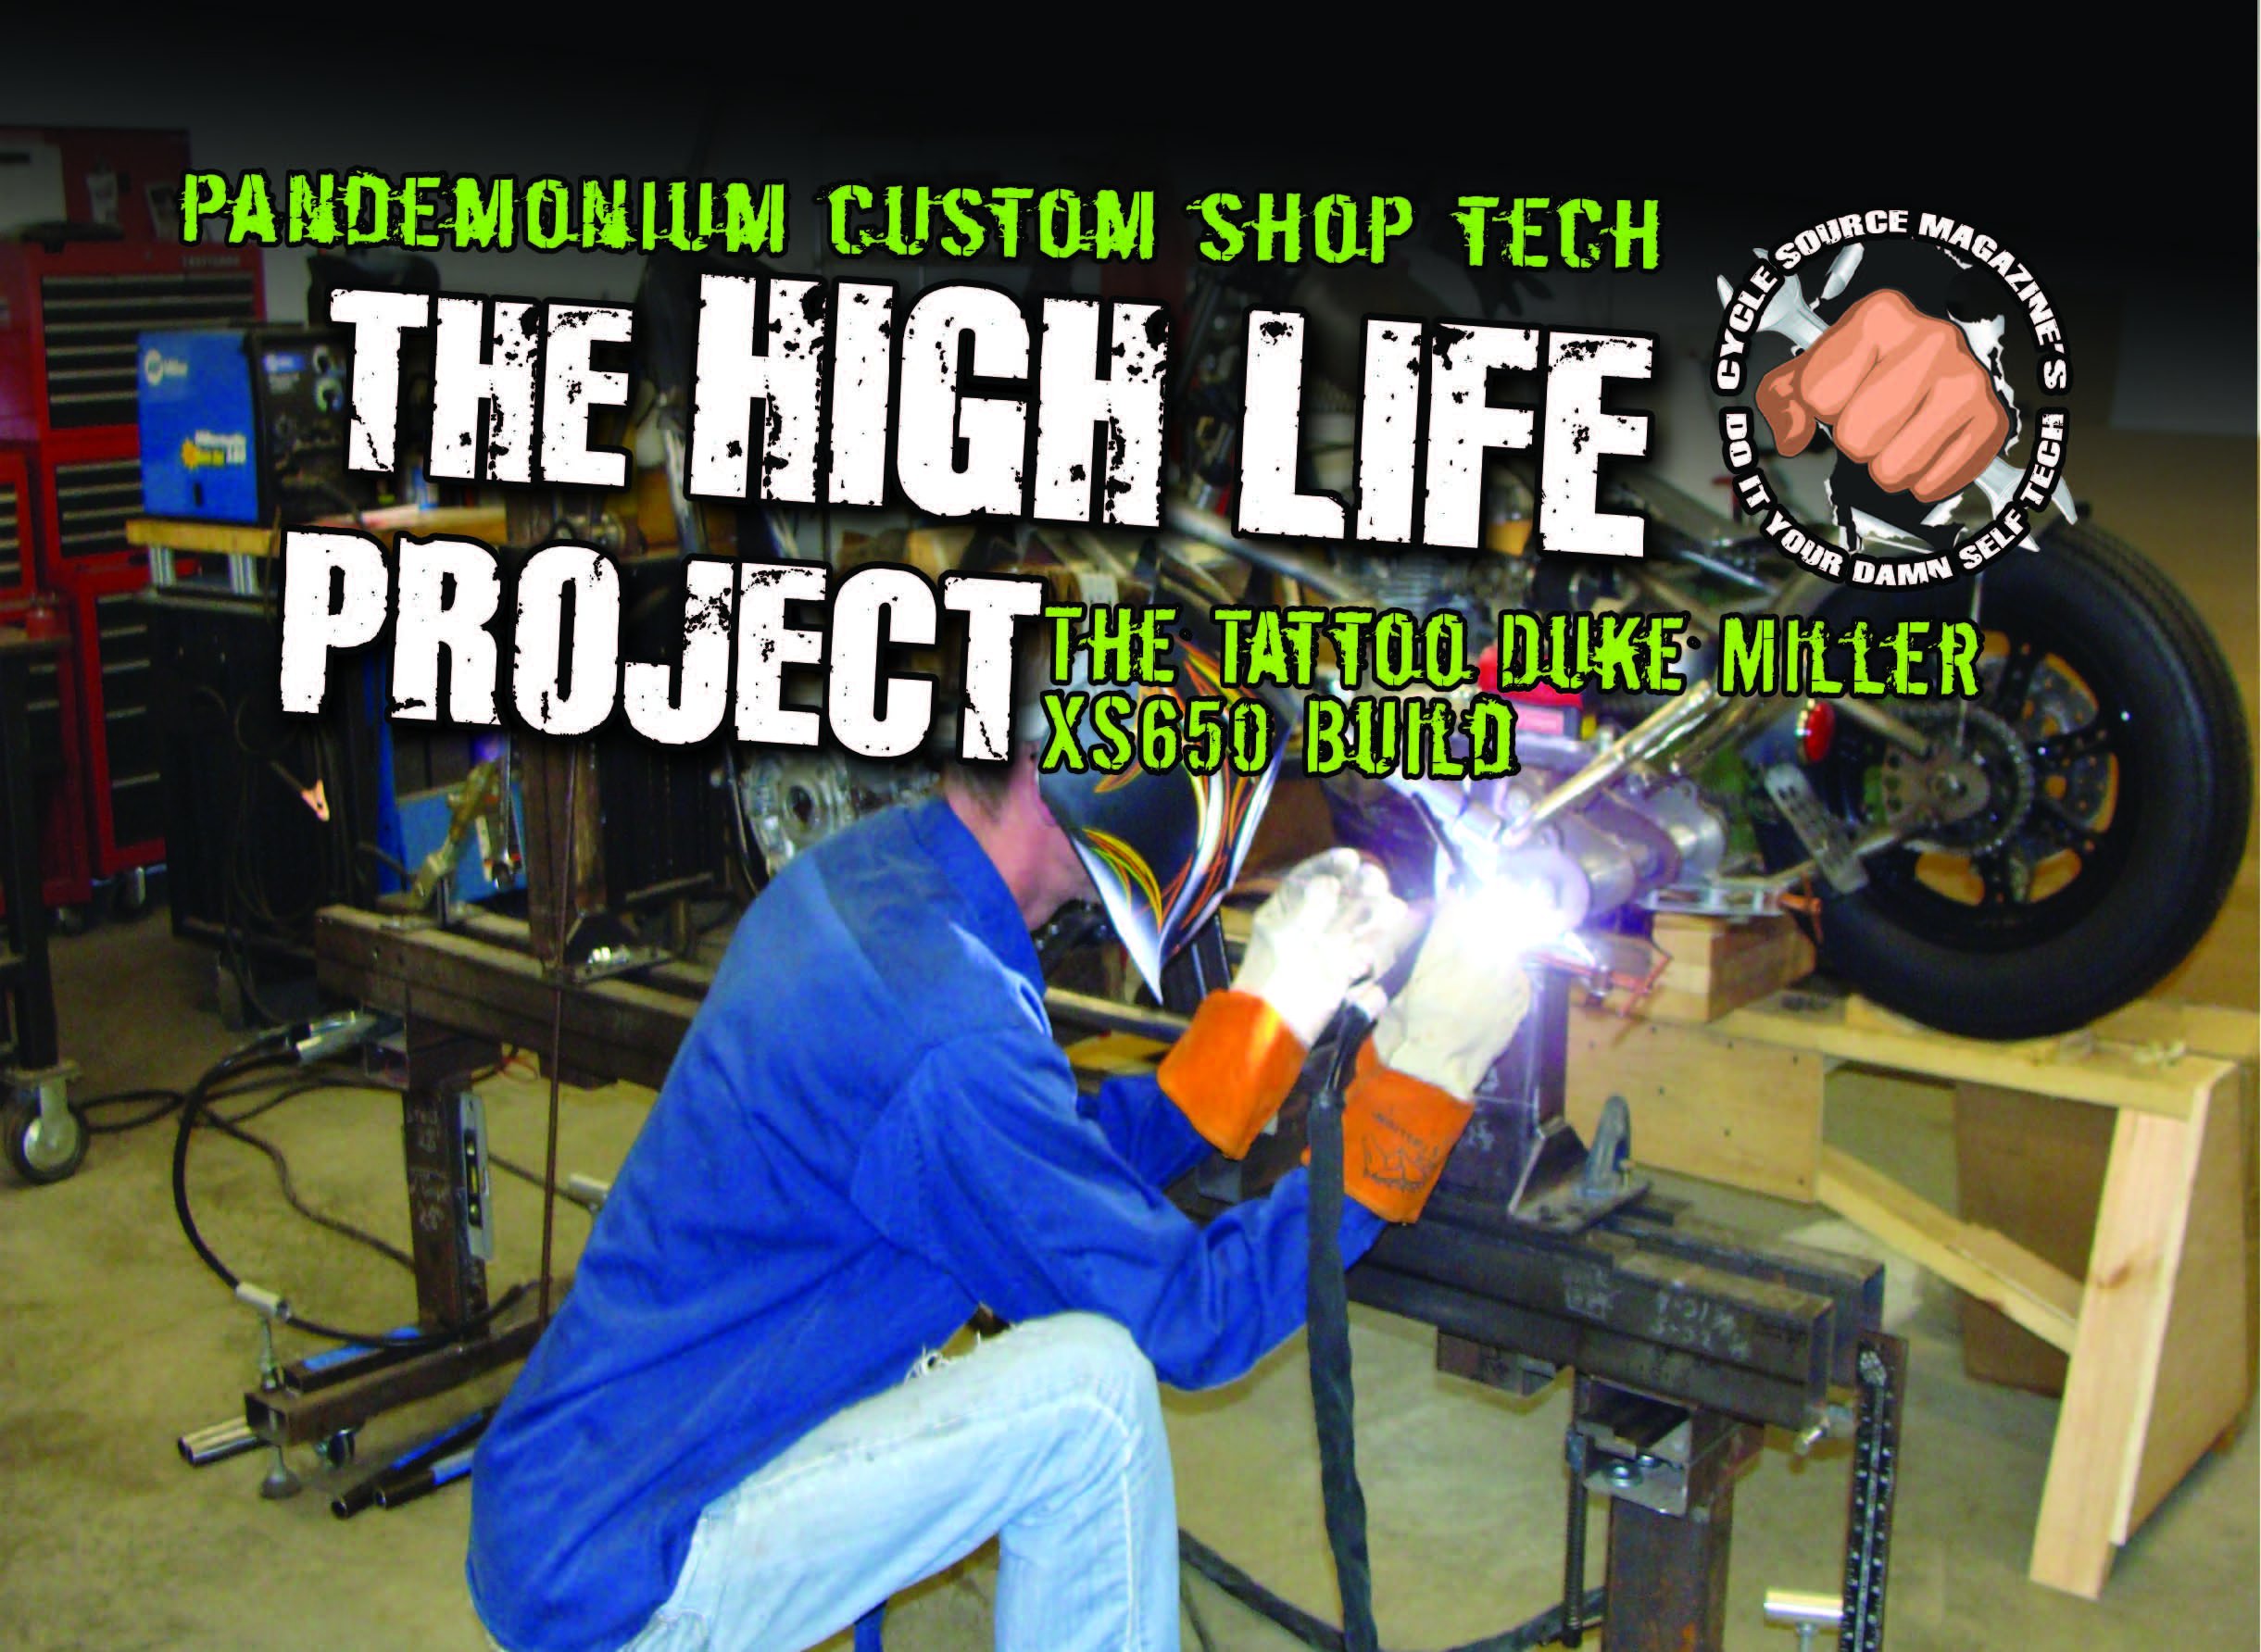
This all started last July at MountainFest in Morgantown, WV. Duke was checkin’ out a Yamaha XS650 build I just finished named Nekked Hayla. He said, “Man, I’ve been thinking about building something like this to beat around the streets on as a birthday present to myself.” One thing led to another, and we started on Duke’s XS650 build. It was then that I decided to show it off here in Cycle Source. We are gonna use some stuff from Acme Choppers, Hugh’s Handbuilt and Red Tail Leather, just to name a few. It should be pretty cool so stay tuned for the months to come and check out The High Life project.
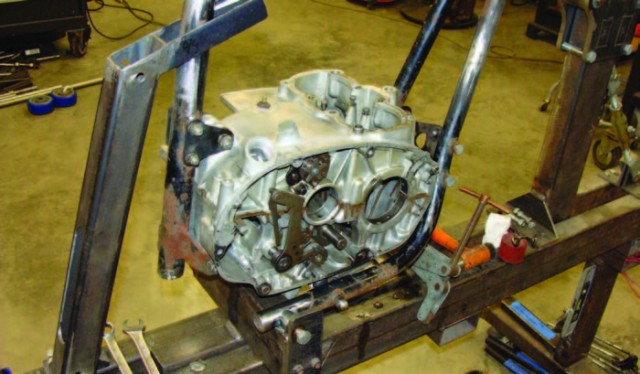
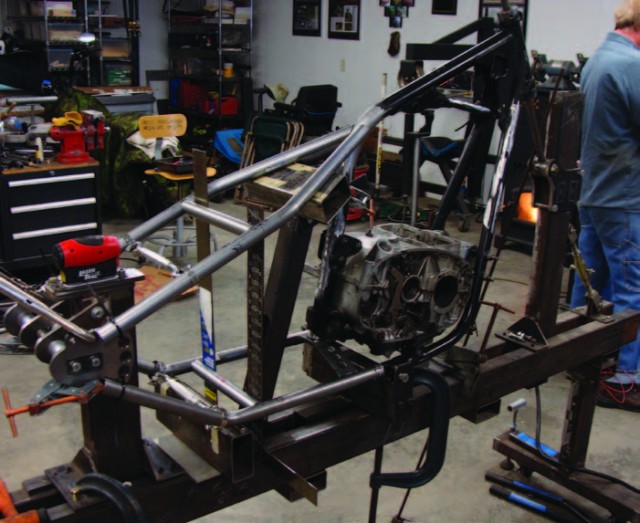
First, the donor Yamaha XS650 is stripped and the frame is cut and prepped for the Pandemonium hardtail. A mock-up engine block is bolted into the frame to keep the engine mounting locations true.
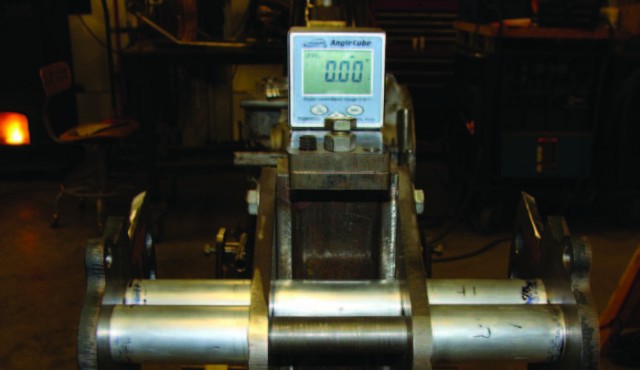
The axle plates are then bolted to the frame jig. The jig is then checked to be level and square in eight different locations. This is a necessary step for a quality built frame.
The upper and lower hardtail tubes are cut to length from .120 wall DOM tubing. Witness marks are scribed on to the tubes for locating them in the bender.
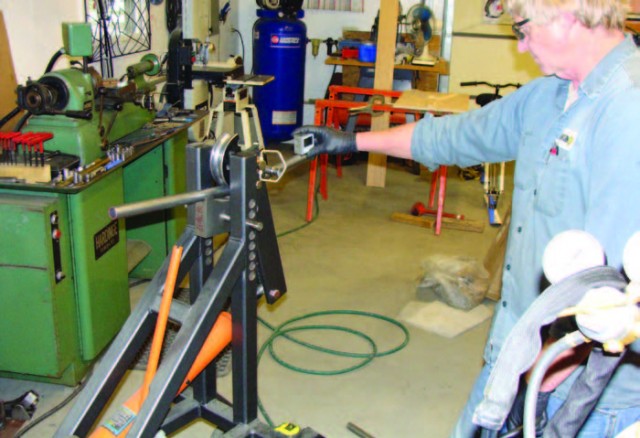
Using a degree cube, the upper and lower tubes are bent to their specific degree.
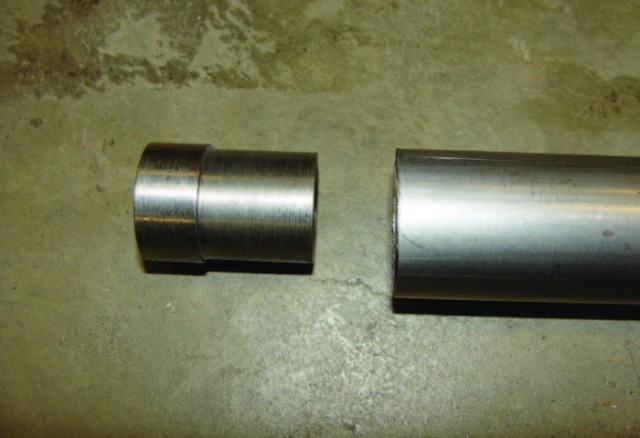
DOM tubing is again used to make the adapter from the original frame to the new hardtail. The adaptor is the same wall thickness as the hardtail tubes. This will allow the frame to flex as it did stock. A solid slug here would not flex and it would break. (Thanks Paul – BKC)
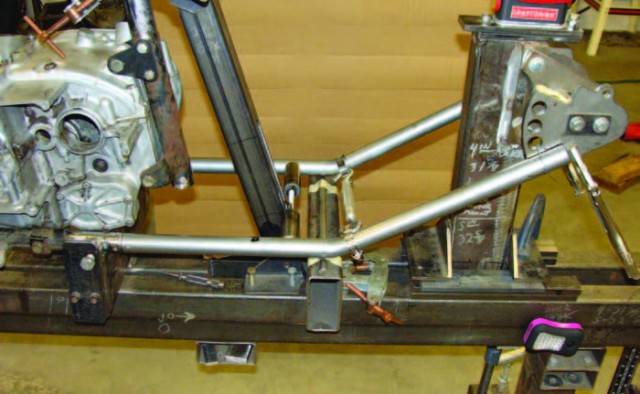
The lower hardtail tubes are then fitted to the frame. Duke’s frame is built with four inches of stretch in the length of the hardtail.
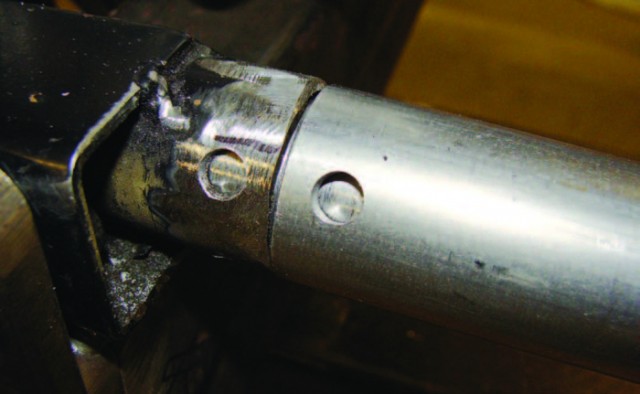
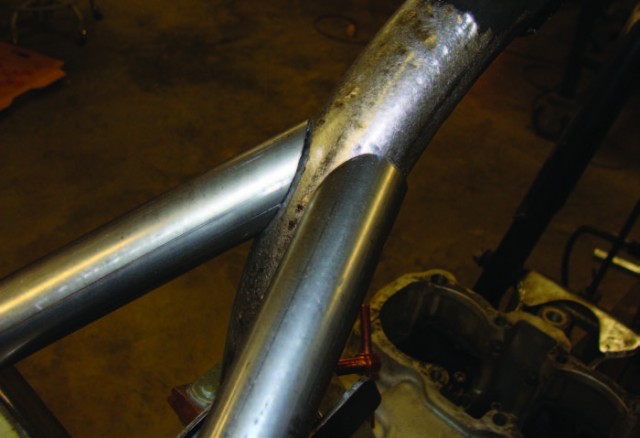
Where the lower tubes meet the original frame, plug weld holes are drilled to weld the adaptor, stock frame and hardtail together for a very strong joint.
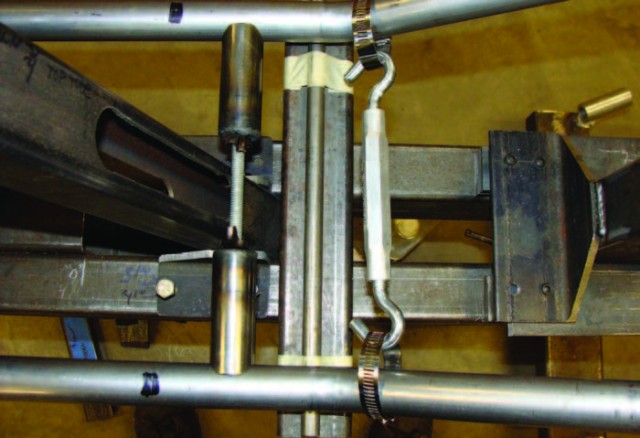
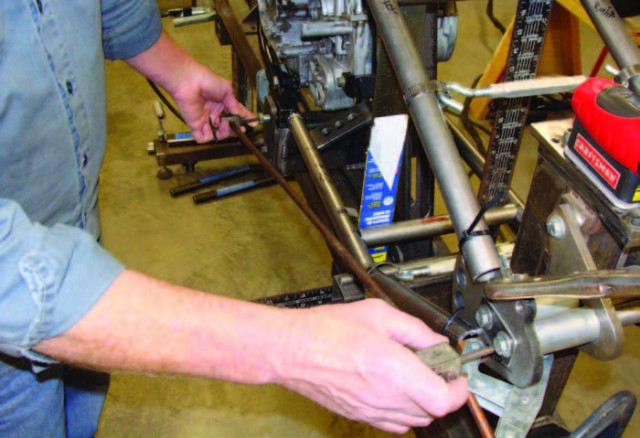
To set the distance between the lower rails, the adjustable crossbar is put into place and tensioned with a turn buckle to hold in place.
Many clamps, vise grips, and even zip ties hold the hardtail tubes in place while mocking-up the fitment of all the tubing.
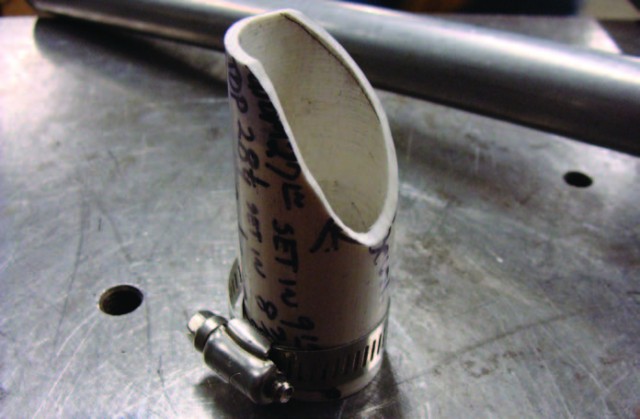
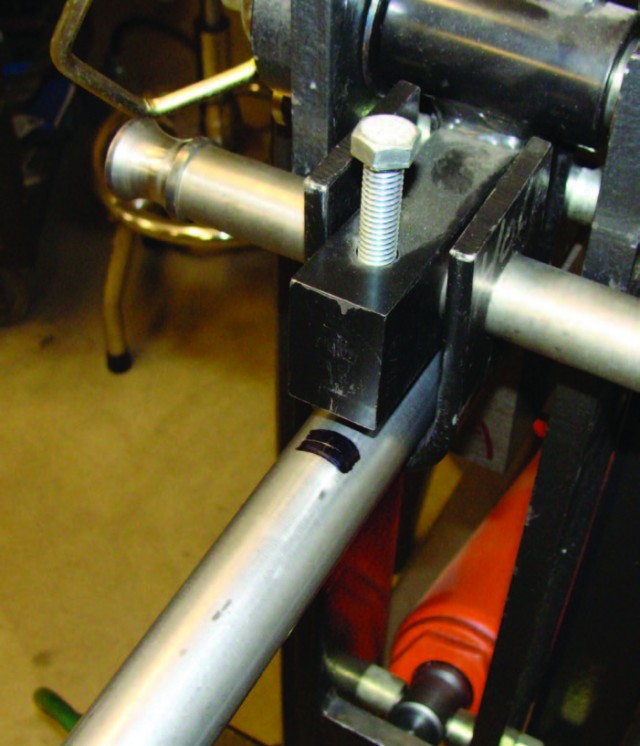
This is a very cool tool my dad came up with. It’s a piece of PVC plumbing pipe that was turned to size in the lathe and the correct fish mouth angle was then transferred to it. This one is used for the upper hardtail tubes that meet the backbone seat tube area.
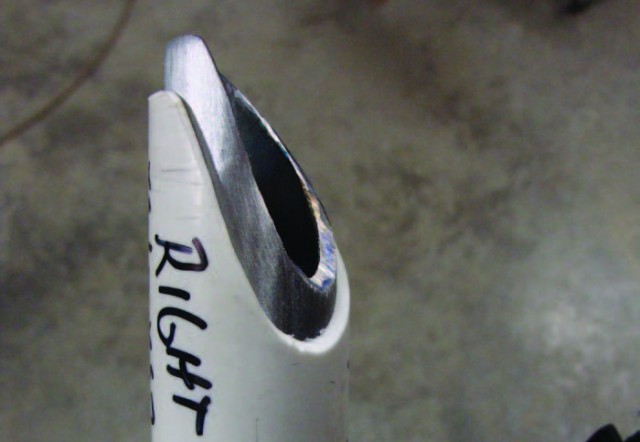
Slip the tool over the tubing, scribe a line, remove and cut, and then grind the tubing to the scribe line.
At this point, your joint will be very close and will only require minor adjusting to fit perfect.
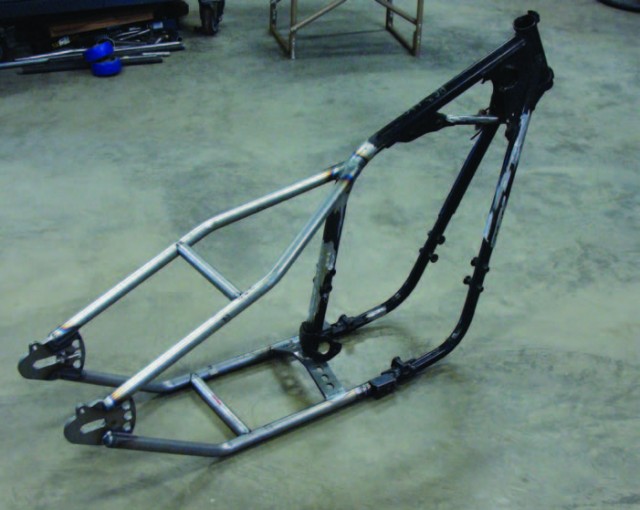
Now the hardtail is mocked-up in the jig. All the tubing joints have been cleaned with acetone to be oil free for welding.
Before any tack welding starts, the jig and frame are checked for level and square and then laser aligned down the center of the frame. Also check with “Trammel Points.” All of these checks should be done during the welding process to keep the frame true and straight.
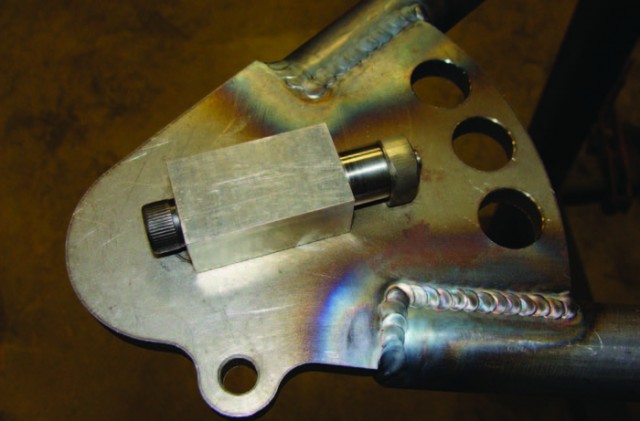
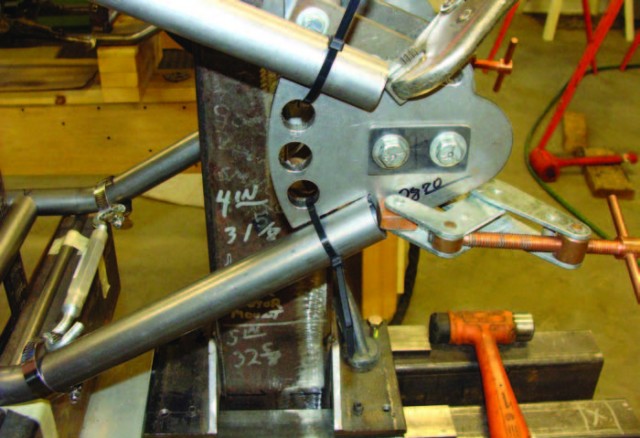
This is a cool tool my friend Rodger Demland made for me to install the rear axle adjuster bosses. It locates off the axle slots and is super slick!
Hope you like it Duke! This is the beginning of your new sweet ride. I want to say thanks to my dad for all his help in building this hardtail for Duke. Couldn’t have done it without you man! Stay tuned till next month when we will start the mock-up!


