Article And Photos By: Chris Callen
Originally Published In The February 2018 Issue Of Cycle Source Magazine

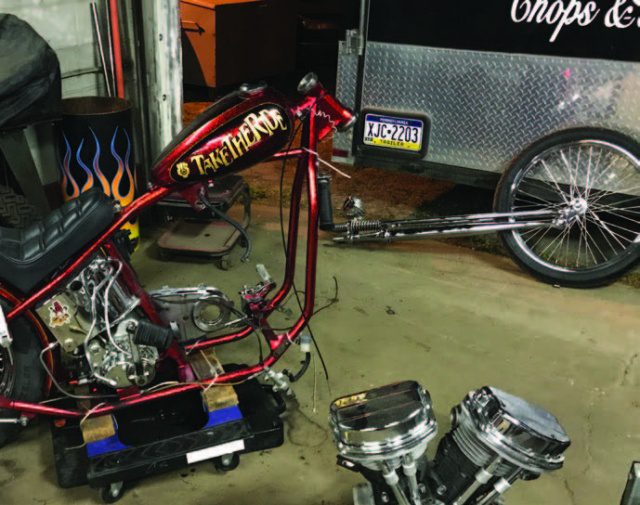
Whether you ride your springer a lot or if you picked one up at a good deal through a swap meet, basic maintenance and care can take you a long way. Most importantly, with only a few items on a springer that really wear, it’s an easy fix that can keep you safe. Since my ’49 Panhead, “The Ticket” has had very little love over these past five or six years since she was launched, it was way past the 40,000-mile maintenance interval that Paughco, the manufacturer of its springer, calls for. I headed out to Carson City to the shop and got a first-hand lesson in the proper care of my Springer from Rufino. He’s been at Paughco for over 25 years and has more than 15,000 Springers under his belt. Every one that rolls out of their door has been built by w hand by this one man, so what he says… I listen to.
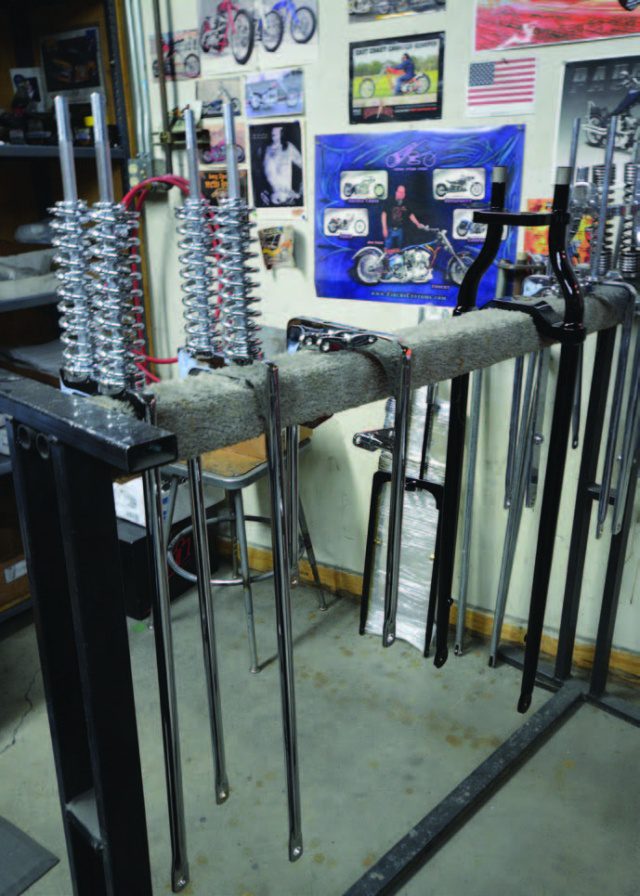
The first step is to separate the springer from the motorcycle. Now, some people will tell you that you can do this while it’s on the bike, but I like to have my work in front of me firmly placed on a solid table.
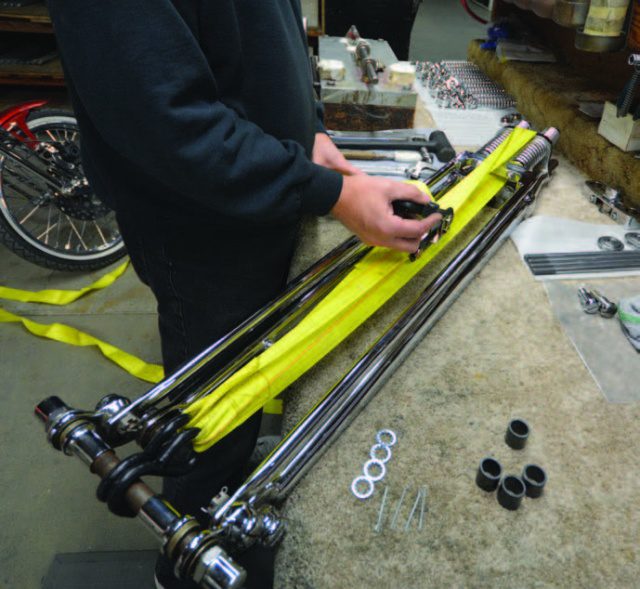
While Rufino has a snazzy jig for building and rebuilding his frontends, it can be done on a bench with a ratchet strap. Just think about what you are doing and follow the steps closely.
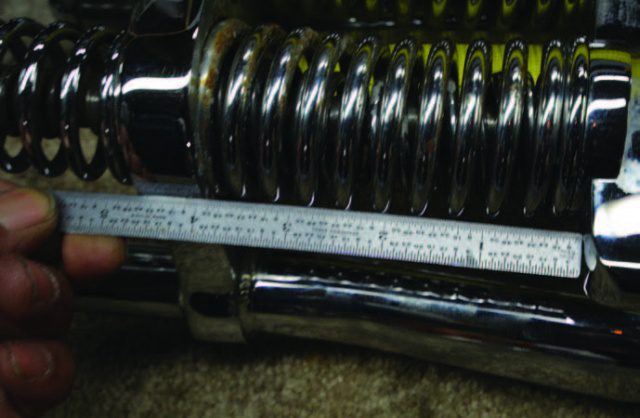
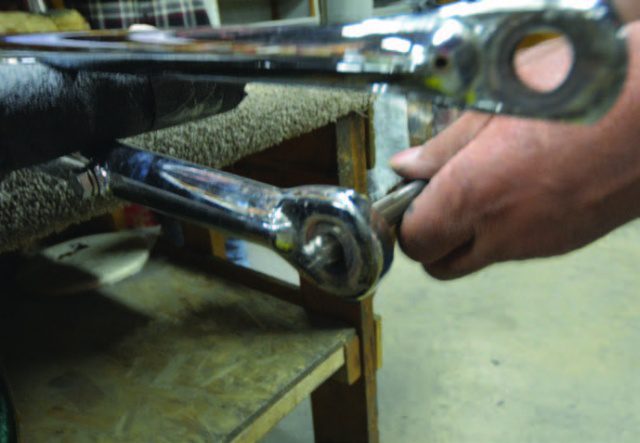
With the strap attached to the front axle and wrapping all the way around the top of the trees, compress the
front-end until it measure 4-1/4 inches from the top of the front fork to the top of the top clamp. This will allow enough compression to work with the spring packs.
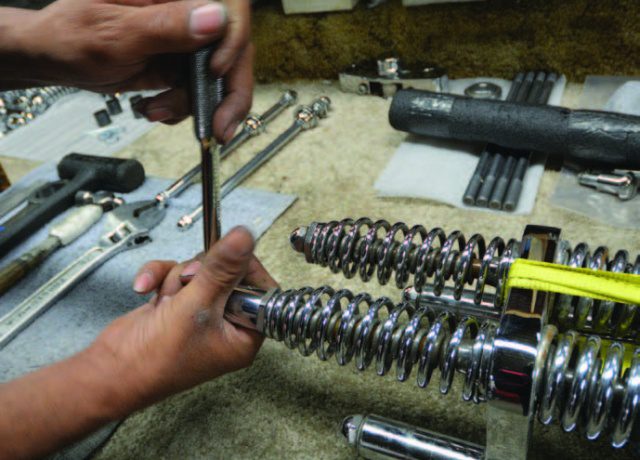
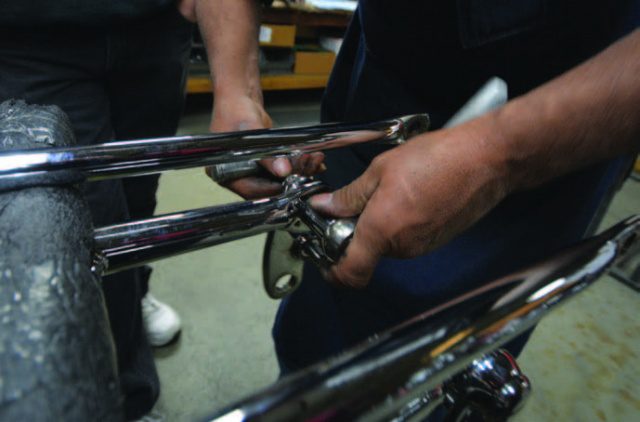
Using a ¾ socket remove the top of the two nuts holding the top spring packs on the front fork. Do one set
at a time, first the top nut, then the bottom that you should be able to do by hand, then slide the spring pack off the rod and finally the spring cup.
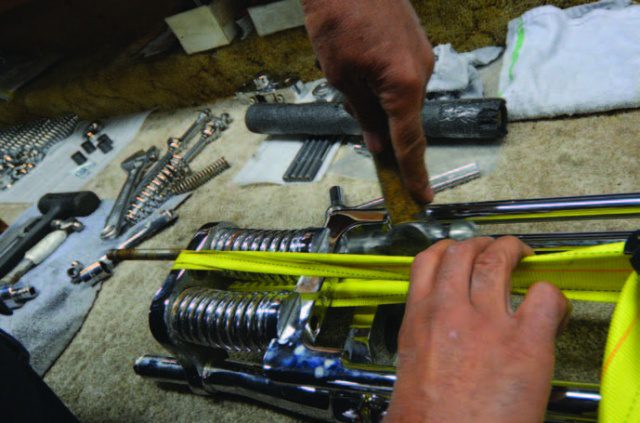
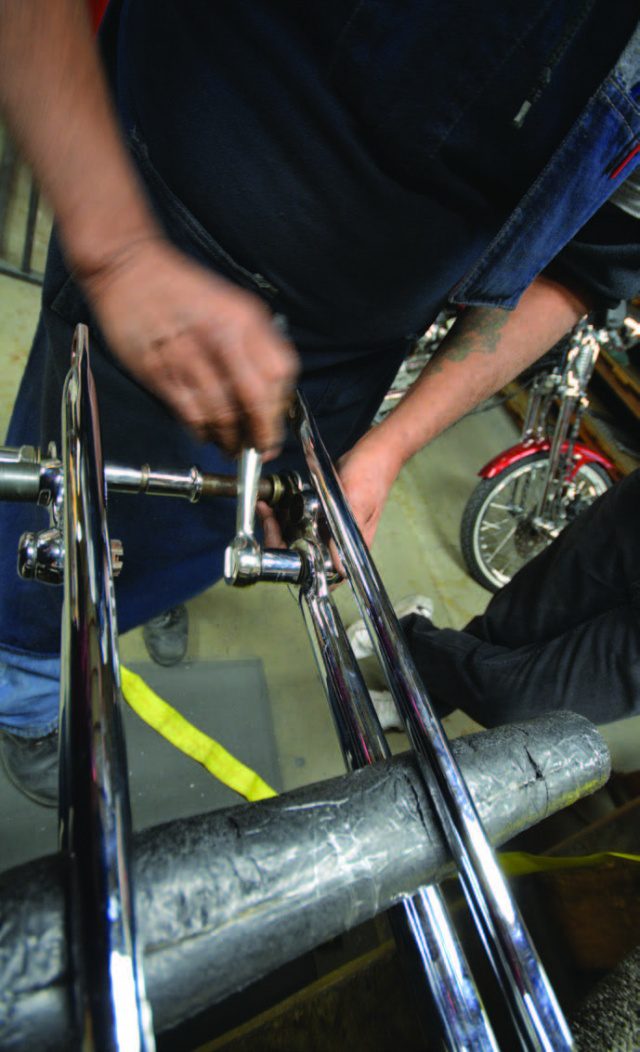
Again, one at a time pull the spring rods out of the front fork. They are tapered on the end so once you remove the bottom nut from them, you may have to tap them out with a hammer.
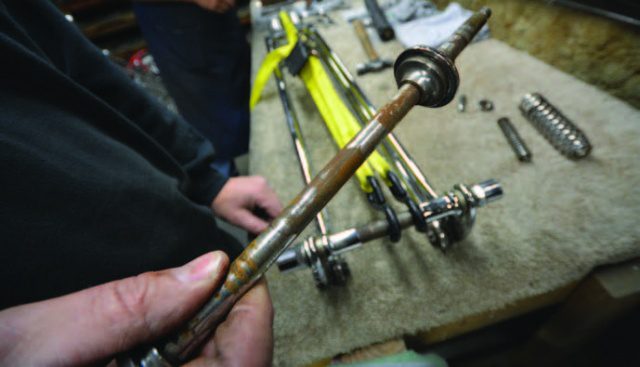
Here you can see two of the main components that wear on a springer front-end: the rod and the spring cup. Since there is very little movement of the spring cup on the rod, it wears in a specific spot and can cause movement in the front-end.
Now you can release the compression on the front-end, and the forks will relax. This will allow you to remove
the bottom spring packs. But for now, we will move to the rockers. Pic 8 – (Pic of remove rocker studs) To remove the rocker studs, you may want to apply some WD40 and let it soak in a bit. Once you’re ready, remove the cotter pins and the castle nuts from the back and then tap out the studs with a drift.
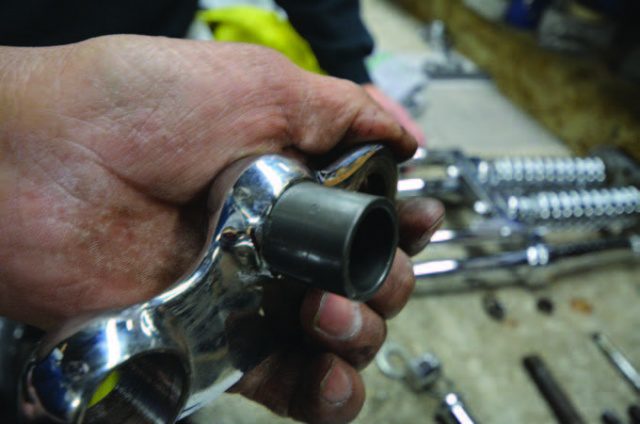
With the rockers removed and the studs out of the way, you can tap out the bushings from the rockers.
After cleaning the rockers and using a ¾ reamer to debur any material from the axle holes, install new bushings and ream them with a ½ inch reamer. Chances are you won’t have to, but this ensures perfect fitment.
Install the new rods in the front fork one at a time. A little dab of oil on the tapered section will help. Tap the new rods in and apply a dab of red loc-tite to the bottom nut and install it. Place to bottom spring collar and slide the new bottom sping pack into place.
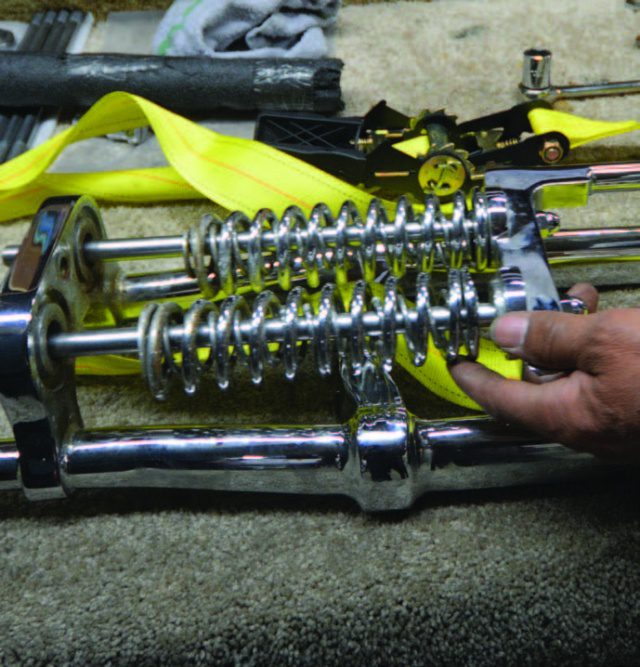
Place a small section of pool noodle between the front and rear fork and slide the front fork and new spring packs and rods into place.
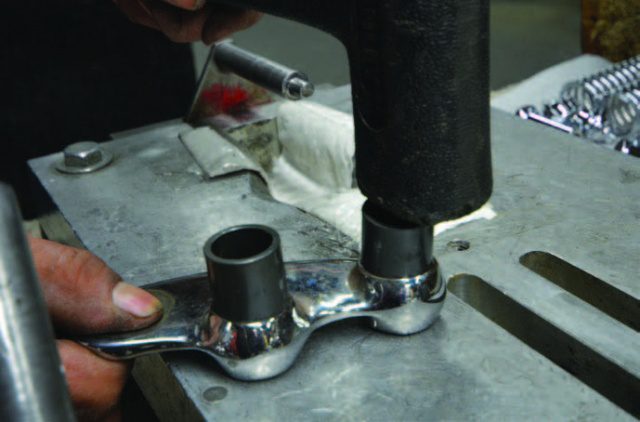
Using the ½ inch reamer ream the leg holes at the bottom of the front and rear forks. Just to ensure there are no burrs before reassembly.
Starting with the rear fork, reinstall the rockers to the bottom of the fork legs. Use a large flathead screwdriver to hold the rockers in place while you tighten the castle nuts. The rocker studs are shouldered and seat themselves, so there is no torque spec, just snug them up and leave the cotter pin hole open. Repeat the same for the front fork legs as well.
Install new cotter pins and fold over the ends of them. Also, reinstall the front axle so that the forks can be compressed once more.
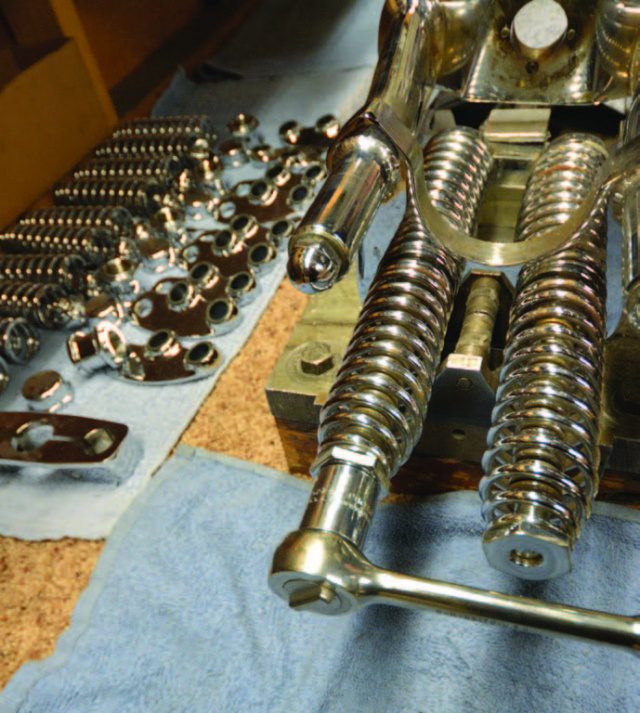
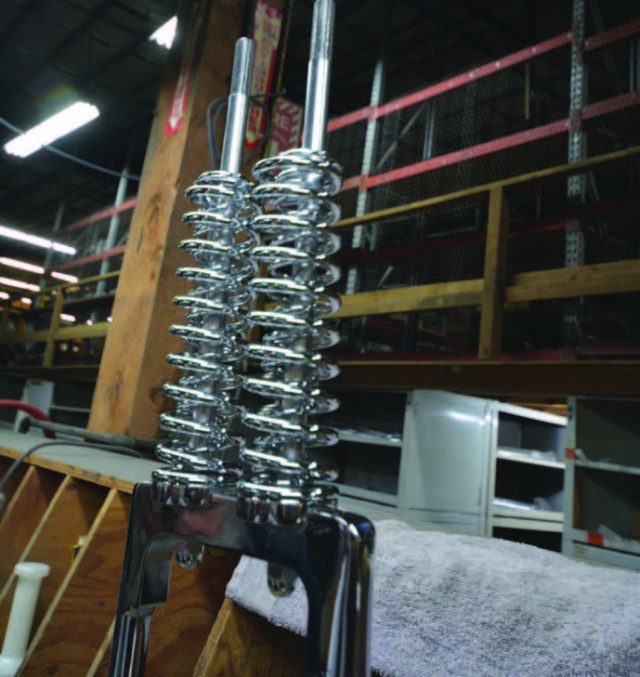
With the forks compressed to 4-1/4 inches once more, slide in the new spring cups, the new top spring packs and install the new bottom nut of the two that sit on top of the springs. Wind them on by hand and far enough down that they sit well passed the depth of the top acorn nut. Another dab of loc-tite on the top acorn nut, install it and then back the bottom nut up to it.
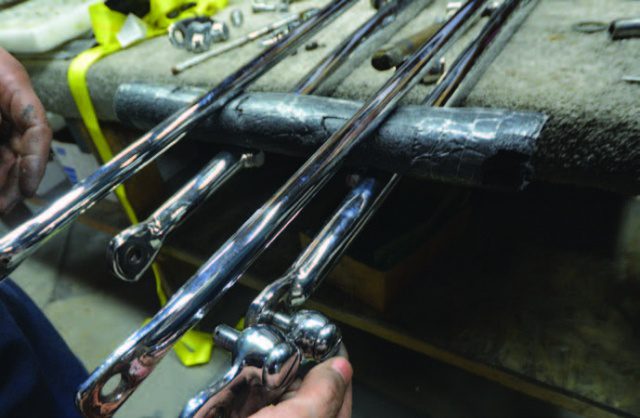
Release the compression on the forks and remove the ratchet strap. Take a few minutes and clean the front-end, look over all the work and make sure that nothing is crooked or missing. From here you can reinstall your front-end onto the bike and replace the wheel. Whether your springer is a Paughco or another brand, simple maintenance can take you a long way.