


Article By: Chris Callen
Photos By: Chris and Postale
Originally Published In The May 2012 Issue Of Cycle Source Magazine
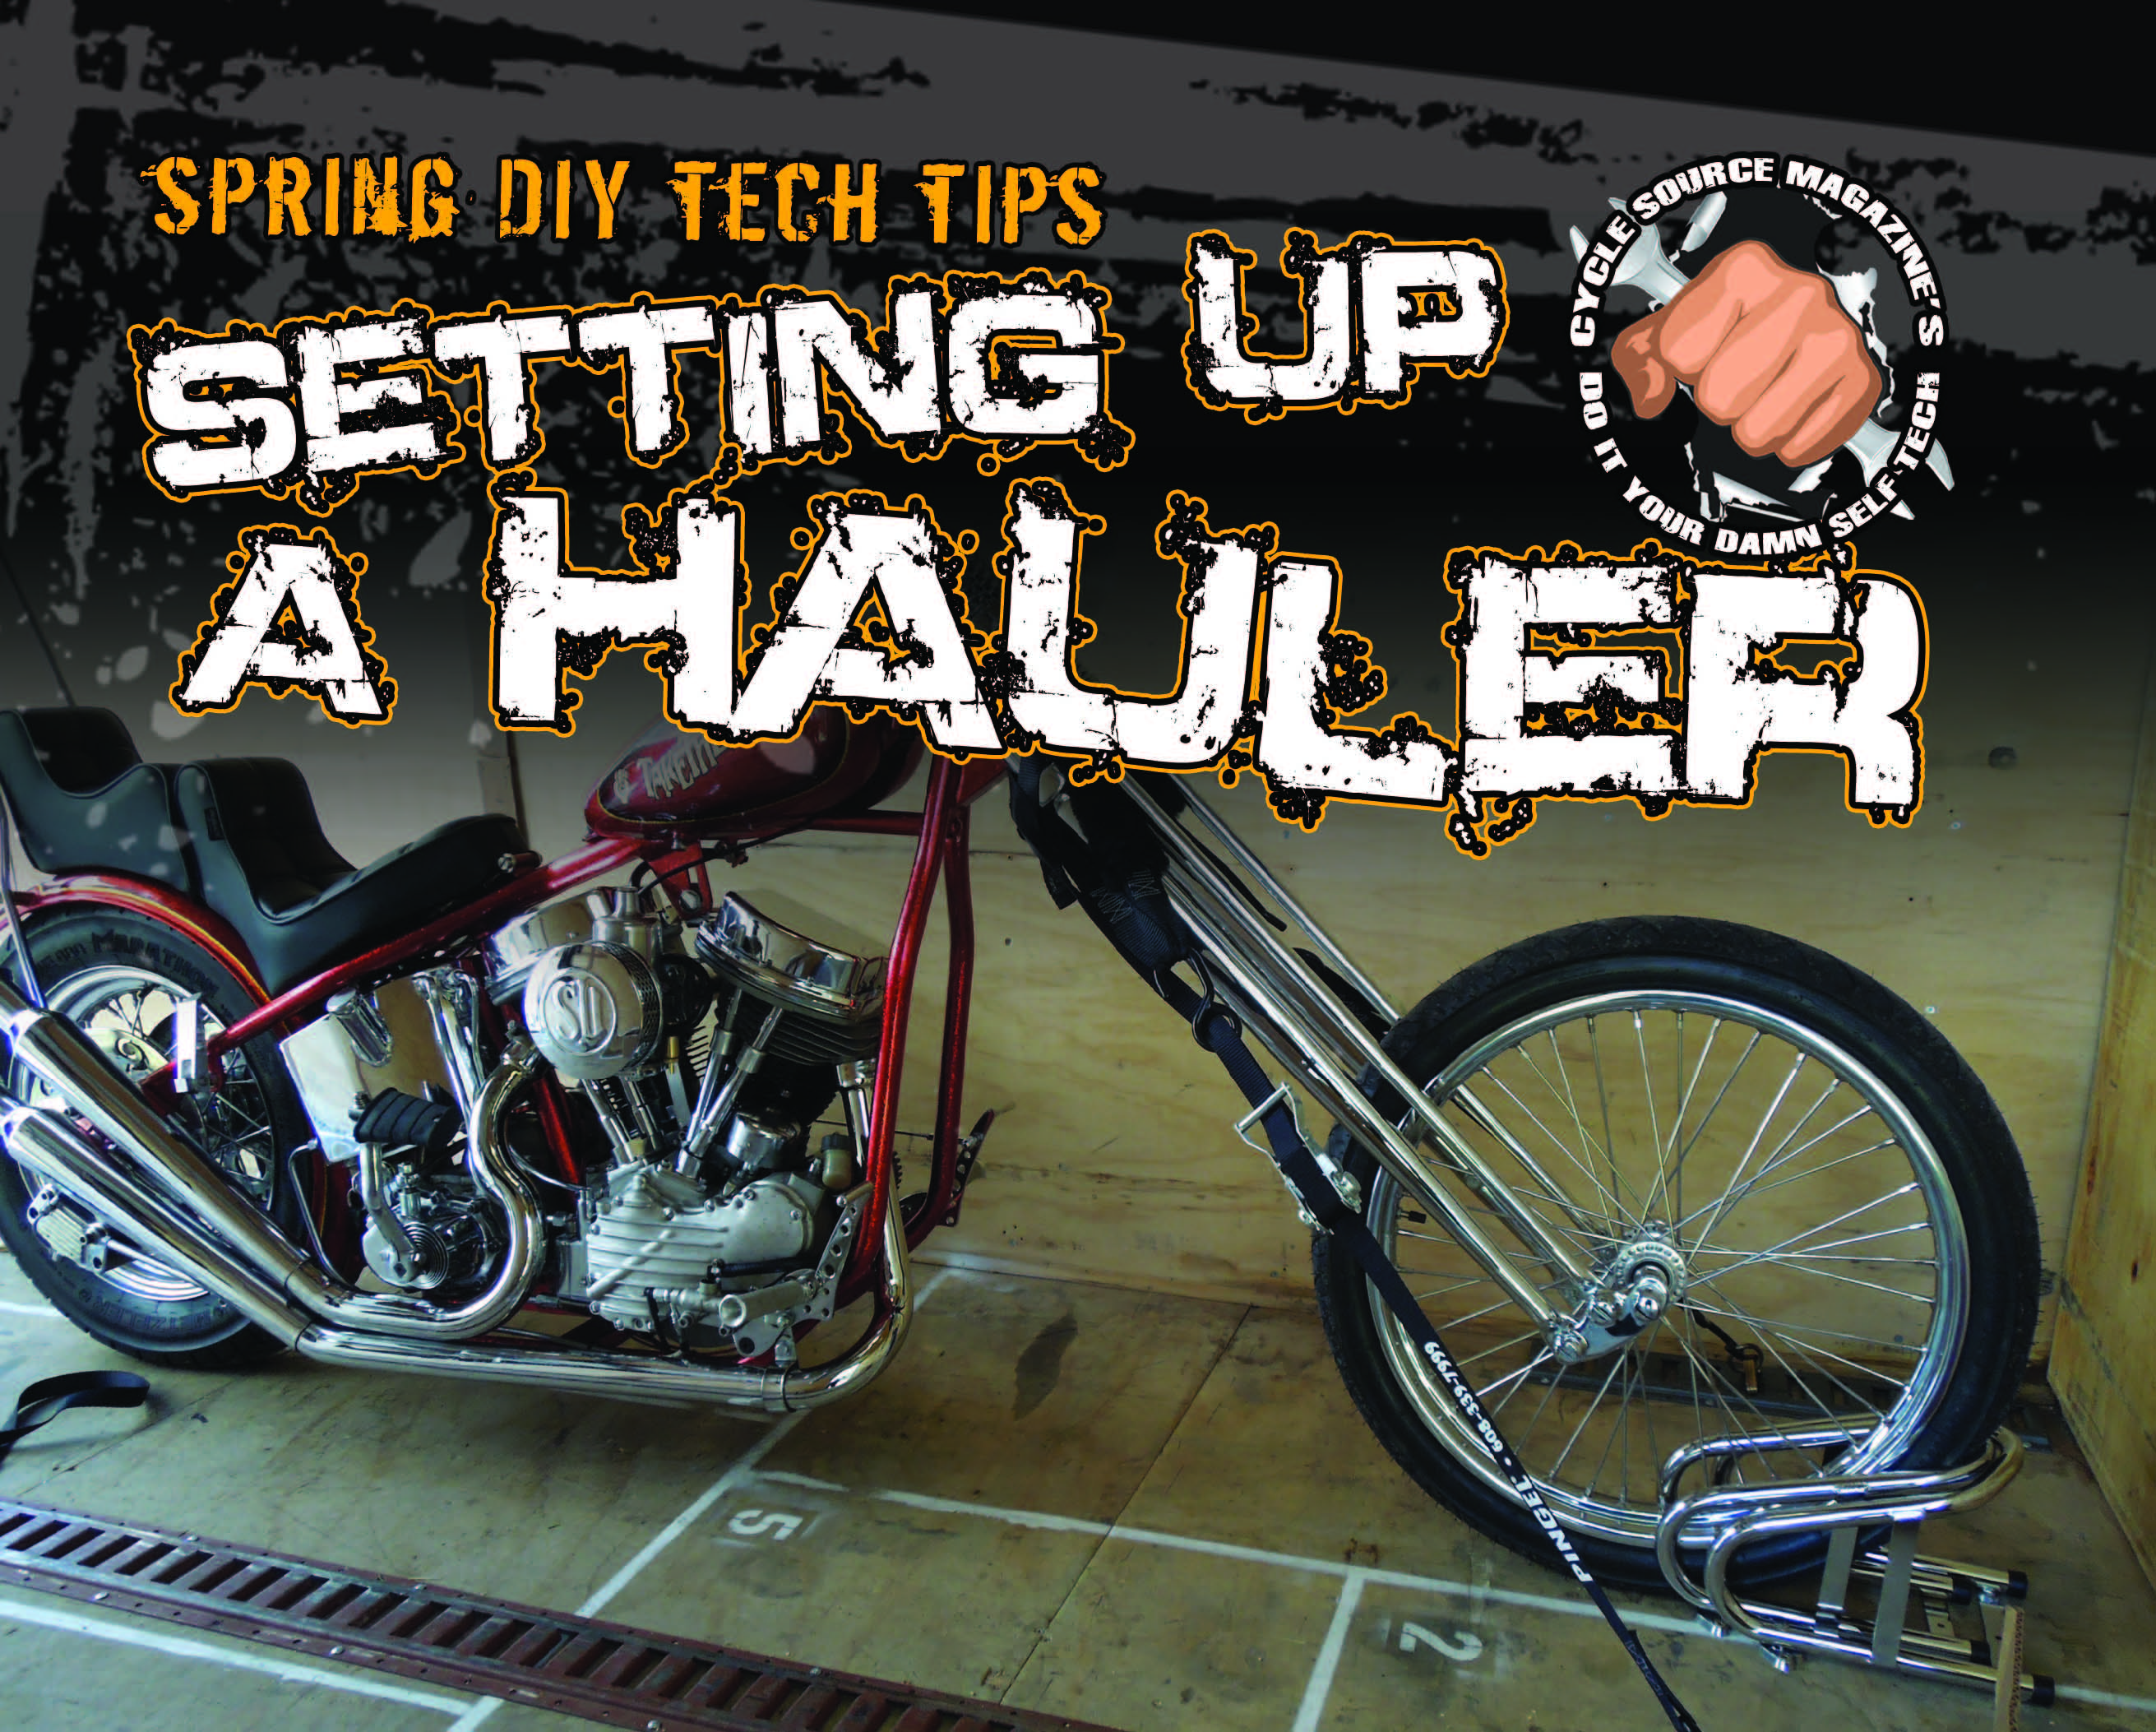
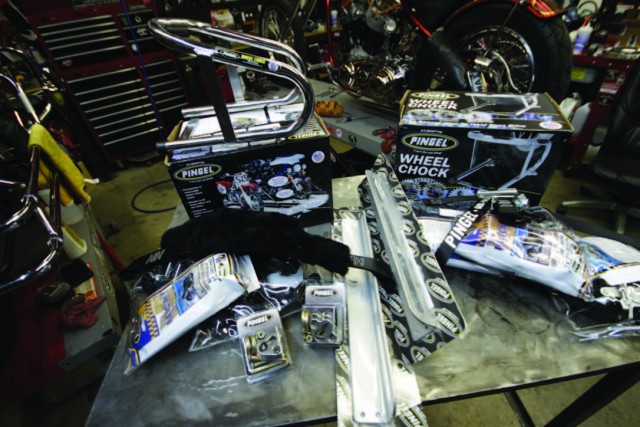
Although it isn’t often that you’ll see a Cycle Source staffer bike in a trailer, mostly if it’s broken down as a matter of fact, it isn’t too often we get to talk about the proper use and installation of hauling products. Things being what they are, namely my old ass and a Pan that is still too fresh to ride hard enough to put those Florida miles on, we decided that getting a little 12 foot trailer and setting it up to haul the ‘49 from show to show might be in order. Now the last thing you want to do is Mickey Mouse the trailer together and have your brand new paint and chrome riding on its side halfway to Daytona and back so some good consideration should be put into exactly what this might take. For us, there was only one company we needed to talk with: the good folks at Pingel. Pingel has a line of products for hauling motorcycles that will blow your mind. For our job here we picked up a few removable wheel chocks, a set of soft straps that keep the chrome and paint nice when locking the bike down, some strap racks for storage and a few of their heavy duty ratcheting straps. All in all we would have enough products to haul three motorcycles securely so we figured this might be a great thing to pass on to our readers. The whole process takes minimal time and mechanical ability; the results are incredible even on a small trailer like ours.
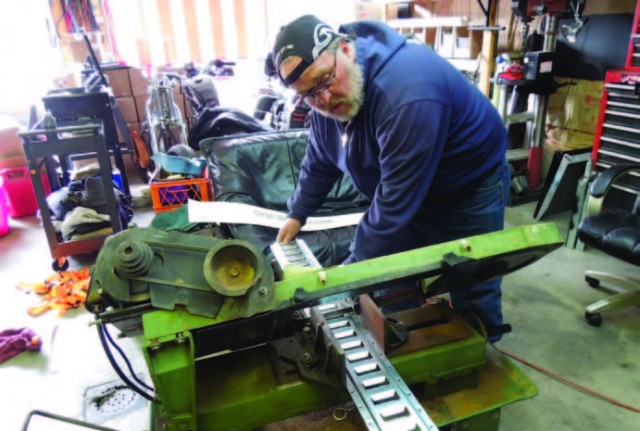
Here, Mailman Dave starts off by cutting some lengths of E-track to be used for our D-ring clips to hold the bike down. Pingel sells these as well or you can get them at any trailer supply store.
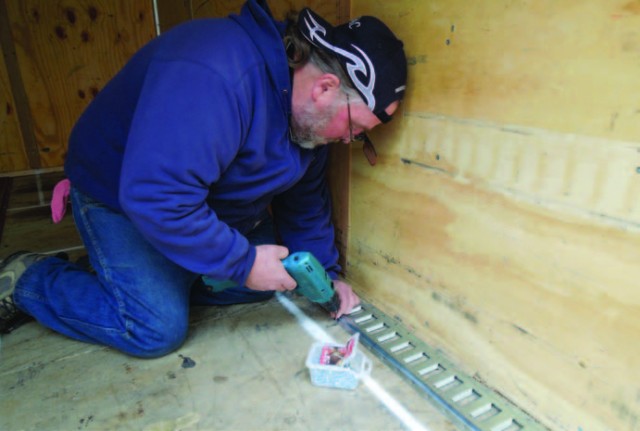
The E-track can be screwed into the wood floor of the trailer, some people like to have some of the hardware bolt through with a nut on the underside.
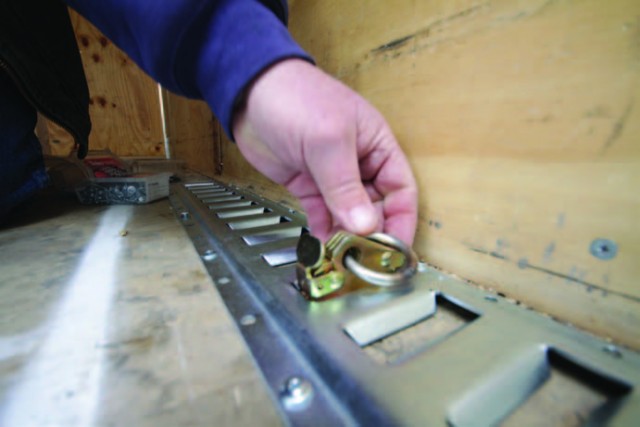
Once in place on both sides of the trailer, the E-track will provide for many different mounting positions of the D-rings so that any length bike will be accommodated.
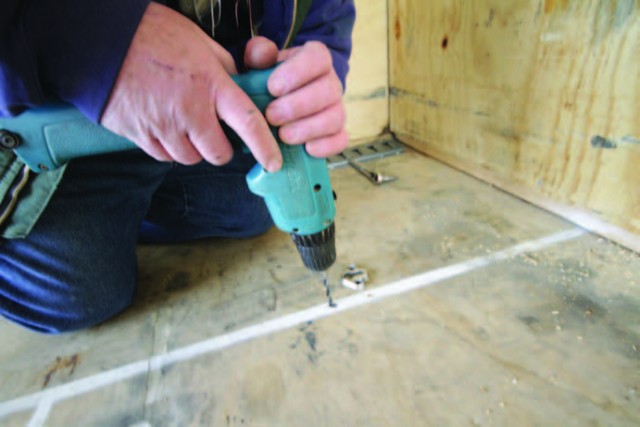
Next, we marked the area we wanted the removable chocks and marked the spot where the mounting pads would need to be installed.
These do get pass through bolts with washers and lock nuts. Mailman was nice enough to take the shitty end of this stick and go under the trailer for a half hour in the cold.
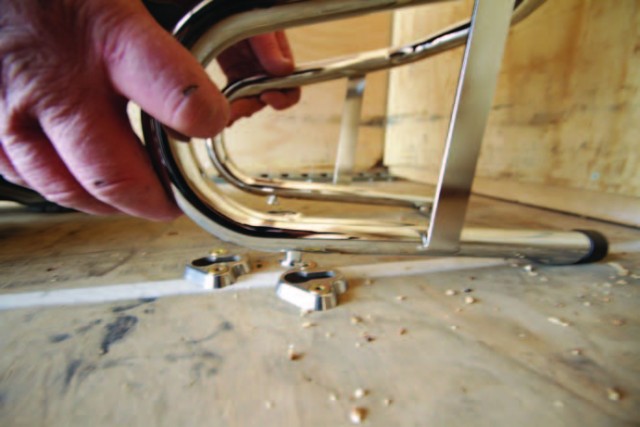
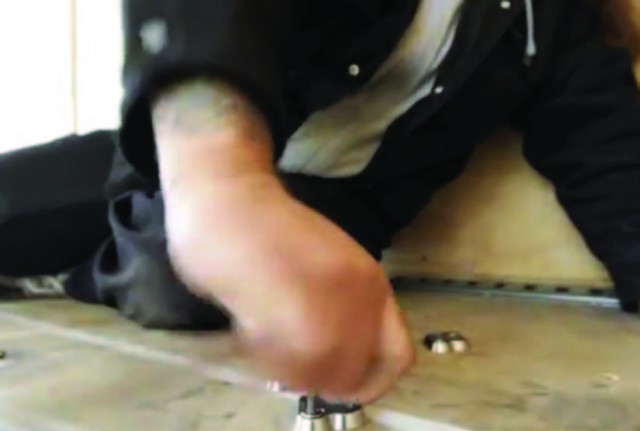
This is a good look at the tabs that are on the bottom of the chocks and how they slide into the receivers.
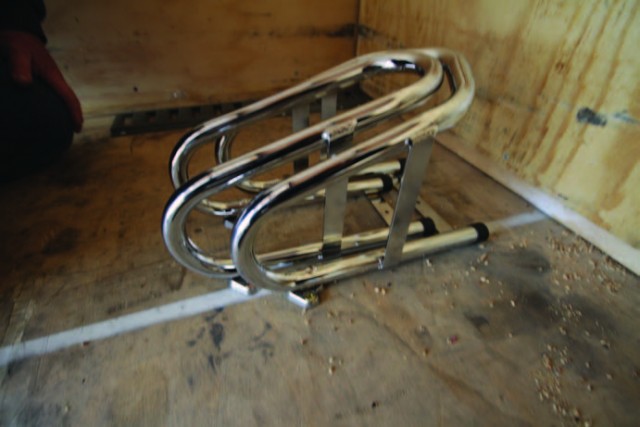
What we did here was to use two sets of mounting hardware so that either a narrow chock, for a skinny 21 inch tire, or a wide one, for a fat dresser tire could be used.
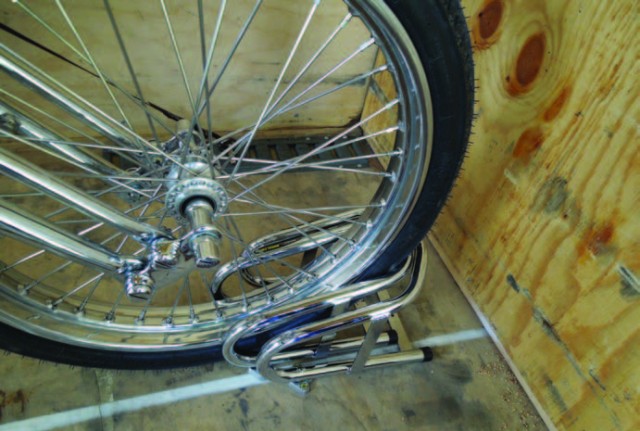
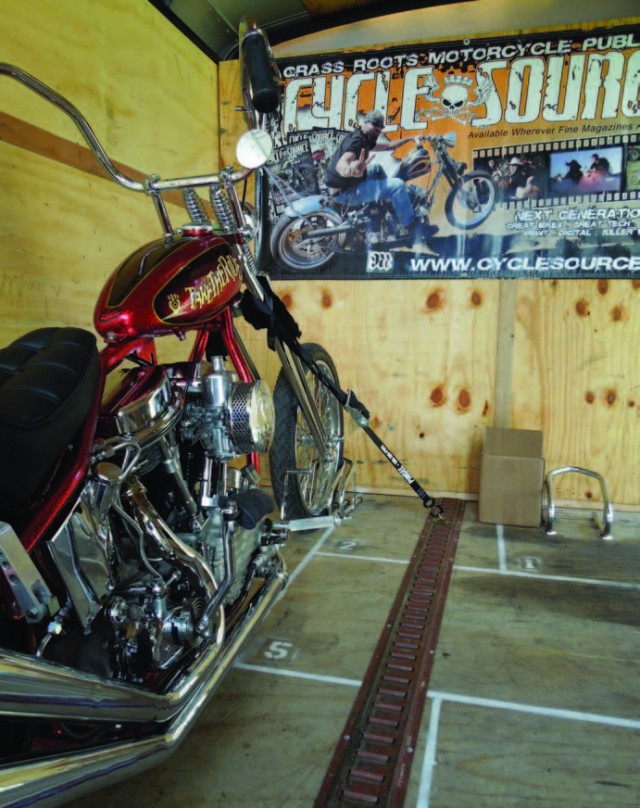
Here, the front tire of the ‘49 is in the skinny chock and as you can see, it’s the perfect fit and will not let the skinny tire move around.
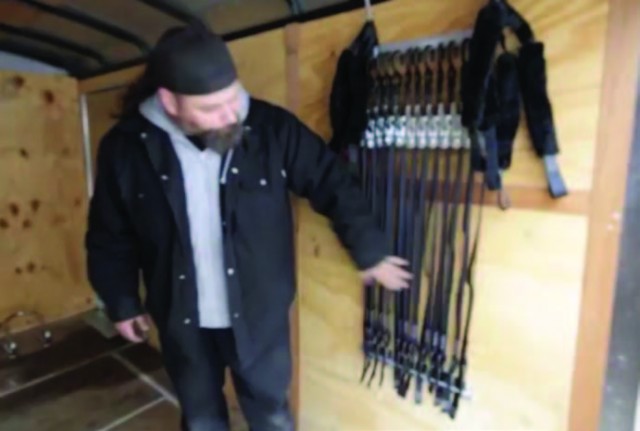
Next, were the strap racks. Having a rack that keeps things organized is a nice way to make sure nothing gets lost and to keep your trailer neat and tidy.

Nice shot of the soft straps and the heavy duty ratcheting straps in action
The finished product. About an hour later we were ready to split for Daytona. Pingel offers great products at fair prices and here’s a bonus, they’re made in the USA! Check them out online today


