


Published In The November 2013 Issue Of Cycle Source

Well it’s always a bummer, but it needs replaced! It’s not easy to diagnose a faulty valve guide. In this case, the rear cylinder was running like it was low on compression. It was burning oil out of the rear cylinder as well. After taking a compression check, it showed 75 psi. — too low. Anything below 100 makes for a sluggish motor; it’s time to pull the rear head.
So we asked our good friends over at BC Cycles in Upland, CA. to help us out on this one. Wyatt pulled the head off our Shovel chopper and began to break it down.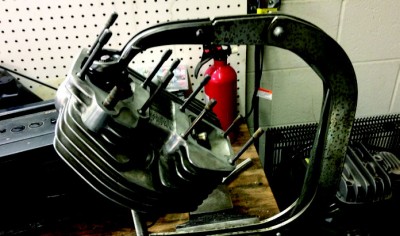
You need to get a valve spring compressor tool. The one we used was made by Mac tools. It’s used for cars, but will work for motorcycles too.
After taking off the springs and taking out the valves, we noticed the intake guide was loose. These guides are pressed in and should not move at all. This job is fairly technical and you should definitely reference a shop manual.
Luckily, BC Cycles has a very good parts’ inventory, so they had what we needed. We looked at the guide and noticed it said standard (Std.) on it. We also measured the diameter to double check.
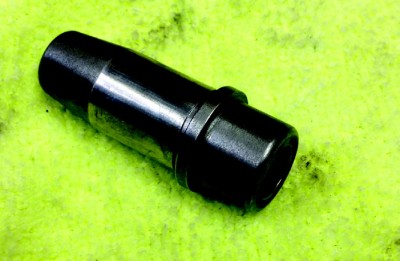
For this job you’ll need valve guide seals, valve guide +.001 and valve guide +.002. It’s very important that you get two sizes. Strip the head of everything. Then get yourself a little propane BBQ to heat up the head. Don’t use the one that you cook your food on; you’ll thank me later. Put the head in there and heat it up. The head doesn’t need to be really hot, just good and warm, almost to mimic the operating temperature.
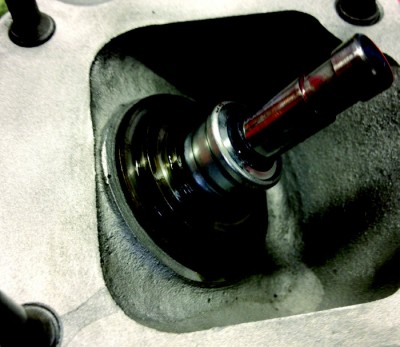
Take the head out with some thick gloves. A nice wood bench would be good to work on here. Take your valve guide installation tool, your hammer and tap that .001 size guide in until that shoulder on the guide is fully seated. Did it go in too easy? Yes, it did.

Okay, flip the head over and knock that guide out. Get the .002 size guide and tap that one in. It took a little more sack to get that guide in, right? That’s what we want.
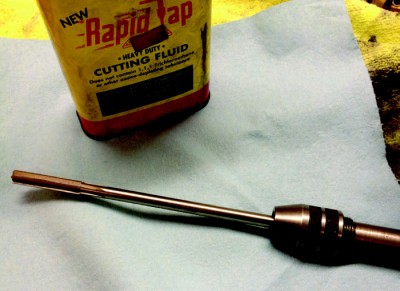
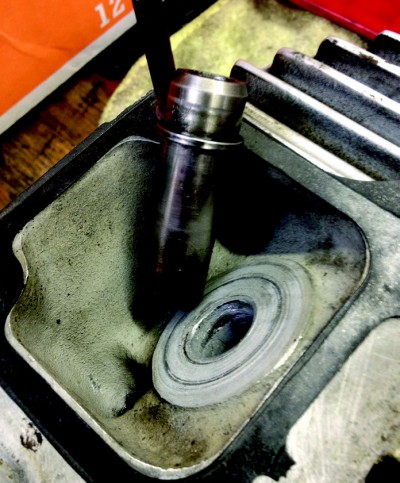
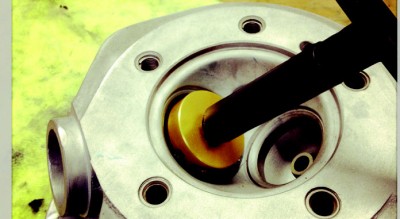
The next step is to size the guide. Sizing the guide is really important. The book shows that the inside diameter should be .001 bigger than the outside diameter of the valve stem. So, we used a carbide reamer tool to ream out the center of the guide. Take your time and make sure the valve goes in and out of the guide smoothly. I can’t put enough emphasis on this part. If the valve is hanging up or dragging a little, then ream out the guide a little more. At the same time, do not take out too much material or the guide is junk. So the guide is in!
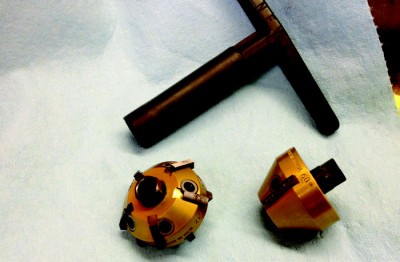
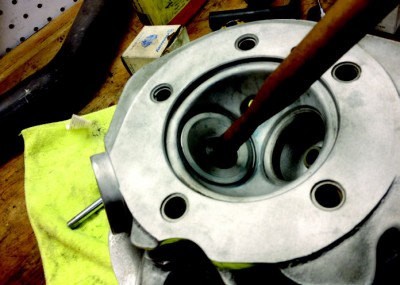
Now we have to cut the valve seat so the seat matches the angle of the new guide. To cut the valve seats, we used our Neway carbide valve cutting tools. The Shovel seats and most Harley valve seats are three angles: 36, 46 and 60 degrees. Reference your shop manual.
So we want the valves to have a good seal and mate up to the seat with no leaking. After cutting the angles according to the shop manual, we’re now ready to check our work.
Put some blue stuff on the valve so you can tell the pattern of where the valve is rubbing against the seat. Turn that valve
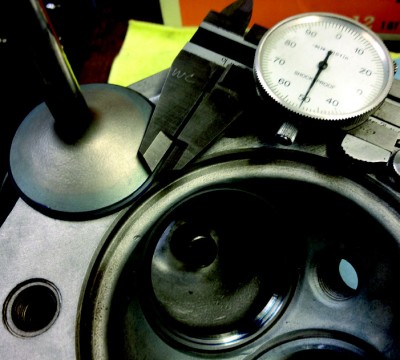
back and forth. Is that pattern on the valve face .050 inches wide and 2/3 up to edge of valve? If not, follow procedure in shop manual till it is.
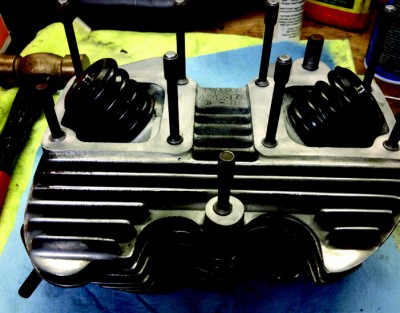
Okay, most of the hard work is done. Clean the valve and seat very well. Put the valve in the guide and install the seal. Take your time with this. You don’t want to ruin the seal. Get some oil on that valve stem and seal to make installation easier.
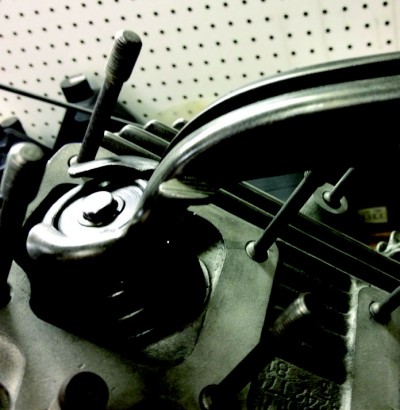
It’s time to put the valves and springs back in the head. Again, use the valve spring compressor tool. Once everything is in, we’ll check for leaks. Spray some carb cleaner through the intake port
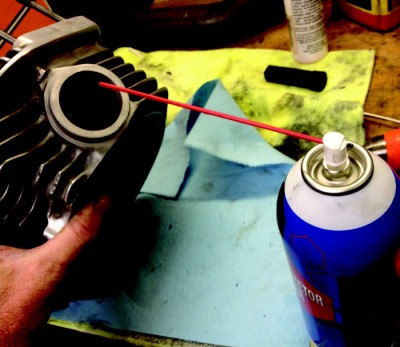
and see if any leaks out past the valve. If it does, that seat needs to be cut a little better to match the valve face. If not, you did it! This is a big job for anyone. Having all the right tools is also very important.
Taking the time to do the job right is essential in all we do. Thanks Wyatt from BC Cycles. We couldn’t have done it without you.


