


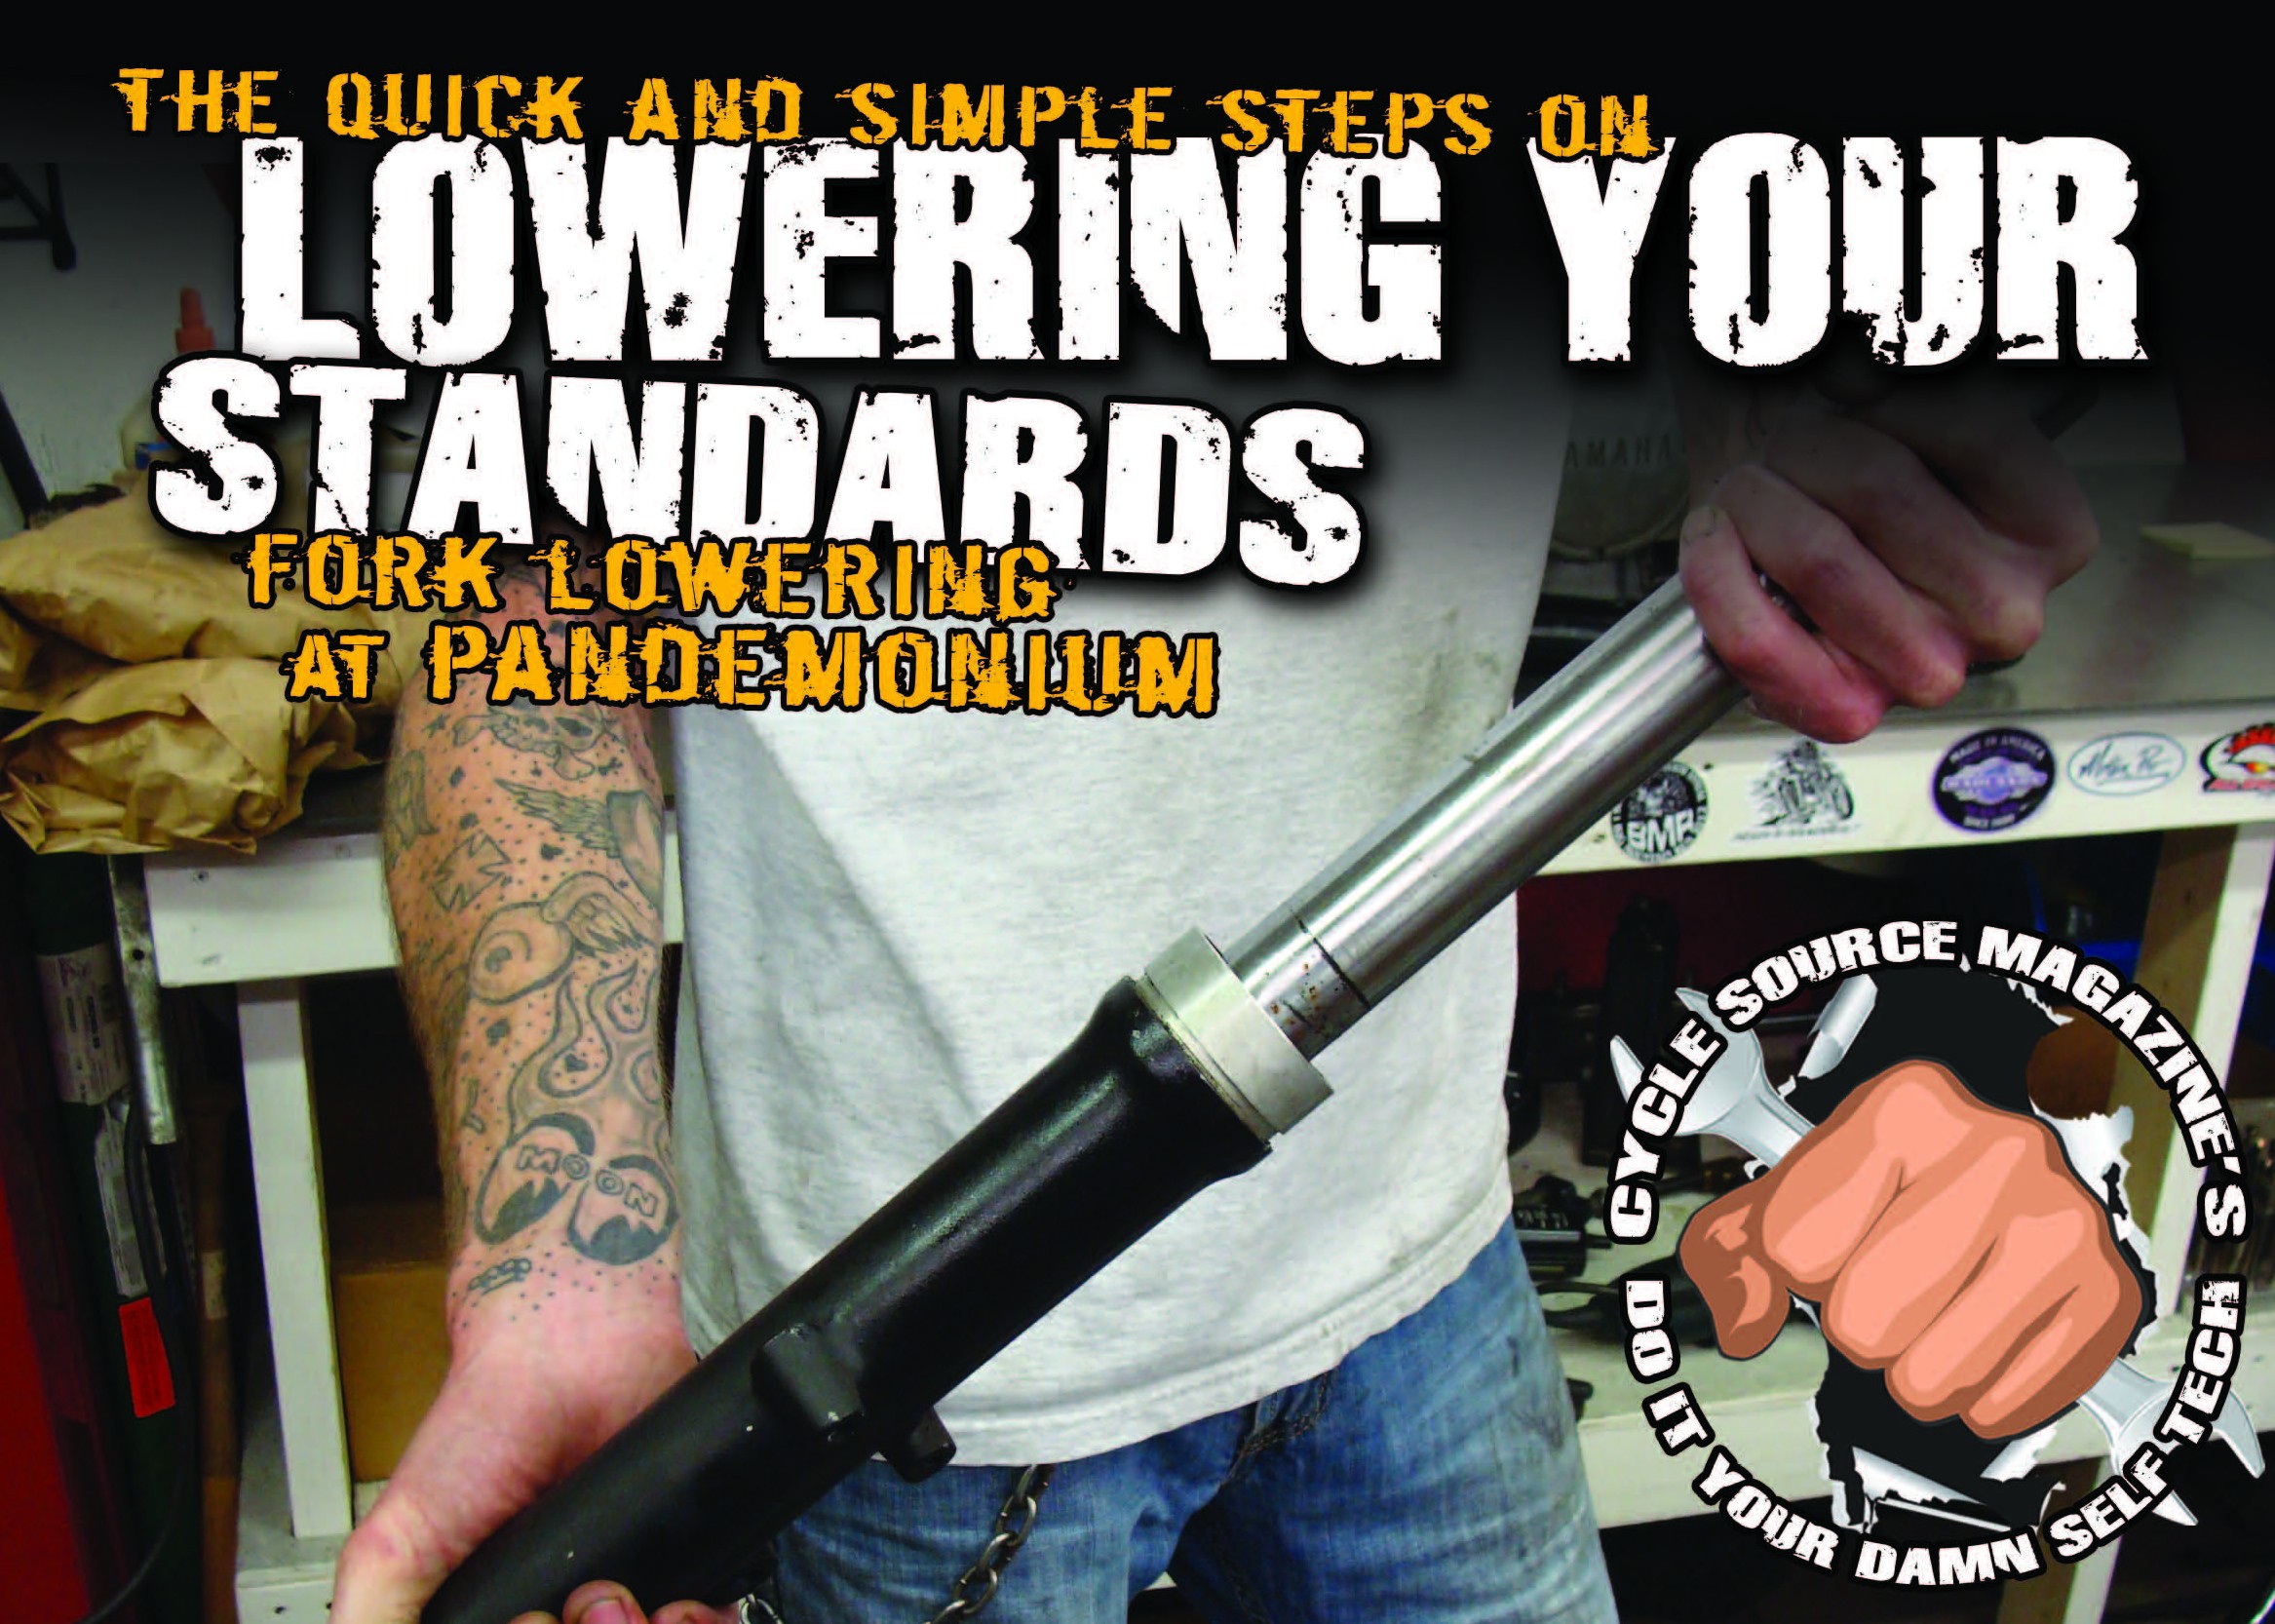
Article By: Daniel Donley – Pandemonium Custom Choppers – www.pandemoniumc2.com
Originally Published In The August 2012 Issue Of Cycle Source Magazine

Hydraulic type front suspensions have been used on many bikes for a lot of years. This month I am going to show you how to lower the front forks on a Yamaha XS650. The basics of this tech can be applied to any front forks, metric or American. This is an affordable alternative to having to buy shorter fork tubes to lower your bike. So let’s get into this!
The first thing you need to do is to take your forks off of the bike and drain the oil from them by removing the small drain screws from the fork legs.
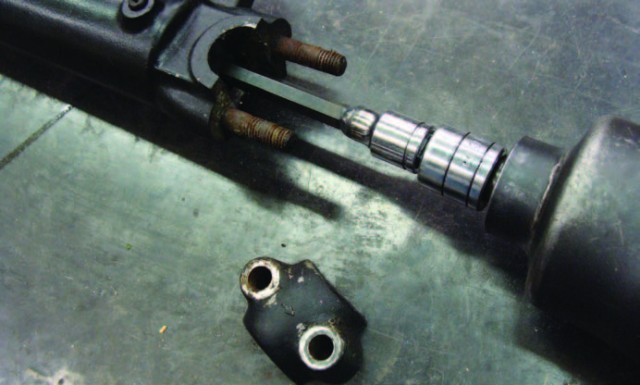
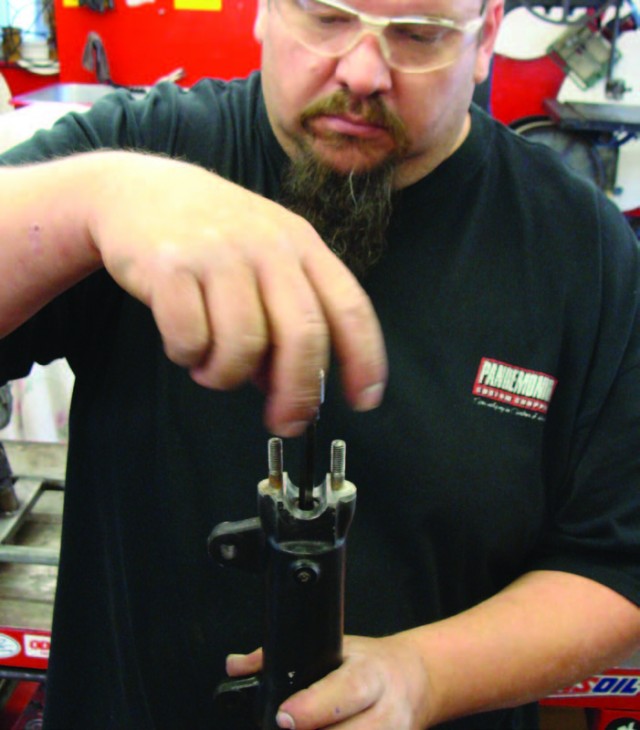
Remove the dampening rod bolts from the lower fork legs.
While removing the fork spring retaining nut, you must use caution. This spring is under tension so take extra care!
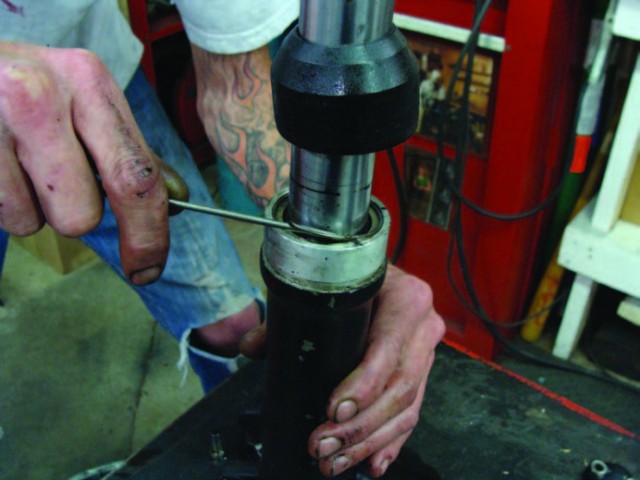
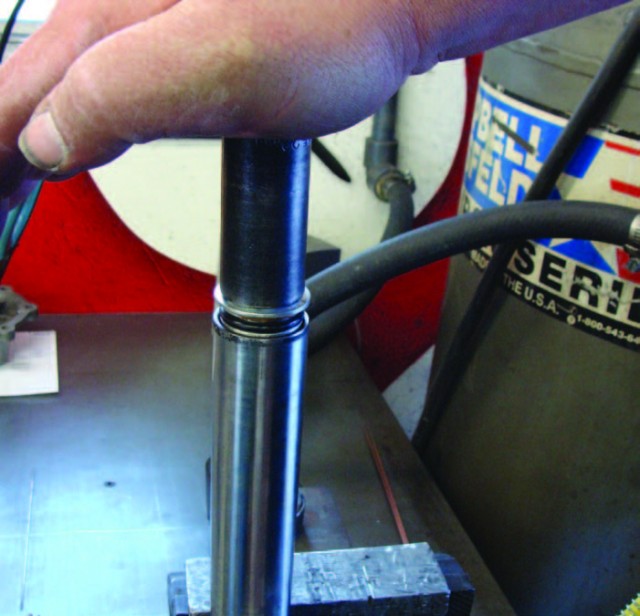
Remove the fork boot covers and the small clip that retains the fork seals.
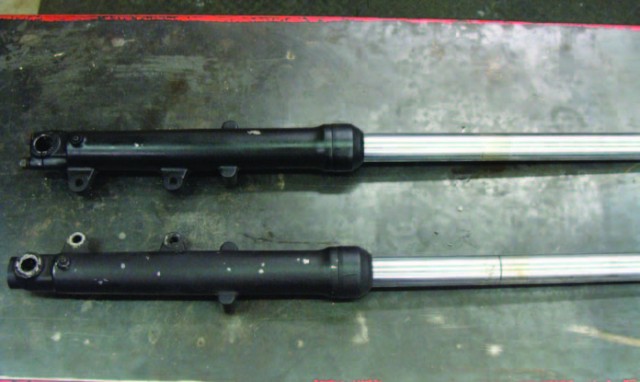
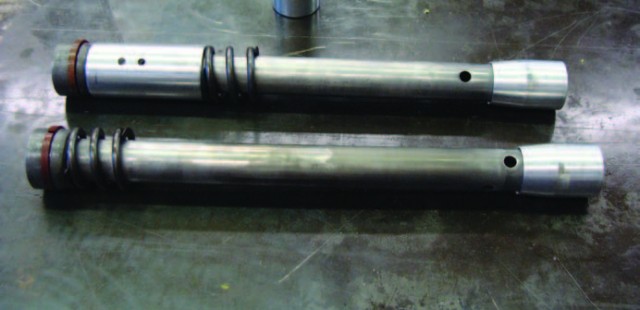
Now, you can remove the fork tube from the lower leg.
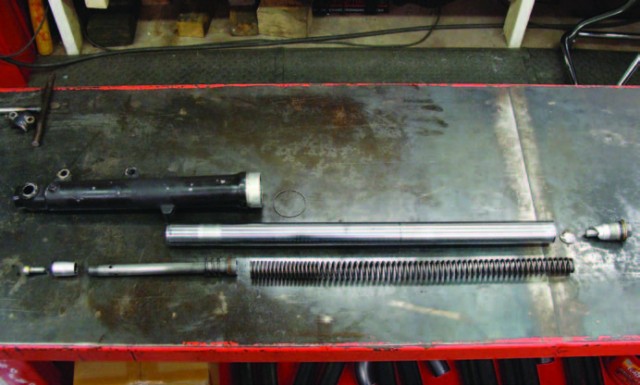
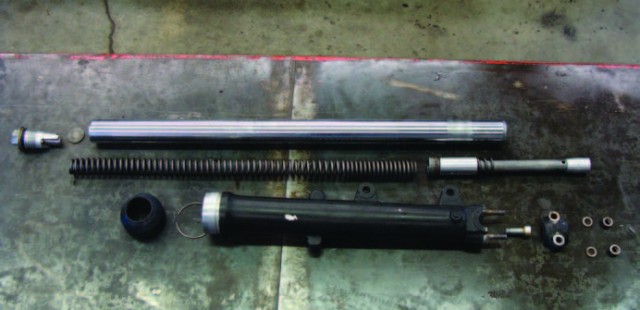
This is what you should have when you get to this step. You must clean everything very thoroughly by using some type of parts’ washing solvent.
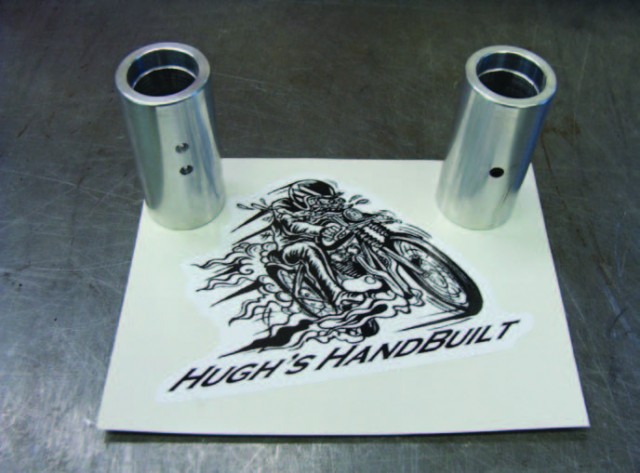
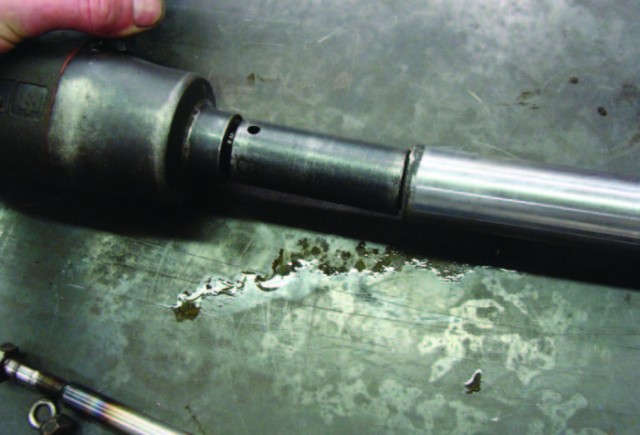
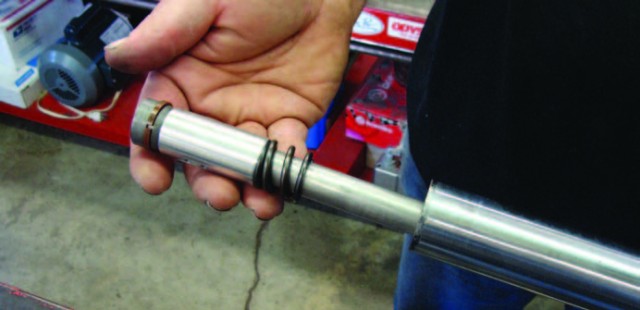
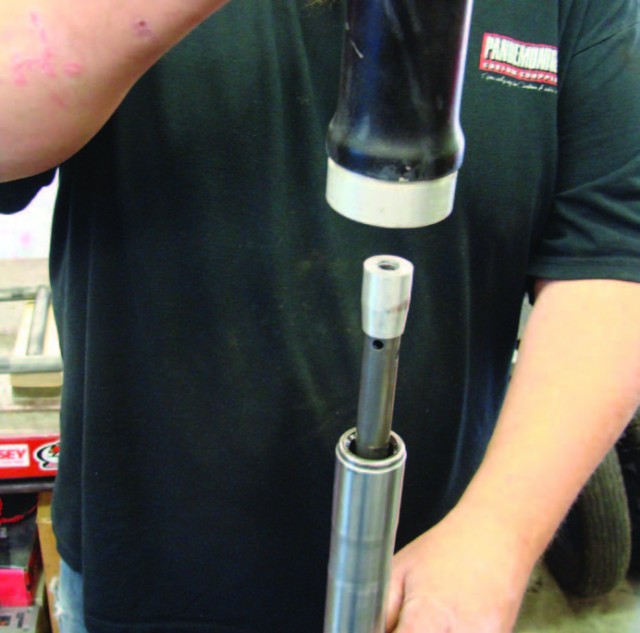
For this lowering job, I am using “Hugh’s Handbuilt” two inch lowering spacers. They have a small set screw that secures them to the dampening rod.
After you get the lowering spacers installed on the dampening rods, this moves the dampening rod further into the fork tube which will lower the bike.
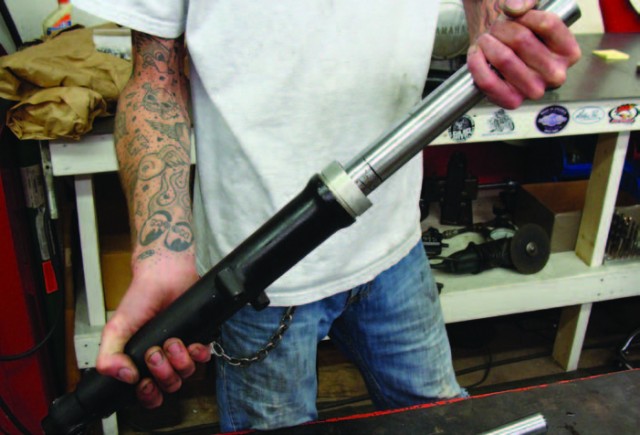
With everything all spic-and-span, now is the time to put it all back together.
Install the dampener rod with the lower spacer and re-bound spring into the fork tube.
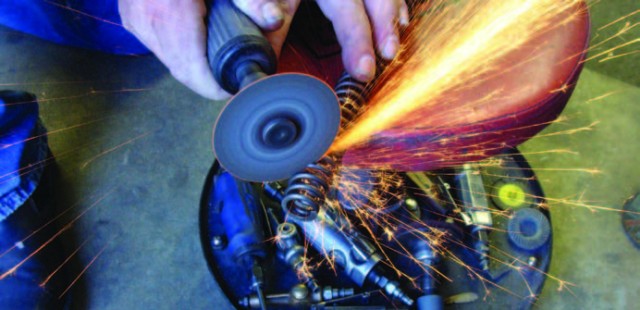
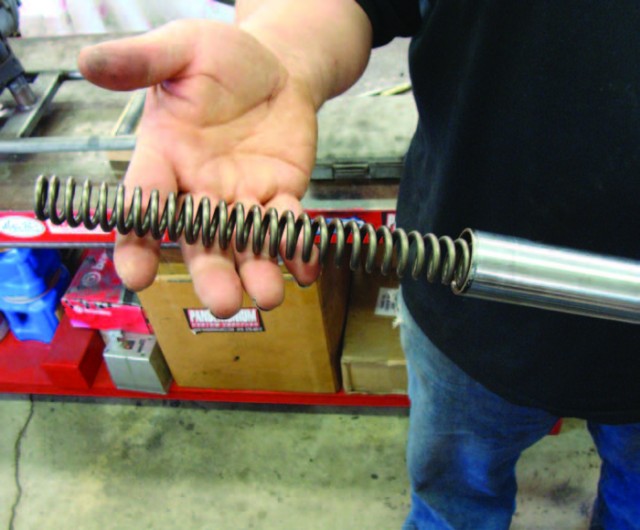
When I lower a bike two inches, I cut off one inch of the suspension spring. This will slightly firm up the front suspension. If you are looking for a stock suspension ride, then you would cut off two inches from the spring.
Now, you can install the suspension spring.
Install the fork spring retaining nut. Again, this spring is under tension so be careful not to cross thread it.
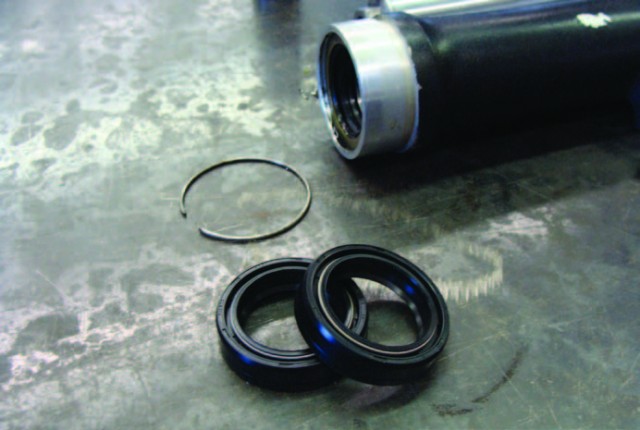
This is now a good time to install new fork seals.
Install the cap on the end of the dampening rod and then slide the lower leg onto the fork tube.
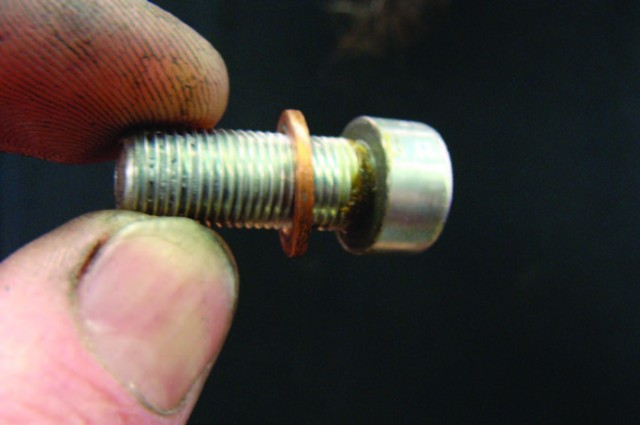
Use new copper crush washers on the dampening rod bolt that retains the fork lower. Adding a little sealant here on the threads will make it leak free. I recommend letting it dry overnight before adding the fork fluid.
Lowering the front suspension on your bike is a good weekend project. It only requires basic hand tools and will give your bike the look and performance it deserves.


