


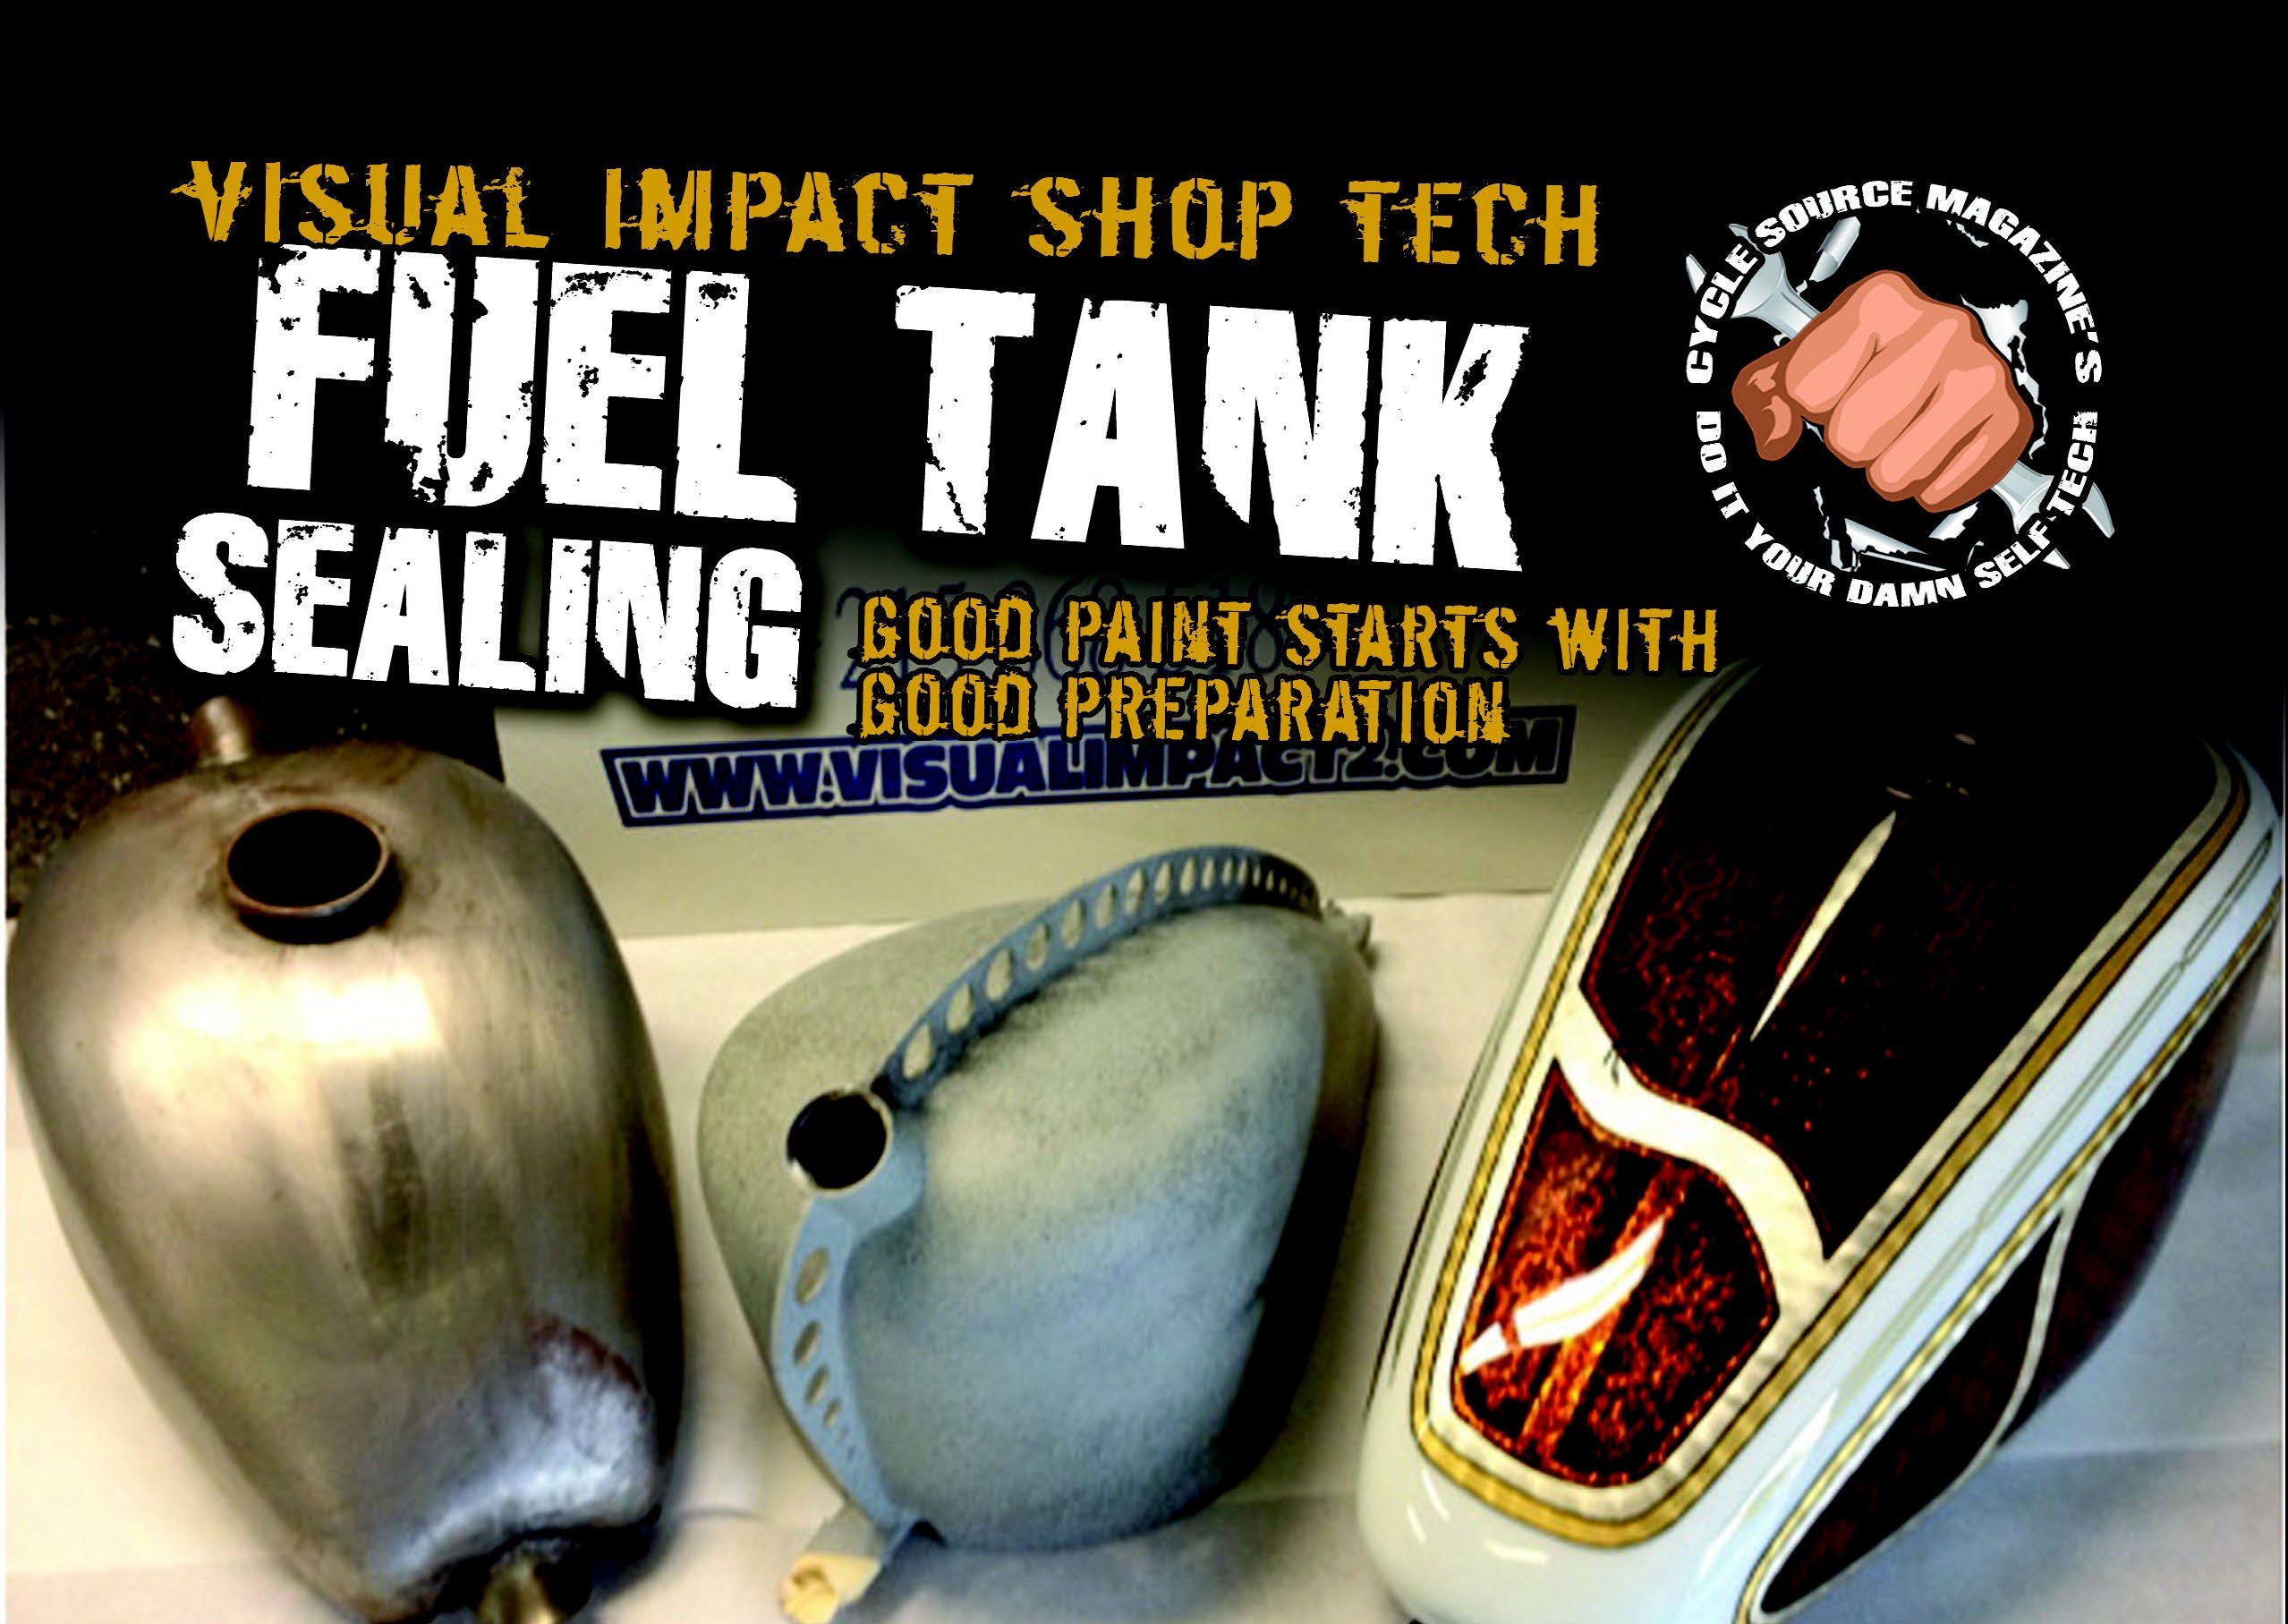
Published In The January 2014 Issue Of Cycle Source
Article & Photos By: Visual Impact
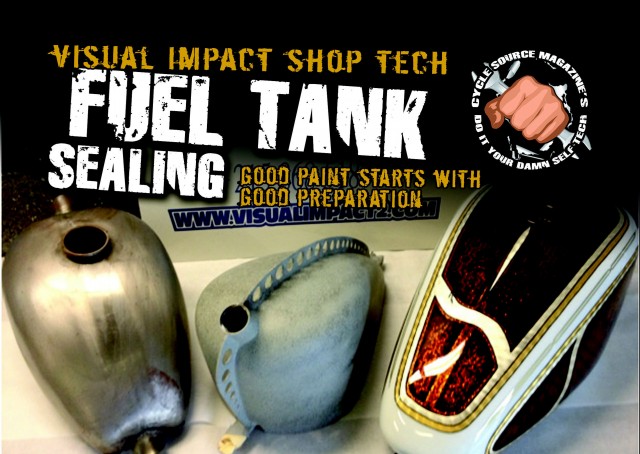
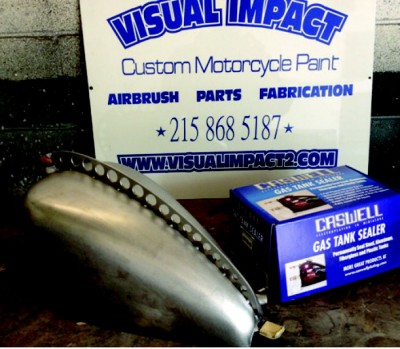
Custom painting isn’t just about what you see on the surface. What lies under the paint is just as important. The finished product depends on excellent attention to detail and prep work. Half ass prep work will make for a poor foundation to put all the shiny stuff on. You have probably heard the saying painting is 90% prep. This is as true a statement as there ever was. So let’s get into what it takes to get a tank ready for paint; the not so glamorous side to custom painting that no one ever gets into. Before we even get to the outside of the tank, we need to start with the inside. Any time you have a tank that was custom built, the builder will usually pressure test it before sending it out to be painted. This tank was no exception. Daniel at Pandemonium did the metal work on this beauty and pressure tested prior. So let’s jump into how to seal the tank internally.
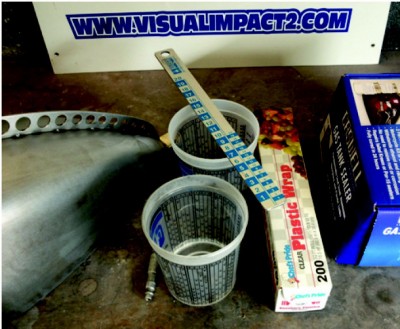
The first step is to get your supplies together. You will need: plastic wrap, rubber gloves, paper towels, masking tape, a flashlight, mixing cup, mixing sticks, lacquer thinner and a blow gun/compressor. Of course the most important part of sealing the tank is a top notch tank sealer. There are only two that I will put in a tank: Red Kote and Caswell. I have seen the other brands on the market fail more than once. In this case, Caswell is my sealer of choice. I’ve done hundreds of tanks with it and I trust it. I use it in my own builds and my personal bike. It is a two part epoxy system and if it is installed correctly, will give you excellent worry free results. The kit comes with instructions for using the product in many different applications such as rusty tanks or other failed liner repairs. We will cover new aftermarket tanks and custom built ones since that is what most will be up against.
Start by dumping some lacquer thinner or acetone in the tank and cleaning it out really well. This is very important since most tanks will have a film build of oil inside of them to keep them from rusting on the shelf before you buy them. Wash the tank out really well and drain out all the lacquer thinner. Next, take your blow gun and blow the tank dry. Make sure you get it completely dry before moving forward. It isn’t a bad idea to preplan and do this the night before or early in the day and leave it out in the sun to dry out completely.
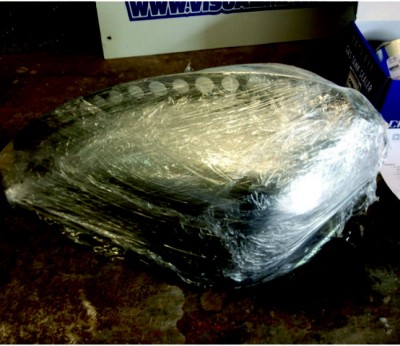
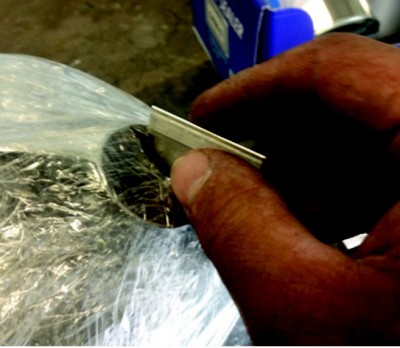
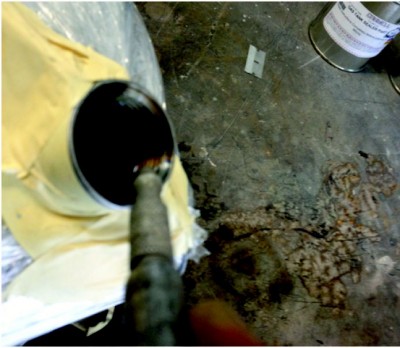
Once the tank is dry and ready to go, take your plastic wrap and wrap the tank up really well. Don’t worry about covering up the fuel filler or exit. If you are dealing with a painted tank you will want to do this step prior to putting lacquer in the tank. Once you are all wrapped up, go back and cut a slit for your fuel filler and get some masking tape to tape up around the opening. Do the same for the fuel exit as well. This will keep the mess
to a minimum. Believe me, this process can get messy for a first timer and you will be glad you wrapped up the tank.
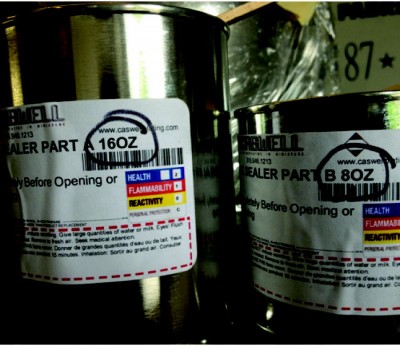
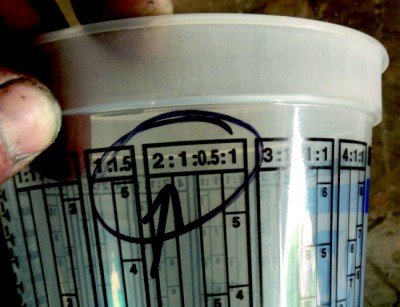
Next step is to mix your sealer. Caswell claims that their smallest set up available (the one we are working with) will cover up to a 10 gallon tank. I find that I can usually get two, 2 gallon tanks out of one set up. Gas tanks are small and difficult to seal so I like to dump in more than I need. You will find that it is way faster and easier to use more than less. I use about half of each part per tank. This will give you plenty to work with and will speed up the process. The mix ratio is 2 to 1. Each part is clearly marked (Part A and Part B).
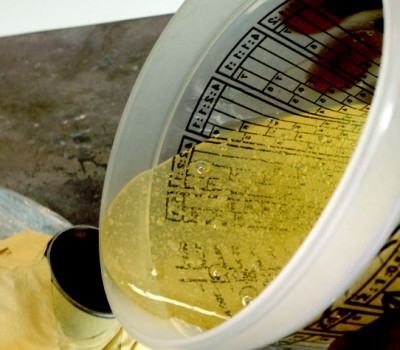
After mixing the two parts together, pour the mix into the tank trying not to get it all over the threads of the filler neck. Slowly rotate the tank in one direction. I like to start on one side and slowly rotate the tank. Most tanks you will be able to see inside to make sure you are getting good coverage. Some tanks are too small so you will need to take your time and

rotate slowly in all directions. The process can take about 20 minutes to really make sure you have complete coverage of the tank. Once you feel you have complete coverage, rotate the tank to fuel exit and drain the excess out. At this point you can take off the plastic wrap and tape. Set the tank down and make sure the sealer is not coming out of any of the exits. Many tanks can be placed flat on the work bench. Some you may have to let them sit at an angle to prevent sealer from coming out. The sealer is heavy and thick and it tends to settle in the direction you leave the tank. Once you have established a good resting spot for the tank to sit undisturbed for a while, make one final check to make sure no sealer is oozing out of the fuel exits. This can sometimes happen as it settles and can make for a real problem if left to dry this way.
The final step and the most critical is to clean up the threads of any bungs while the sealer is wet. If you have access to a compressor and blow gun, blow the threads out really well and take some shop rags with acetone or lacquer on them and wipe clean. Make sure to get them as clean as possible. Let the tank sit for a day at least before fueling it back up. The next day, if you have any sealer in your threads, you will want to
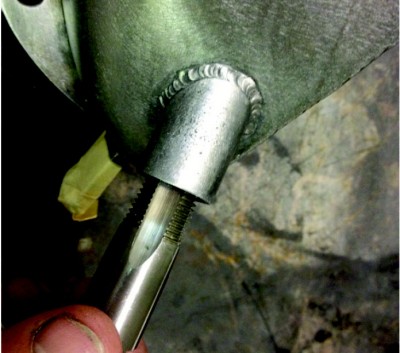
run an Npt tap in and clean it out. I highly advise you spend your time cleaning the threads while it is still wet because cleaning them when it hardens will prove to be something you won’t soon forget. If you do find yourself in this position, you can get a small dental tool to clean it out of your threads. In the rare instance where you didn’t pay enough attention and you find a big wad of sealer oozed out of the rear fuel bung you can carefully drill it and run an Npt tap in there and clean it up.
So there you have it. I urge anyone spending the money to have paintwork done to seal their tank first. It is one of the most important steps to a rock solid paint job and should never be skipped. As a painter, and someone who has fixed tanks that were victim to springing leaks, I assure you there is no cheaper peace of mind or insurance than this.
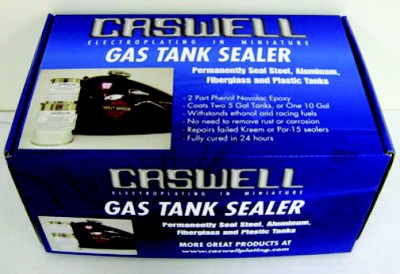
You can find the sealer at www. caswellplating.com. The cost is about $55 shipped to your door in the U.S. and you will get enough to do two tanks. Go in on it with a buddy and get to it. You can find us at www.visualimpact2.com or by phone 215-868-5187. Just ask for Mike.


