Article & Photos By: Daniel Donley – www.pandemoniumcustomchoppers.com
Originally Published In The September 2016 Issue Of Cycle Source Magazine
I had a local guy stop by the shop, wanting to know if I could put a hardtail on his old Ironhead Sportster. He had an old bolt on hardtail that he didn’t like the lines of. He had already bought a Voodoo Vintage weld on Hardtail that he wanted me to install for him. A deal was struck and he dropped it off at the shop. For this month’s tech I am gonna show you how to install the Voodoo Vintage hardtail on an old Ironhead. So with the bike and the hardtail in hand I went to the Voodoo Vintage website and downloaded the how to install instructions for this hardtail. They were very informative with step by step instructions, very straightforward and easy to follow. I began by making a reference mark on the back bone 8” from the front face of it. This will be used to help align the tail section. I then slipped the backbone through the upper frame rails and twisted it into shape. Making note of my 8” reference mark at the upper portion. I then used a string to align the backbone into the center of each axle plate. With this done, I placed a tach weld on the lower portion/ seat post. Using the 8” reference mark on the backbone. I aligned the upper frame portion with this line and placed 2 small tach welds there. With the backbone tach welded into place it’s time to move on to the next step, measuring and cutting the Ironhead frame. With some measuring and marking on the frame, a cut-off wheel was used to remove the unneeded section. I deburred and cleaned the frame tubing sections to prepare them for the installation of the hardtail, on the 3 cut locations. I then drilled the 3 locations about a ½” in for rosette welds. I then installed the hardtail into the 3 frame locations. I used a soft rubber mallet to achieve this. Then I installed the engine into the frame along with the rear engine mount plate. I wanted to see how everything was going to fit before I started welding everything permanently. I then used a string from around the neck down the center of the backbone into the center of the rear axle plates to check the backbone for straightness. With everything looking great I put 3 small tach welds, one on each tube. Then checked for straightness again, with everything still looking great, I put a couple tach welds on the rear engine mount plate. I began to weld the hardtail on to the stock frame sections, moving around from one joint to next trying to keep my heat even. Constantly checking that everything is remaining straight. With all the finished welding all wrapped up the installation of this Voodoo Vintage hardtail was very straightforward, and it only took about an afternoon to complete. Installation of this Voodoo Vintage hardtail on this old Ironhead was very straightforward and the fit and finish was great. It damn sure looks a hell of a lot better than the bolt on hard tail that was on it!

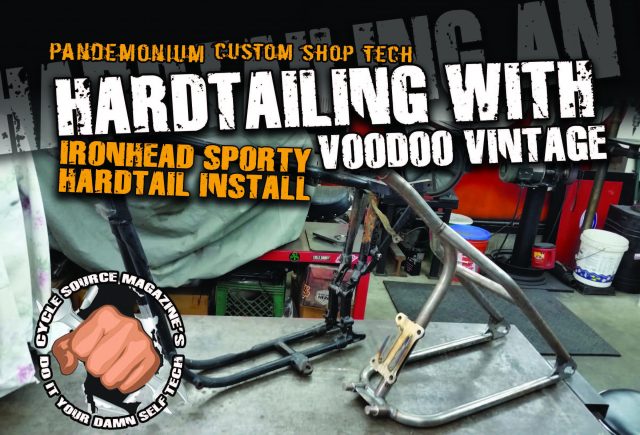
Ironhead Sportster meets Voodoo Vintage Hardtail

Measure 8” from the front leading edge of the backbone, this is a reference mark for installing the backbone into the hardtail section.

With the backbone slipped into the hardtail section, I used a string to get everything lined up in the center of the rear axle plates. I then placed a small tach weld on the lower portion of the backbone where it meets the lower frame. I then aligned the upper

frame portion with the 8” reference mark. I then placed two small tach welds at those locations.

With my cut-off wheel in hand I measured twice and cut once on the old hardtail frame. I then deburred and cleaned he three cut locations

to prepare them for welding. I then drilled the three cut locations for rosette welds.

I then installed the hardtail onto the frame, I use a piece of threaded rod and nuts in the axle plates to make sure they do not move while I’m welding.

I installed the engine and rear engine plate into the frame, I wanted to see how everything was fitting before I started welding everything permanent. As you can see here I used a ratchet strap to snug the hardtail into the stock front frame section. I also checked the alignment of the hardtail onto the frame section using a string. Once everything was to my liking I put three small tach welds on each tube. Then checked everything again for straightness.

I then put a couple tach welds on the rear engine mount plate. With everything looking good and straight I began welding to the hardtail to the stock frame section. Moving around from one joint to the next keeping my heat even, and constantly checking the frame for straightness. If there is something that you would like to see me do a Tech article on, please call me or e-mail me with your idea! If you have any questions, please feel free to call me at the shop anytime 419-576-6812