


Article By: Taber Nash – www.nashmotorcycle.com
Originally Published In The June 2011 Issue Of Cycle Source Magazine
We all know that no matter what happens, you are bound to break down and run out of gas sometime when you’re riding, especially on long trips. Years ago on a ride from Washington State to North Carolina for the East Coast Smokeout, Austin and I knew we were going to need extra gas on the trip because our tanks were so small. Our solution was to grab a few MSR fuel bottles, fill them with gas and throw them in our saddlebags. We ran out of gas so often with the small tanks we were constantly stopping to fill up and our fuel bottles came in handy because we could go longer distances with the extra gas. It got pretty annoying having to stop every time and pull the bottle out of the saddlebag which was already stacked to the brim with stuff. During the whole ride we kept thinking that we needed to design something to hold these fuel bottles that looked cool and made for easier access. When we got home, we put our heads together and the Fuel Sling was made a reality.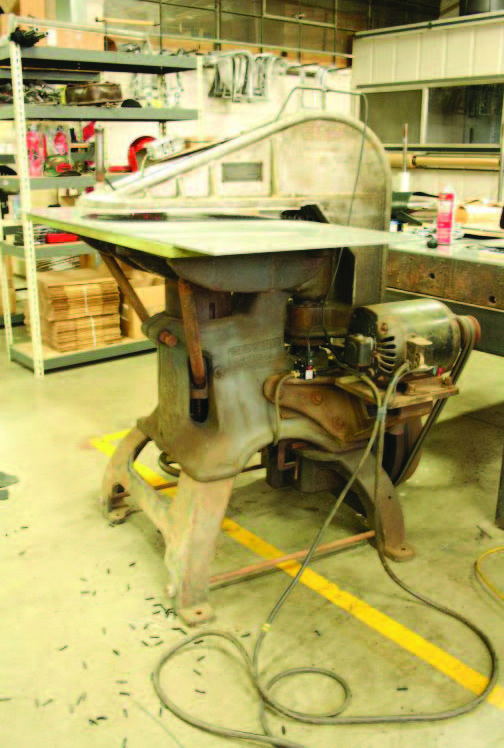
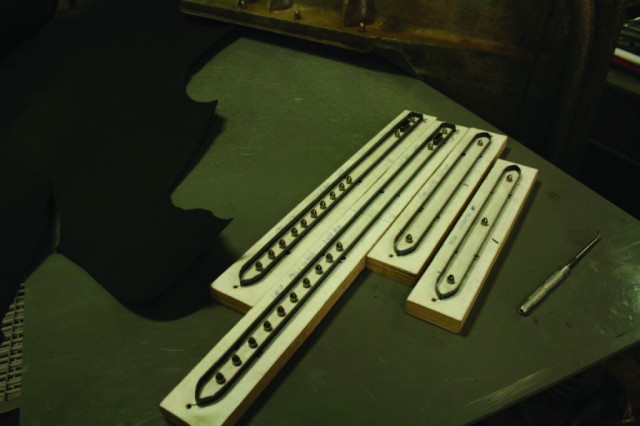
This is an early 1900s clicker press made by Reece. Not sure of the year?? Let me know if you can figure it out? This machine is used to stamp out the leather for the sling.
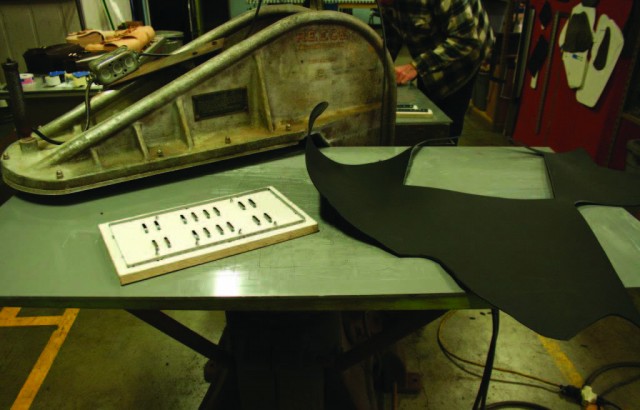
Once the clicker press is ready to go, we start with a chunk of American grown cow and our fuel sling die. This die started out originally as just a piece of paper. We use to cut each Fuel Sling out by hand. Now, with these dies and the clicker press, we have a speedier process.
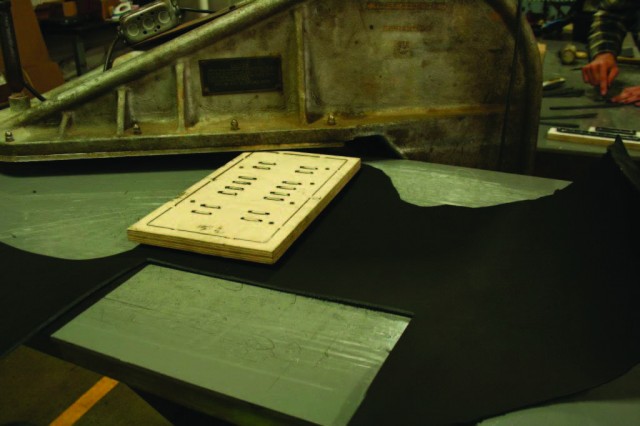
Once you have your nice piece of leather picked out, you can lay them down flat on the leather.
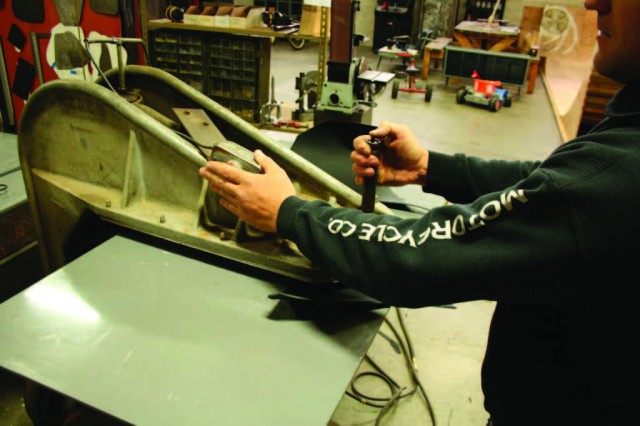
Now it’s time to swing the arm over the leather and die and get to stamping. Most machines like this have a 2 button switch for safety reasons; wouldn’t want to smash your fingers.
It usually takes a few punches with the press to get it to stamp through. This is the end result once the leather is stamped out.
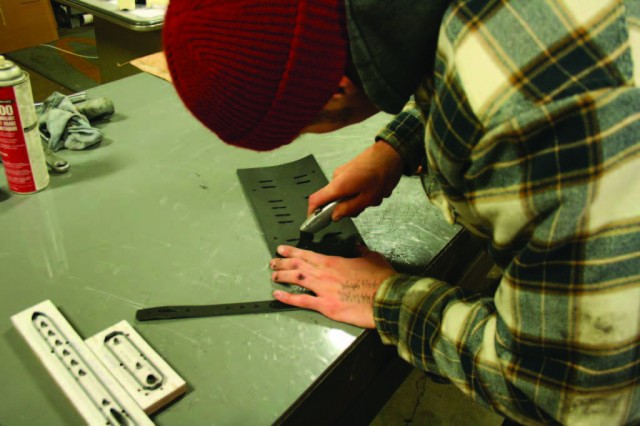
Austin, shown in this picture, is touching up the leather because every stamped-out piece takes a little personal touch from Team T & A (aka Teddy and Austin if you were wondering. They do all the leather work at Nash Motorcycle Company).
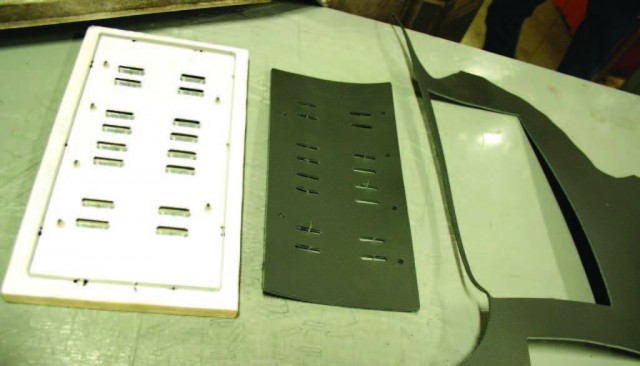
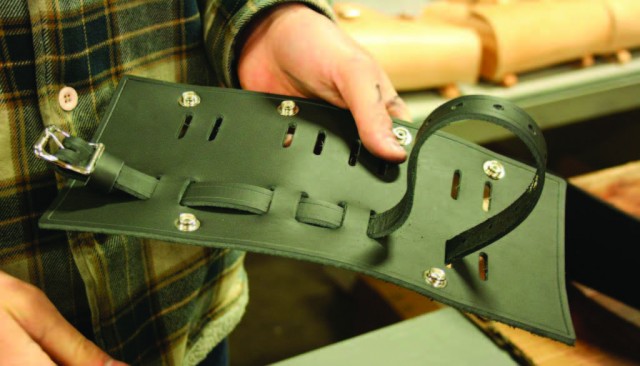
After we have the base piece, we need to punch out the straps. The Fuel Sling uses 4 different sizes of straps. Each one needs to be stamped out and given its personal touch with a little bit of edge work for looks.

Here are the dies, straps, and main body of the sling. Once you get to this portion, it’s time for assembly of the sling.
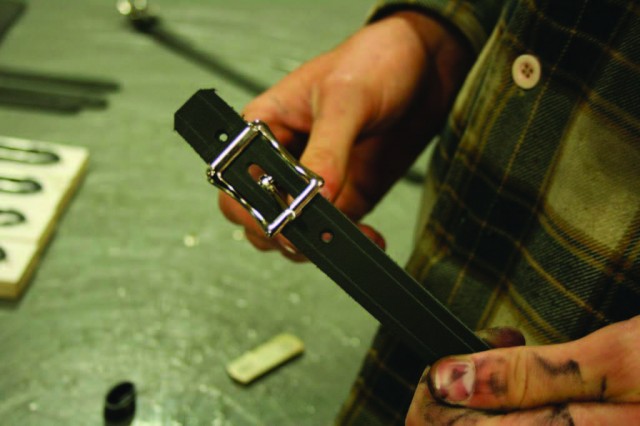
Next, we put on the buckles and rivets, brass or nickel, whichever you choose. Austin is shown in this picture putting on one of the buckles.
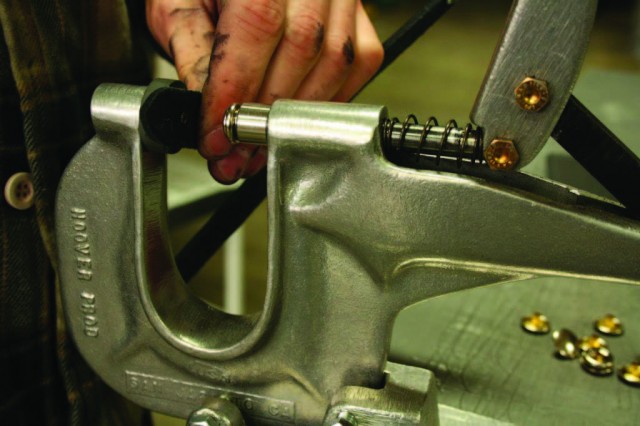
Here is the snap tool. We assemble all the Fuel Slings with snaps on the top and bottom for easy removal from either way.
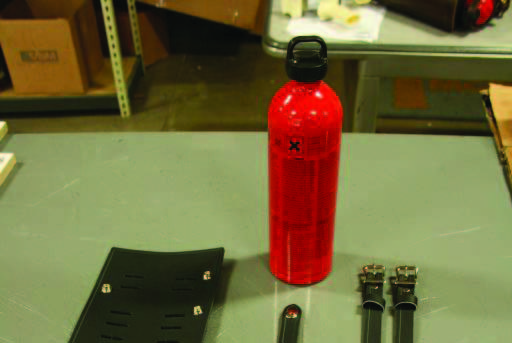

Now that we have added all the buckles and snaps, we’re ready to assemble the entire Fuel Sling. In this image we have an MSR fuel bottle. These bottles are by far the best on the market; any cheap imitation bottle you buy is not going to cut it. On the long road trip we took awhile back, Taber’s saddlebag strap broke and the bag drug on the ground for 3 miles. The fuel bottle was bouncing and dragging the entire time. The bottle never broke through and we still use this bottle on trips today.
We start the assembly process by weaving the straps into the body of the sling.
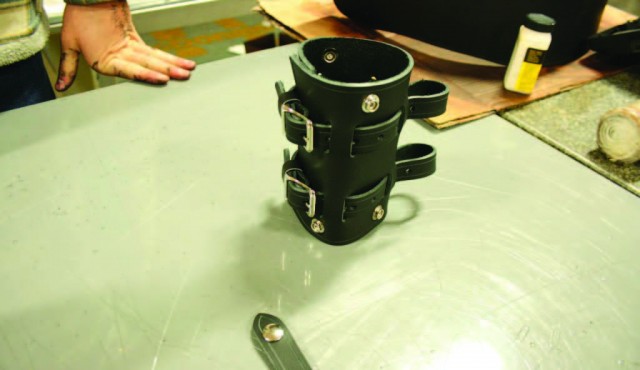
After both straps are inserted into the body, you buckle them together to achieve the cylinder shape that the bottle fits down into.
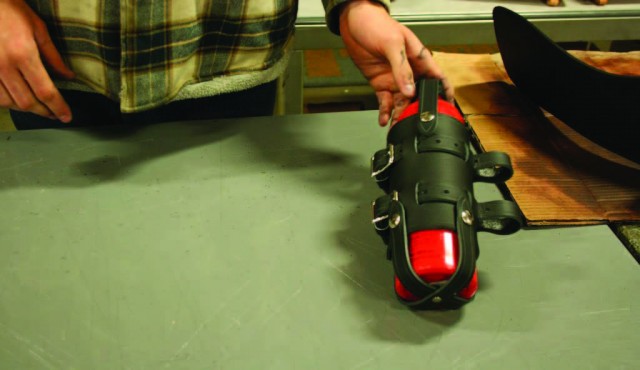
The next step is to snap the top and bottom straps to the body and insert the MSR fuel bottle.
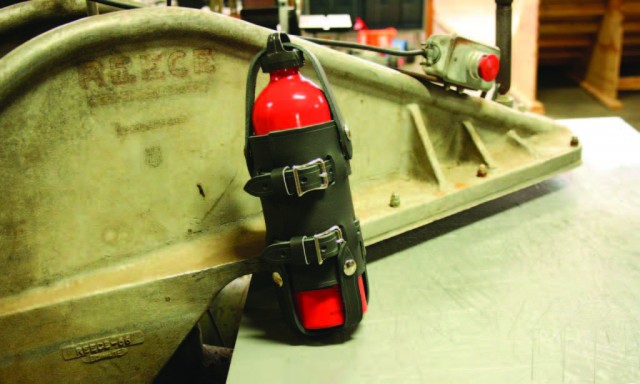
Now the Fuel Sling is ready to mount to your bike and you can ride those extra miles without getting stranded in the middle of nowhere. www.nashmotorcycle.com


