


Article By: Lucas Joyner – www.thefactorymetalworks.com
Originally Published In The November 2012 Issue Of Cycle Source Magazine

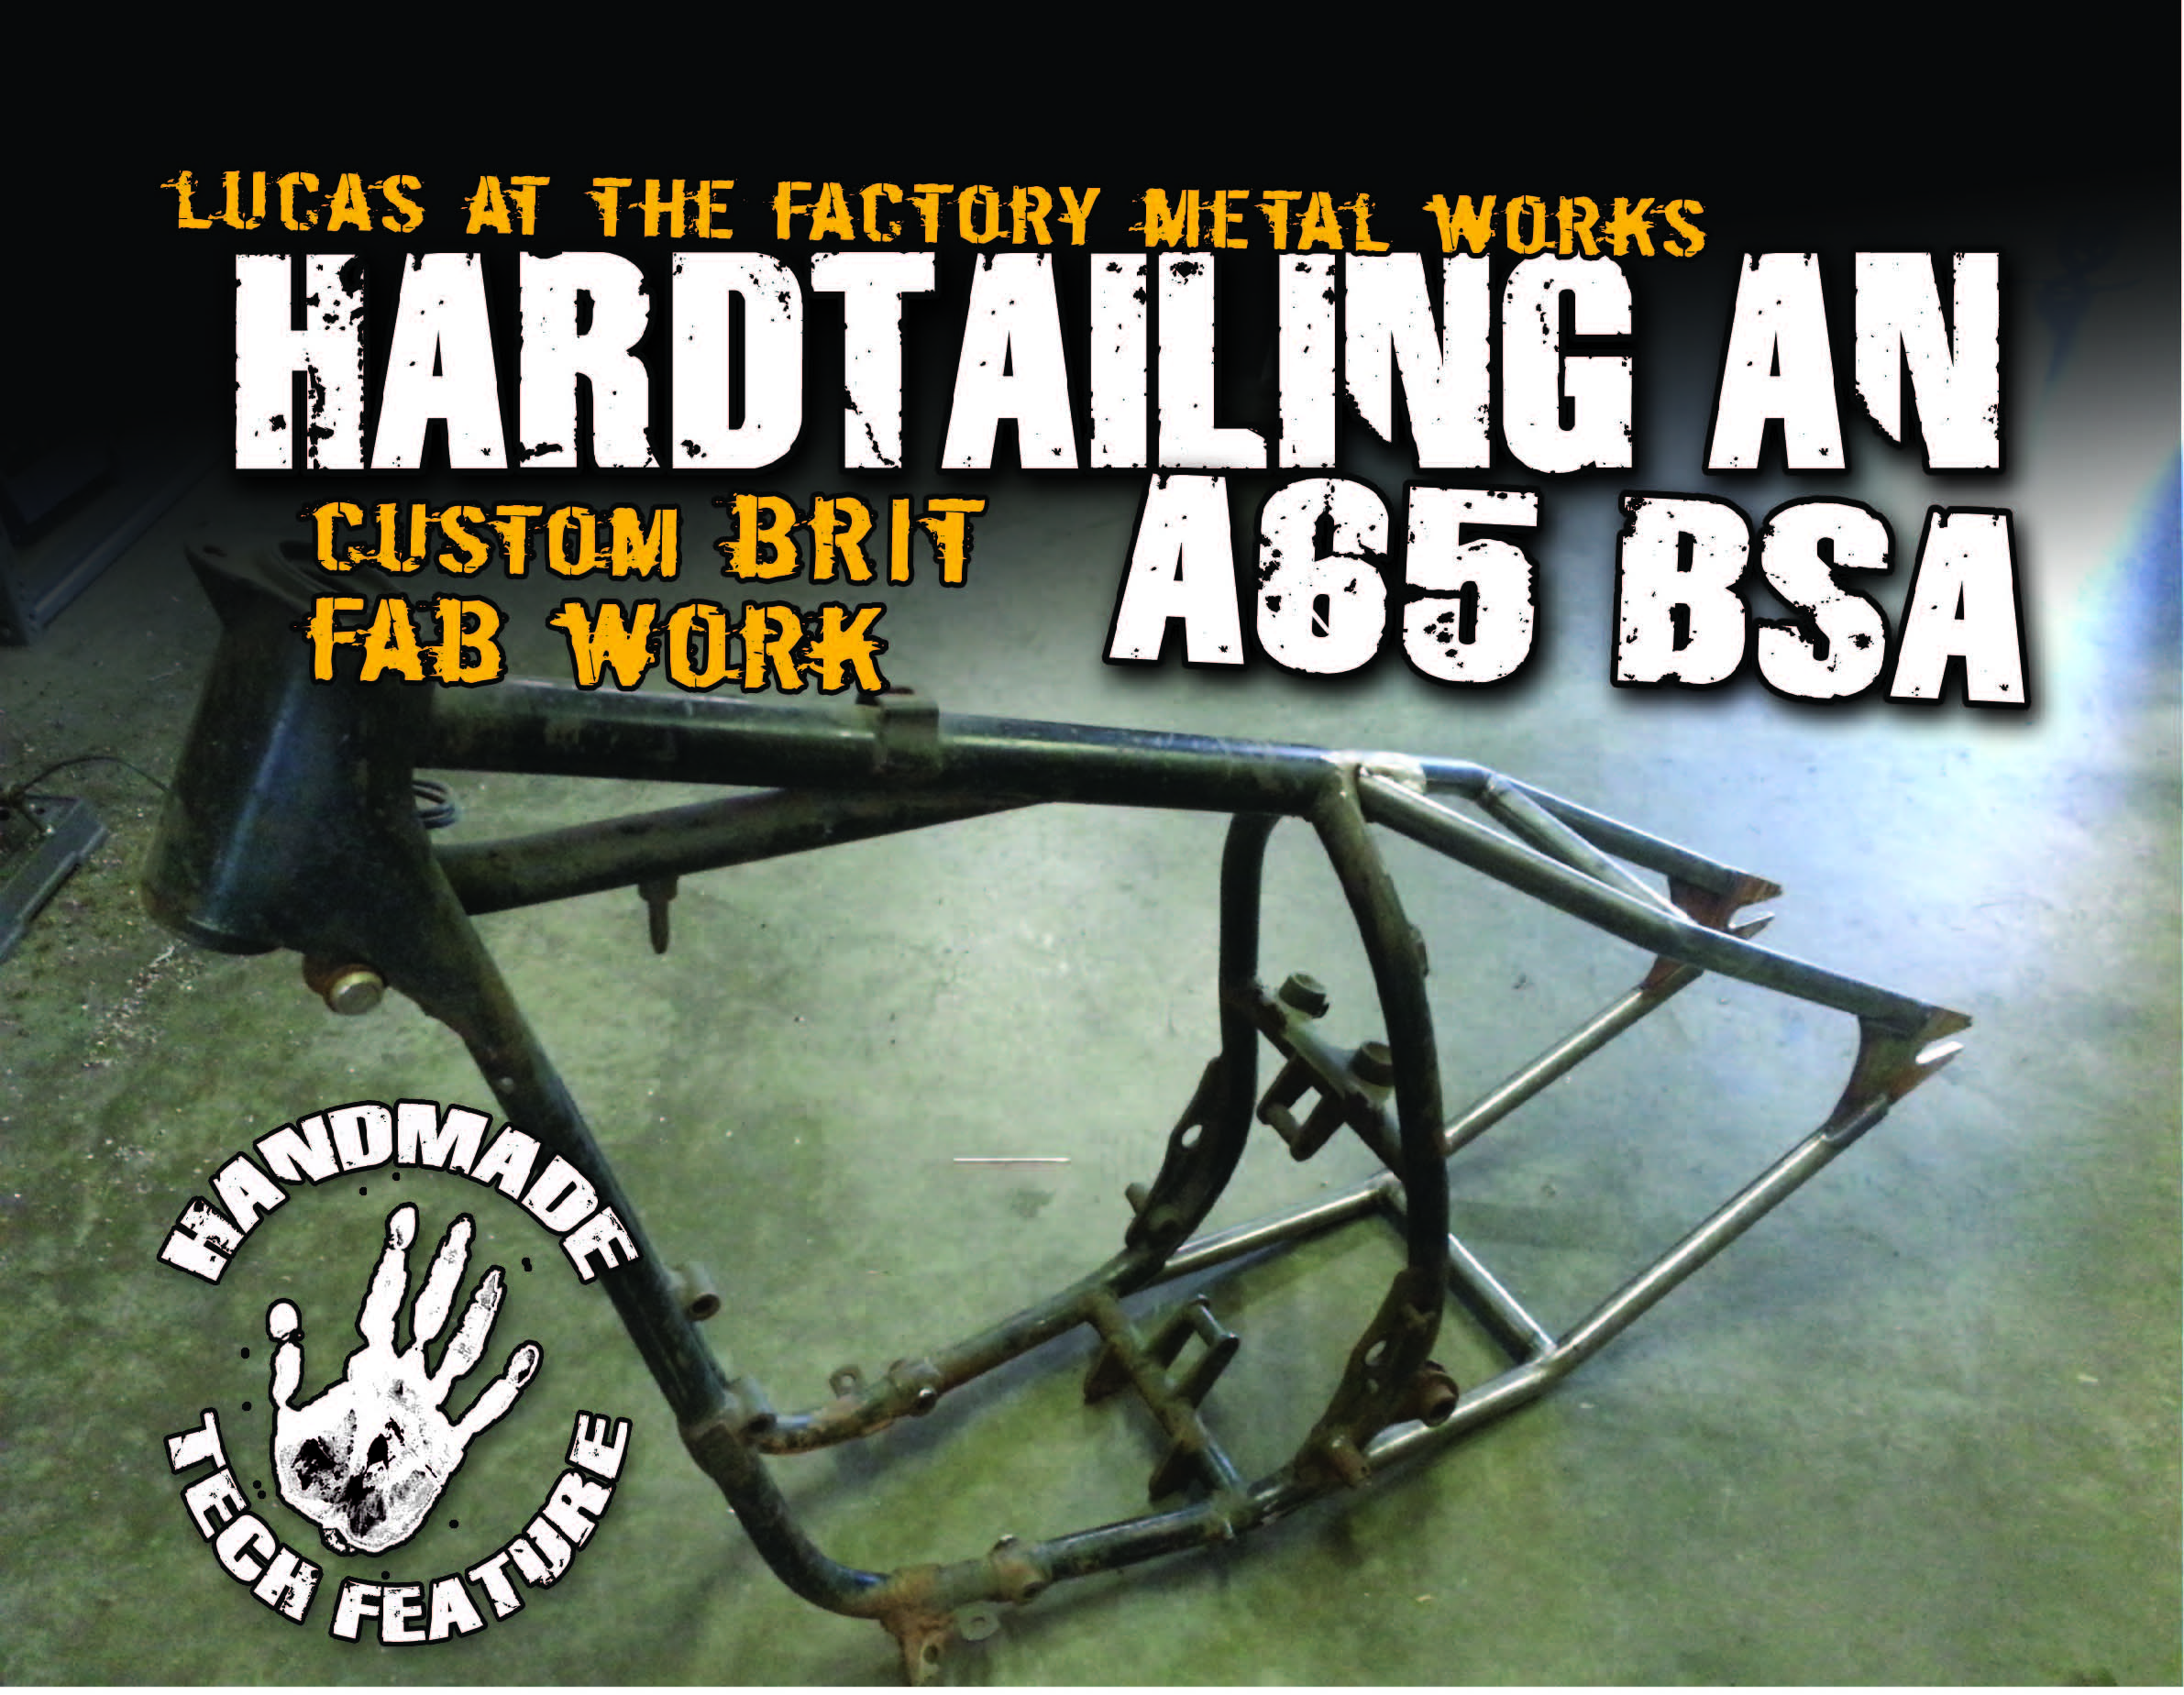
When we decided to do a tech article on hardtailing a frame, I figured it would be an easy task then realized differently. We are trying to show home builders how to make a simple jig at home, so before everyone writes to Chris or I about how we should have used a Bluco plate and a flux capacitor from a DeLorean to do this the “right” way, please remember we are just trying to give the beginning fabricator a little nudge in the right direction. We will be using our to-go hardtail kit which comes with everything you should need tubing and tab wise to get the job done.
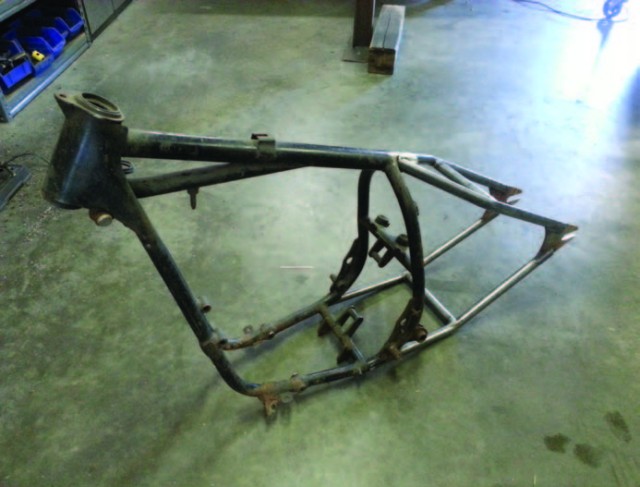
This month we will be hardtailing a late ‘60s BSA A65 full frame for a customer. On your steel work bench, set the frame level left to right and front to back on the bottom rails of the frame (try to center it on your bench). Keep the swingarm and shock in place; you will need this to build an easy fixture off of to determine drop and stretch of your new hardtail and to keep the correct offset for the wheel and sprocket alignment.
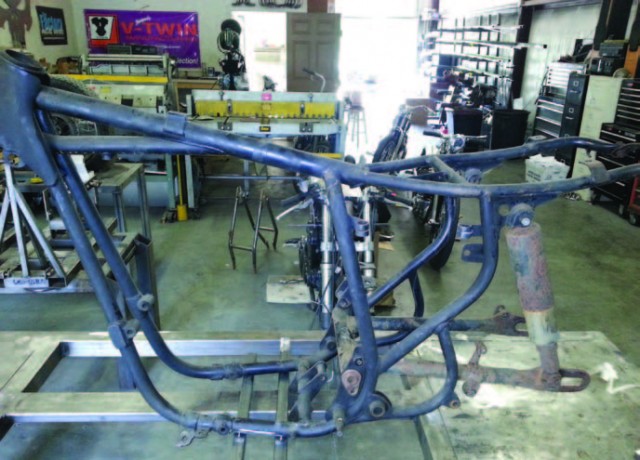
Take some 1” x 1” square thick wall tubing and clamp them to the inside of the axle plates. Make sure the tubing is tall enough for the drop you will be adding to the frame. Connect the tubing with another piece in the center and brace it forward and backward to prevent your fixture from moving. Make a mark on your fixture for the stock drop and stretch so you have a number to locate your new axle plates off of.
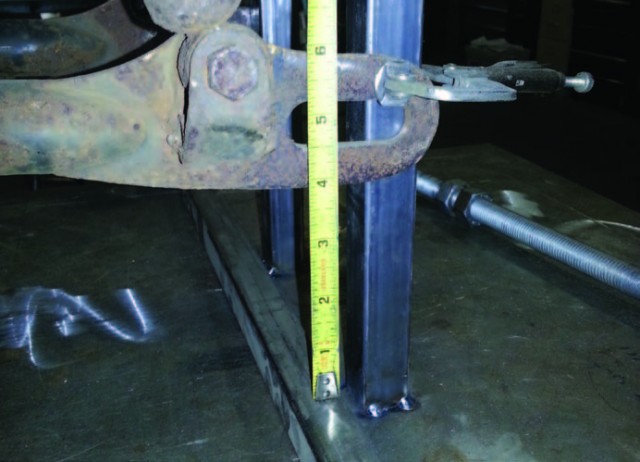
Remove all the tubing from the frame that you will be replacing with a cut off wheel and grinder. Make sure all paint and grease is removed from the welding surface. Clamp your new axle plates to your fixture in the new location you want (in this case we are doing a 5 stretch and 3 drop). By using your marks on your fixture, you should be able to measure up for the drop and back for the stretch.
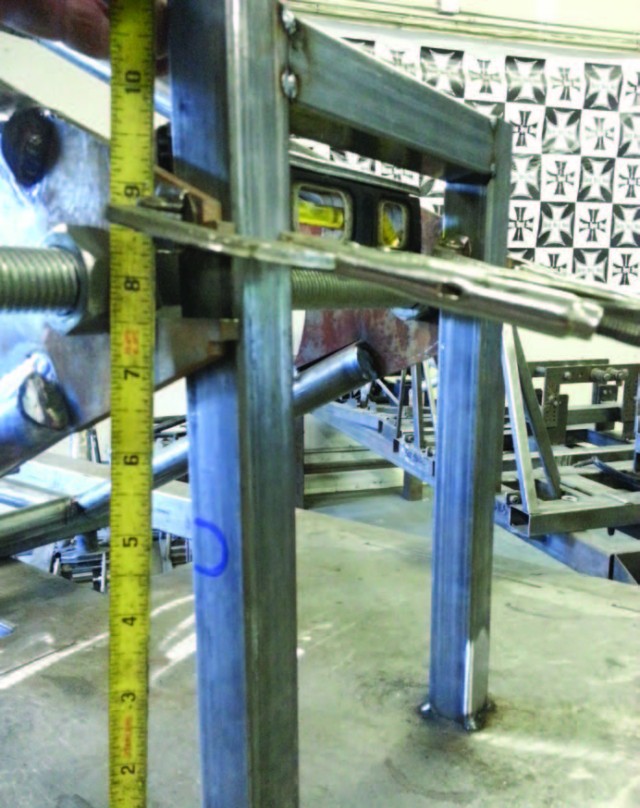
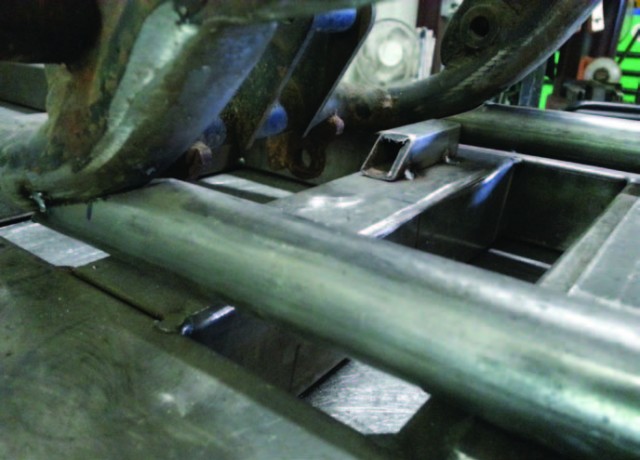
Next, take a piece of ¾” threaded rod and run it across both plates. When they are at desired height, stick a level on it to make sure both sides are true with each other. Place the level under the axle slot, running with the slot, to make sure they are level as well. Find a spot on the frame like the swingarm pivot mount to measure from so you can make sure the stretch is the same on both sides.
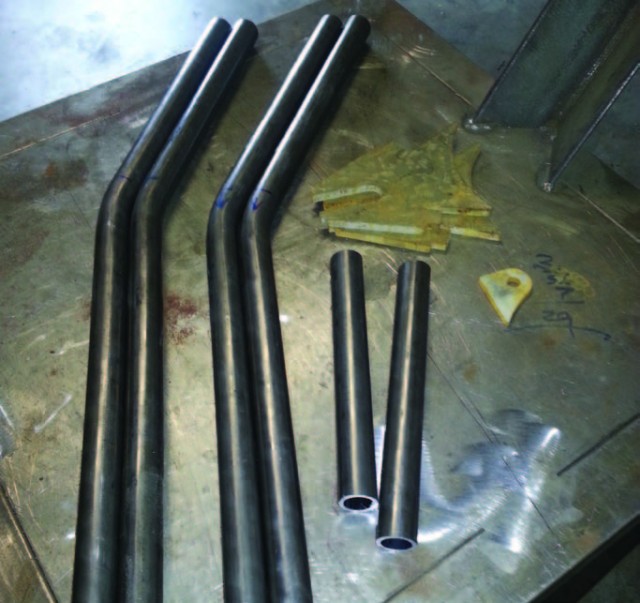
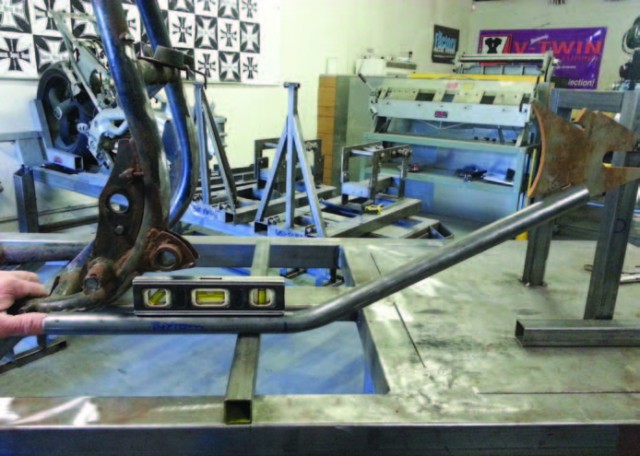
Now that your plates are in the location you want, choose a bar to start the bottom bars with. Our hardtail kit comes with 4 bars 26” long. Two of the bars have 26 degrees of bend and 2 have 20 degrees of bend. Hold the bars up to the frame and plate to see what will work best for you.
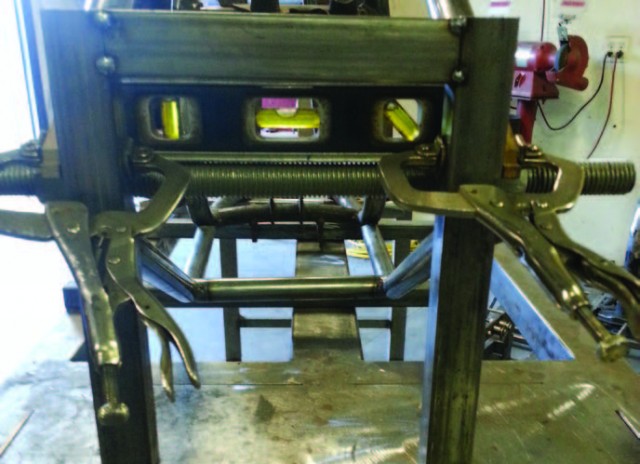
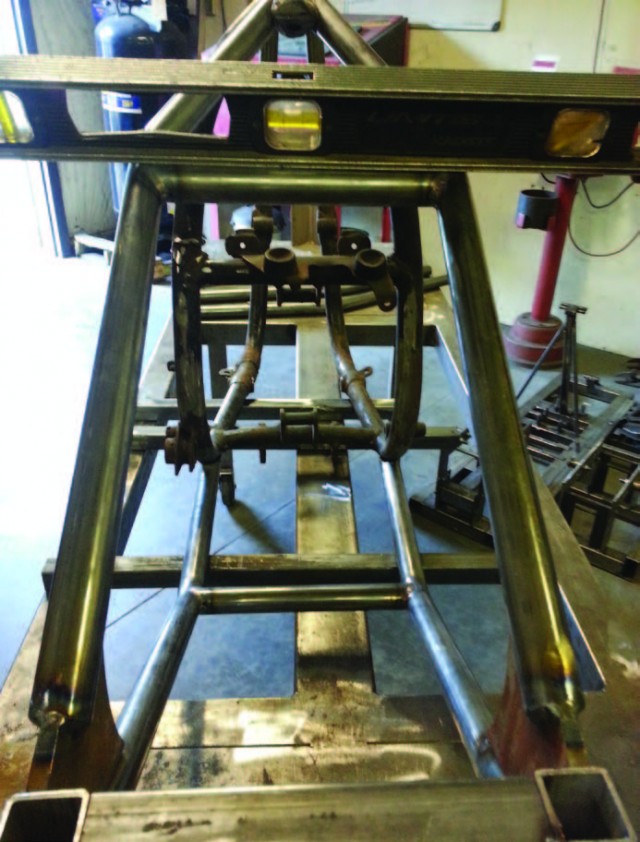
Once you have chosen what bars will be top and bottom, begin to cut and fit your bars up against the frame and trim to fit the desired stretch. Mirror the opposite side and use a level to make sure your “battery area” is level left to right.
Do the same for the top 2 bars making sure to measure between them to make sure the distance between the bars is the same all the way up. Place a level across the horizontal bends to make sure your bars are level.
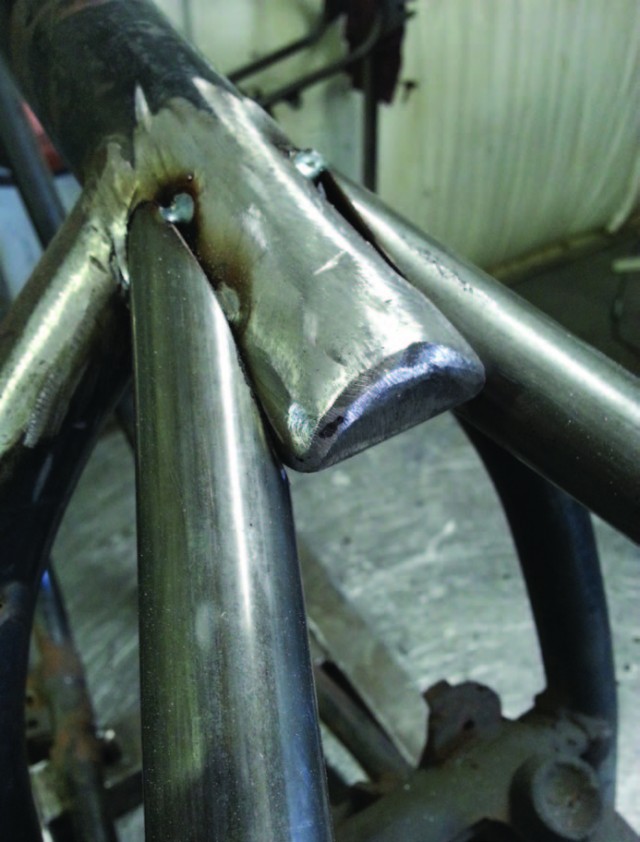
Fit your cross braces top and bottom in the location you desire for your fender and/or seat area. We do 14.5” from the beginning of the axle slot to the center of the bars top and bottom. At this point, if your fixture is braced properly and you have spotted your frame and tail down securely, you can weld it up or invite a friend over to do the welding if you’re not capable.
This is a home build guide and not how we do it here at the shop, but we hope this can help out some new builders and we are always a call away for any advice if you may need it. Be sure to check us out online at www.thefactorymetalworks. com and like us on Facebook for free giveaways.


