


How To Properly Solder And Electrical Connection
Article & Photos By: Daniel Donley – www.pandemoniumcustomchoppers.com
Originally Published In The March 2016 Issue Of Cycle Source Magazine
So when it comes to motorcycle wiring I have pretty much seen it all! From crimped ends, half a dozen butt connectors in ONE wire, household wire nuts, to your good ol’ twist the two wires together and throw some black tape on it. So for this month’s tech article I am going to show you how to PROPERLY solder an electrical connection and also add a custom touch to your motorcycle wiring.
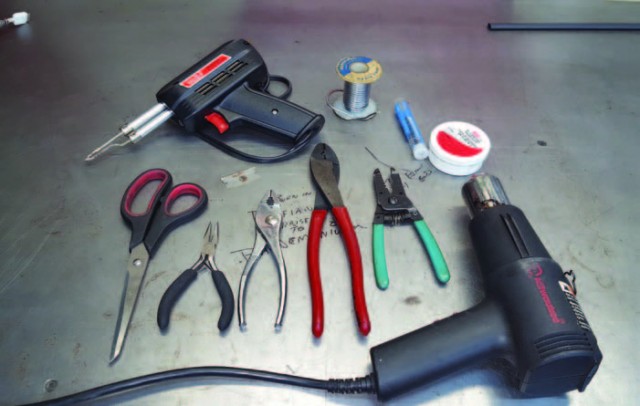
These are some of the basic tools you will need to do a wire repair or wiring your motorcycle from scratch. Soldering gun, solder, flux or solder paste, wire crimper/strippers, scissors, pliers, razor blade, heat gun, these are my go to tools for any wiring job.

Heat Shrink is a very important part of any proper wiring job along with quality end terminals.
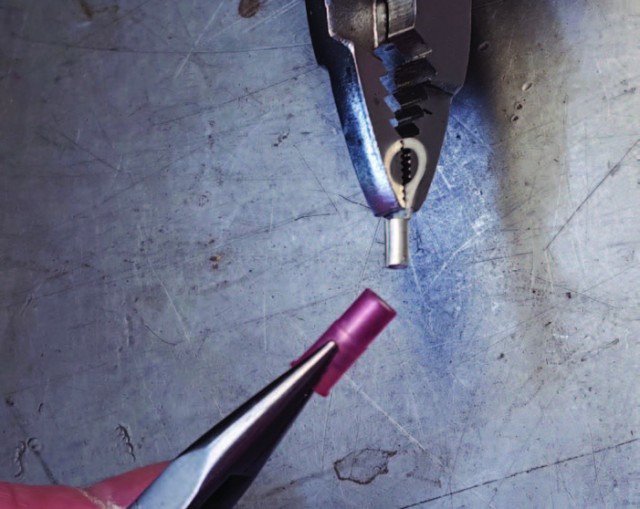
The first thing I do when I put a terminal on the end of a wire is to get rid of the colored plastic piece and throw it away. That is all it is good for!
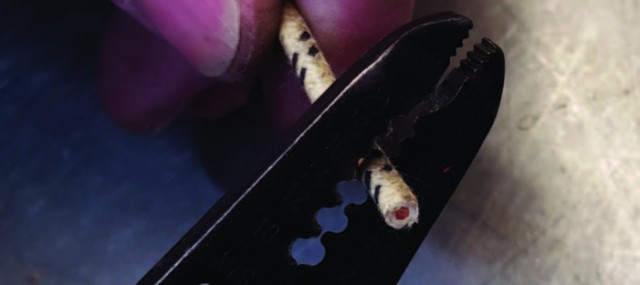
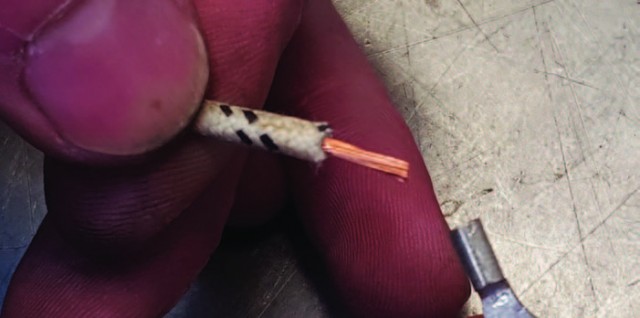
With my wire strippers I remove the outer sheathing that covers the wire. Then give the wires a quick twist so no stray wires are sticking out.
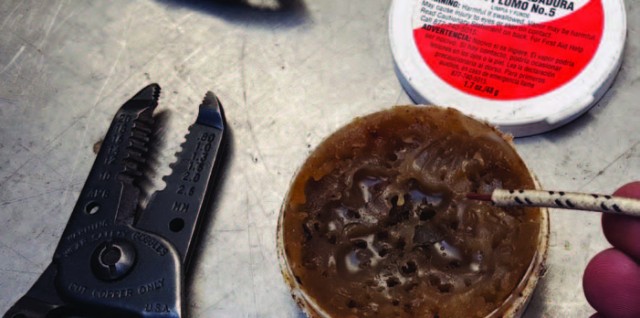
Take the bare wire you just cut the sheathing from and dunk it in the solder paste. I know that yes we are using rosin core solder and most will tell you that this is not necessary but the solder paste helps with the flow of the solder. This will make for an excellent solder joint.
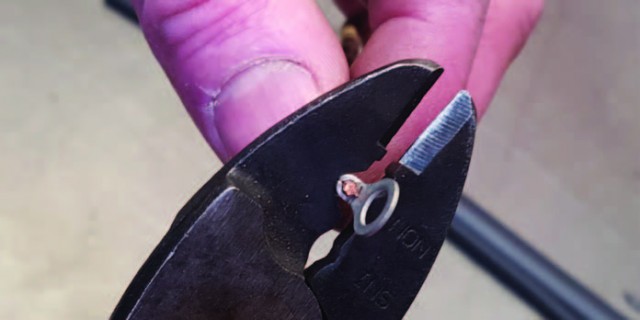
Now cut a piece of heat shrink tubing approx. 1” long and slip it over the wire. Now I install the terminal end and LIGHTLY crimp into place. Just enough to hold it on the wire. Make sure you DO NOT over crimp the wire, if you do it can crush the wire and can potentially create a break point.
An added benefit of using solder paste, it lets you know when the joint is ready to accept solder by starting to “boil” or bubble up. Once you see this slowly add solder till the joint has a nice shiny silver finish. Then remove the heat from the soldering gun.
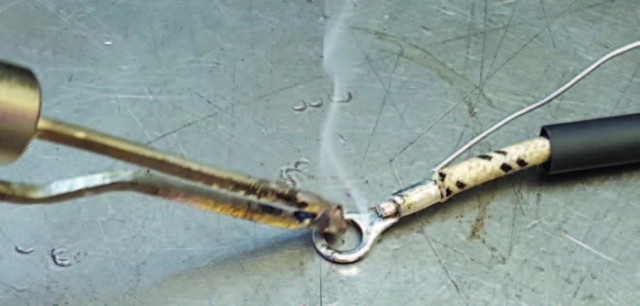
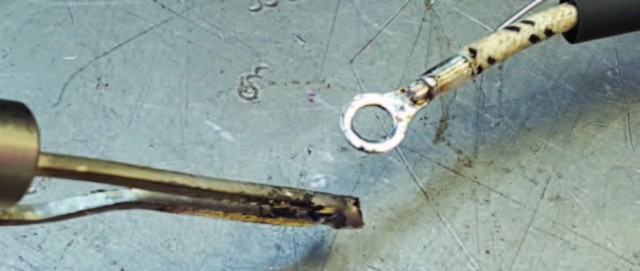
I like to “tin” the end of the eyelet to give the surface that the screw bears down on something more to dig into.
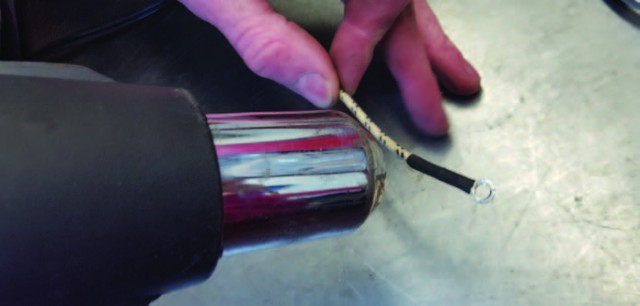
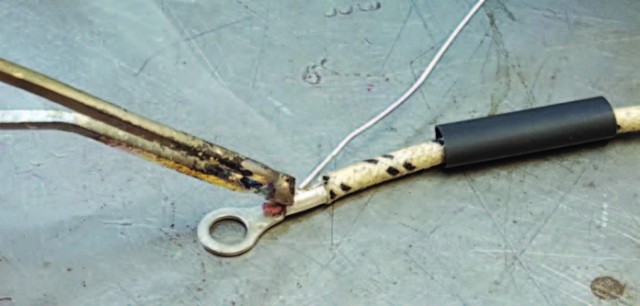
I like to use a heat gun to shrink the heat shrink tubing because it is a controlled heat. Heat the tubing enough so it shrinks to a snug fit on the terminal and conforms to it. The reason you use heat shrink tubing is to keep water out of the soldered joint so it doesn’t corrode, also to help support the connection from the solder joint to the wire.


Now that we have installed an eyelet, I am going to show you how I do a butt splice. I have seen all kinds of crazy shit here from twisting wire and black tape to even wire nuts….. Anyway, this is how I recommend doing a butt splice. Trim back the vinyl wire coating and kind of fray the wire apart then dunk it in the solder paste, install a piece of heat shrink tubing, take the two frayed ends and push them into each other. You want to take both frayed ends and twist them against each other so they interlock. Now you want this to be a very nice and smooth interlock because if you have any that are sticking out it they could potentially poke through the heat shrink tube and cause an electrical short.

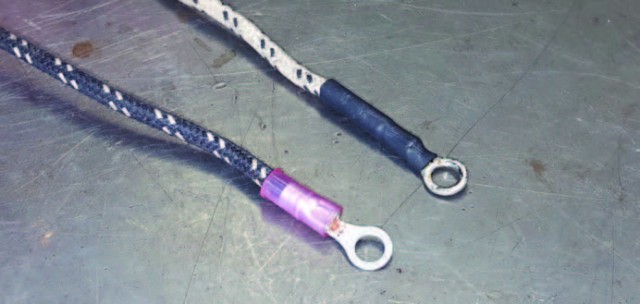
I like to use cloth covered wiring because it adds a custom touch. This is your standard vinyl coated wire with the addition of the cloth covering over top of it. It is available in many different colors from various suppliers.

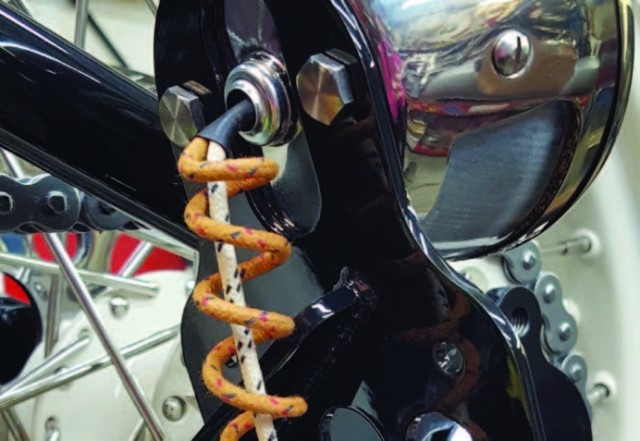
Here are a few examples of what you can do with your wiring to not only add purpose but a custom touch also.
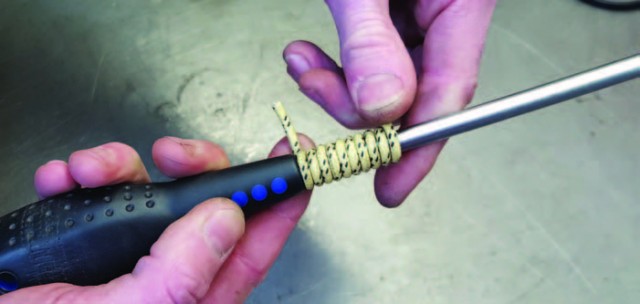
The coiled wire affect is achieved by wrapping your wire around an object, a large screwdriver works well here. This works great for the wire that runs to your headlight. So when the front end is turned back and forth it acts like a spring and keeps the wire out of moving pinch areas, like your fork stops
There are many advantages by using quality wire, terminal ends and properly soldering them and heat shrinking them together. Not to mention that it looks way nicer. It is also an electrical connection that you can count on. If you have any questions, please feel free to call me at the shop anytime 419-576-6812 Daniel Donley Pandemonium Custom Choppers


