


Article & Photos By: Daniel Donnley – www.pandemoniumcustomchoppers.com
Originally Published In The February 2016 Issue Of Cycle Source Magazine

Last month I did the tech about on the fly thread repair on a shovelhead exhaust port that was damaged because I didn’t have any type of thread repair kit, so I made my own. This month I am going to show you how to repair a damaged thread on Kerri’s mini bike using a thread repair kit from Time Fasteners. The Time Fastener company has Thread Repair kits for just about any application you can imagine and they are designed and Made in America! When you purchase a Time Sert Kit the
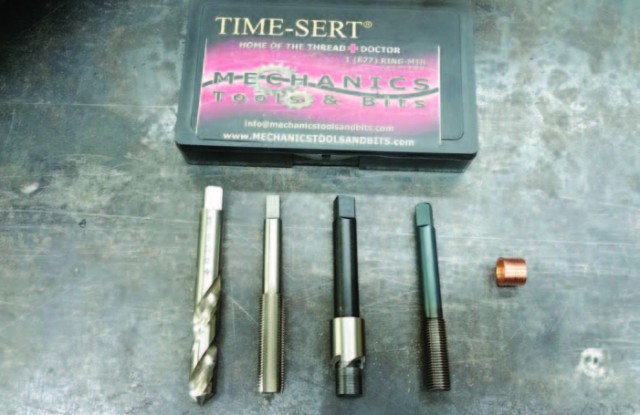
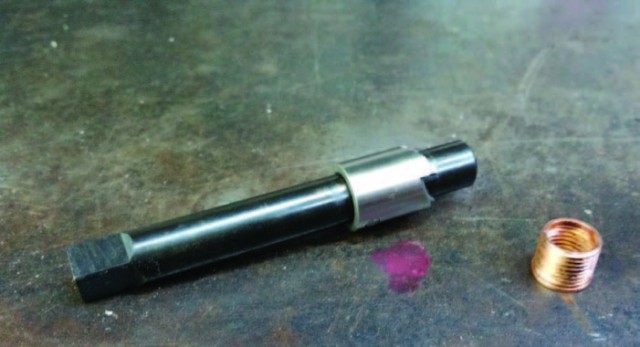
installation tools vary per application. For this application the kit consists of a drill, a tap, a counter boring tool, and installation tool. This all comes in a very nice little case.
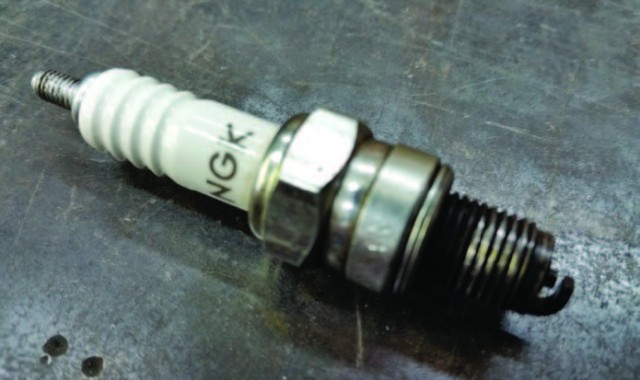
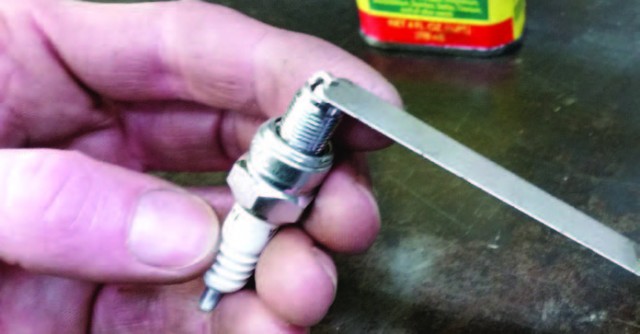
As you can see from the looks of this spark plug the threads are not right. When I removed it, it pulled the threads out with it. This happens because the lack of anti-seize or over tightening. With my newly acquired Time Sert Kit I am going to show you how to get this fixed up. WITHOUT removing the cylinder head or having to buy a new one! Other tools that I used for this thread
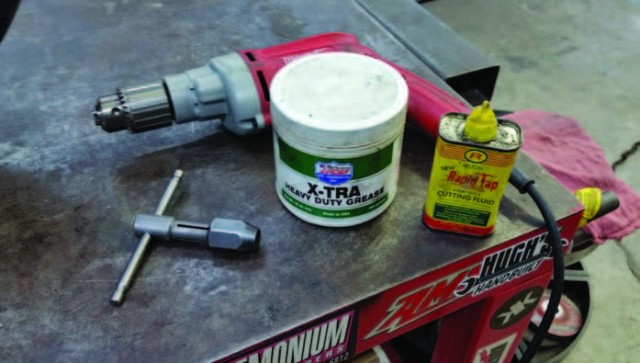
repair application are Hand Drill, Grease, Tapping Fluid, Tap Handle. Since I am repairing a damaged spark
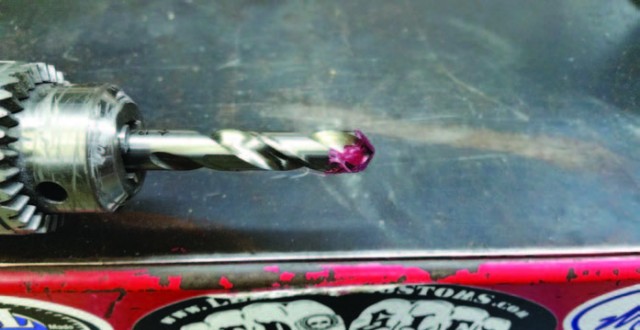
plug thread and not removing the cylinder head, I start by bringing the engine to compression stroke with both valves closed. This will keep any debris that does happen to fall out ofthe cylinder bore. Obviously we don’t want any shavings to be falling in here, I use grease on the end of my drill bit to catch as much as possible. Using the drill bit provided in the kit, I

drill the hole oversize with a slow drill speed. To keep shavings from flying everywhere. This gives the grease an opportunity to hang on to the shavings. Now you have to tap the oversized
 hole for the “Time Sert” to be installed into. Using the same method with the drill bit and grease you take the tap that was provided in the kit and tap out the hole. You can see here in this picture just how much the grease catches the shavings. Using a hand drill with the counter
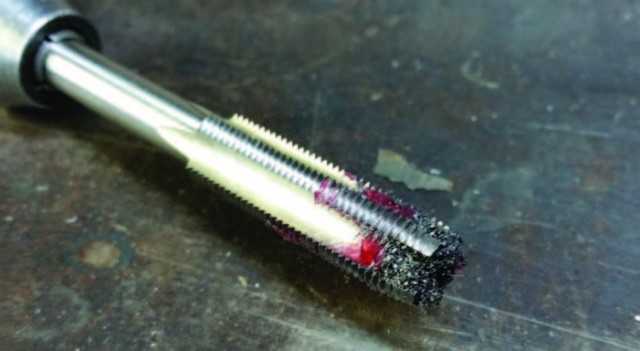
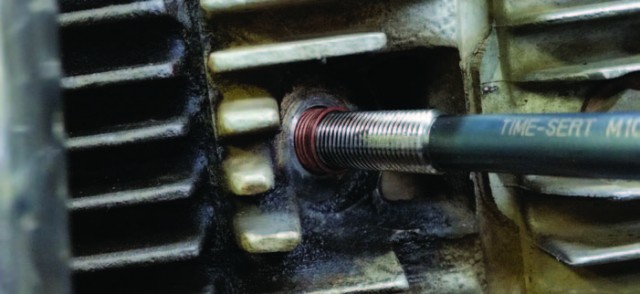
boring tool, I counter bore the threaded hole so the lip on the “Time Sert” will set flush with the surface. I use the tap handle with the “Time
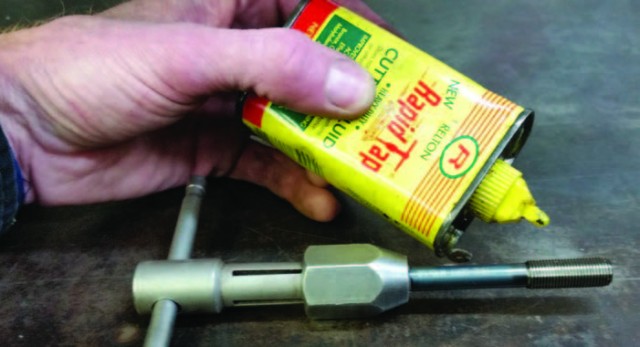
Sert” insert installation tool. You MUST apply tapping fluid here. Thread the insert onto the tool finger tight, it will only go on a few threads. Begin installing the thread insert
with the tap handle by hand. The insert should thread in easily until it bottoms out into the counter bore. Keep turning the tap handle and you will start to feel resistance as the last few threads of the “Time Sert” Insert are being formed and pushed into locking position. This is one of the benefits of the “Time Sert “, they only go in as far as needed and get locked into position and don’t back out. Kerri’s mini bike needed a new plug
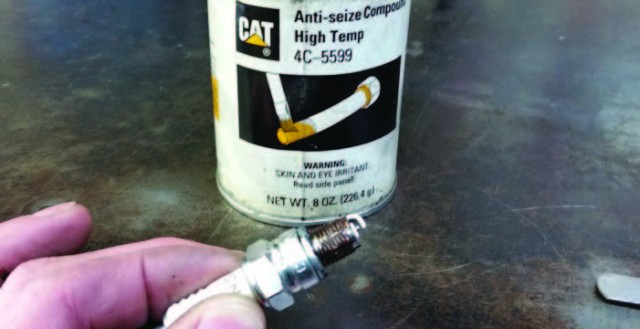
and this is what started this whole ordeal. So we are going to put a fresh one in the proper way by using antiseize unlike the last person that put the plug in. Don’t forget to gap your plugs and don’t forget the anti-seize! Alright now for a little background on what exactly makes the “Time Sert” So badass: Solid bushing insert, It is thin walled to allow for limited clearance areas, Flanged lip allows for it to be flush with the surface mount and not go further than the newly threaded hole. Thread locking mechanism is built in so it cannot back out. These can be purchased at www. timesert.com or you can give Neal a call over at Mechanics Tools and Bits and you can check out his website for lots of other tools and bit…. www.mechanicstoolsandbits.com I personally picked my kit up from Neal at Mechanics Tools & Bits and he answered the phone and helped me with all of my questions. Just another small shop helping another. Got the spark plug all fixed up s
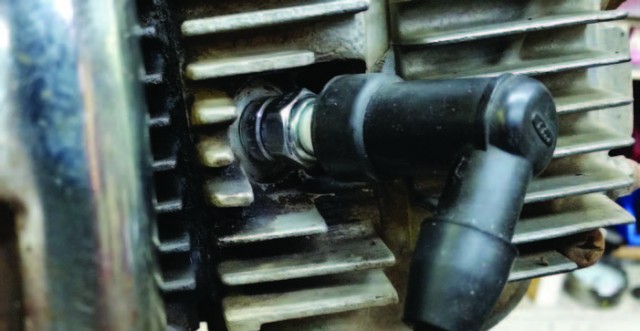
Kerri can go out and terrorize the neighborhood. If you have any questions, please feel free to call me at the shop anytime 419-576-6812


