


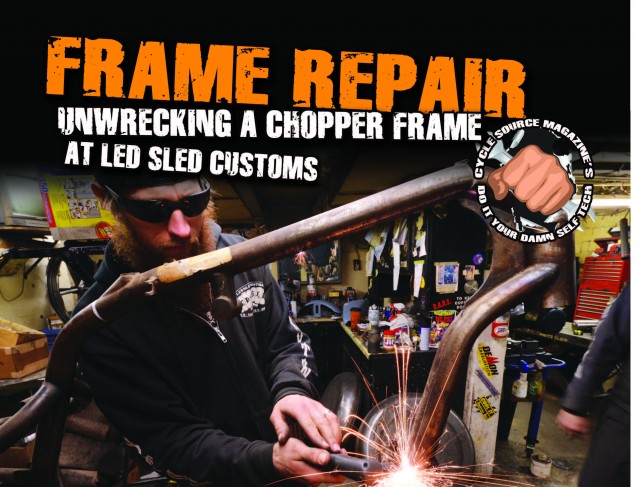
Article By: Pat Patterson www.ledsledcustoms.com
Photos By: Chris Callen
Originally Published In The January 2016 Issue Of Cycle Source Magazine
This project started life as a Twisted Chopper Buell frame that unfortunately was in head on collision. What we hope to show you in this brief offering is the process of sizing up the damage and making a plan for attacking a frame fi x. You should not perform any such work unless your abilities match the level of precision it takes to do this work. But in any case, this is a good tool for everyone to see what it takes. The fi rst disclaimer here is that every bend from every wreck will be different; as such, there is no way to
have a standard procedure when it comes to repairing a damaged frame. In other words, a custom wreck takes a custom fi x. In this case the backbone had snapped and the down tubes were severely bent. The rest of the frame alignment, when we got it locked into a jig, was in good shape. Therefore, this repair requires us to replace the down tubes and the portion of the snapped backbone.
Start by locking the bike into a frame jig, for obvious reasons there is no eyeballing a frame repair. To assess the damage we bolt this into the jig to see what’s what.
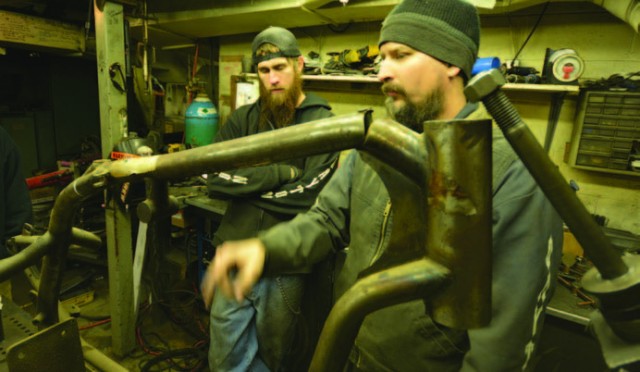
Once the frame is locked in the jig, we could asses that the axle plates were not affected by the wreck. What was a problem was the down
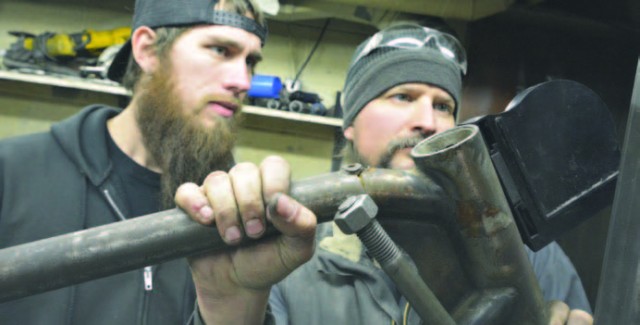
tubes were bent and the back bone had snapped in half at the gas tank mount. The decision is made to not try and cut away material from the old neck, but just machine a new neck and completely re-do the back bone and the down tubes.
The process starts with making cut marks at locations that will most easily allow us to slug the tubing.
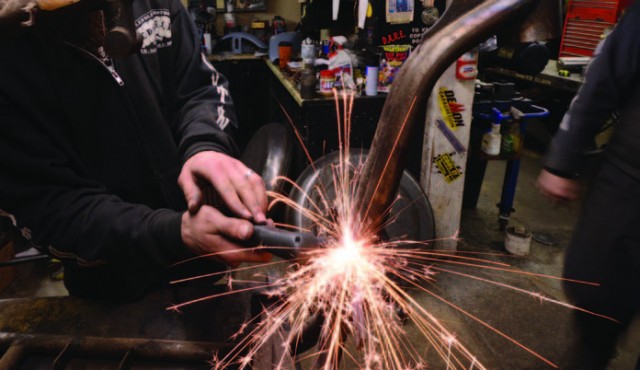
Joe takes the plasma cutter and rough cuts away the bulk of the material to get some room to make more precise cuts.
Then he moves on to the Sawzall to get right to the marks where the measurements were taken for the new material to be added.
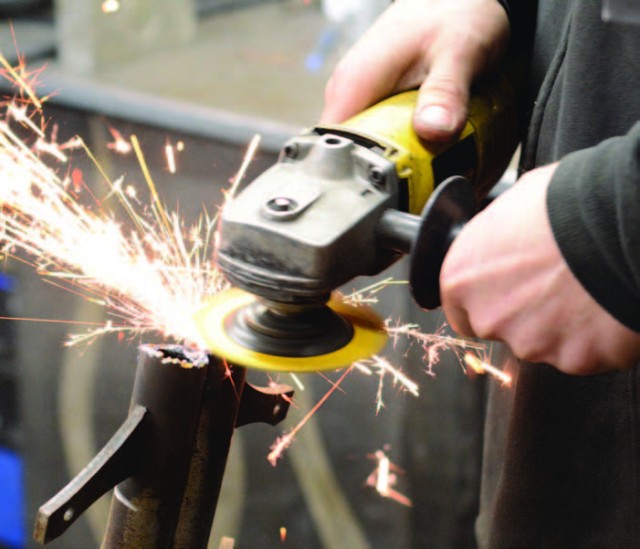
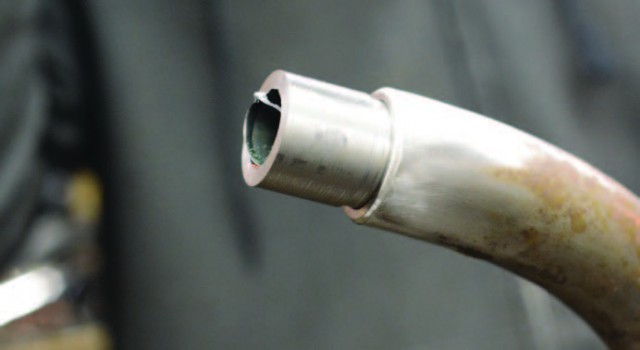
The disc grinder is used to make sure the edges of the old material are clean and square.

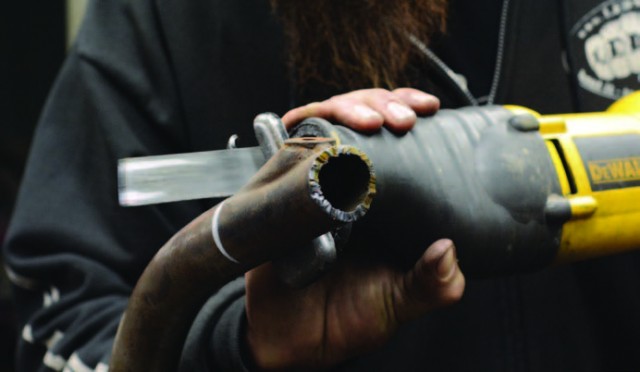
To make the slugs that will be needed to marry the old and new material, Joe measures the inner diameter of existing frame rails. He will machine the proper size tubing to allow flexibility. You don’t want to use solid material in this step, you want the slug to flex with the frame.
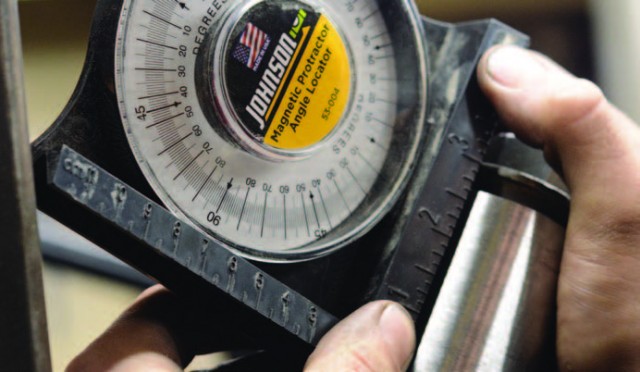
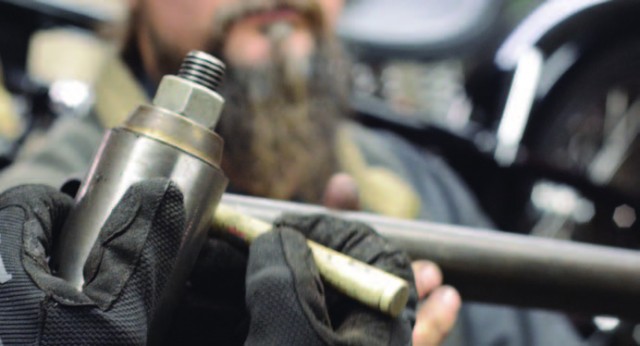
Knowing the front end that was going back on this bike, Pat and Joe did the math to determine what rake and angle to install the new neck.
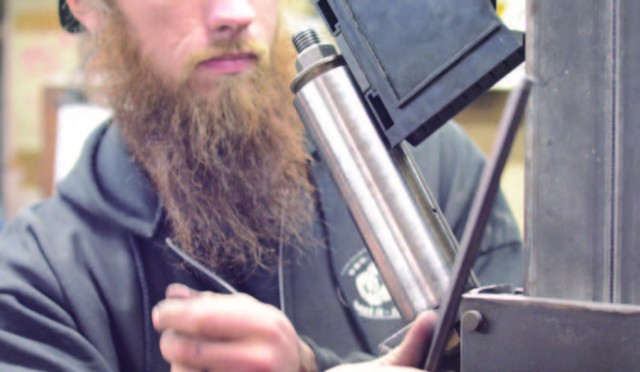
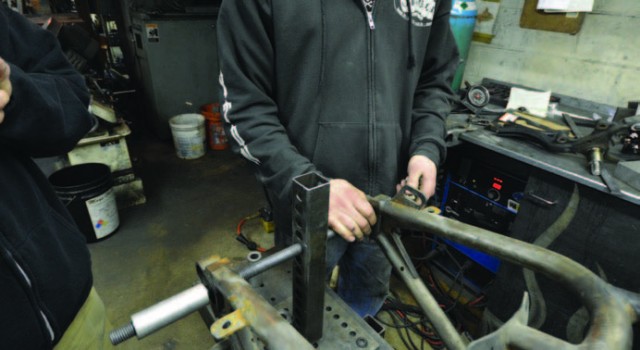
With the new neck locked in the right position, Joe takes measurements to determine the length of the new down tubes.
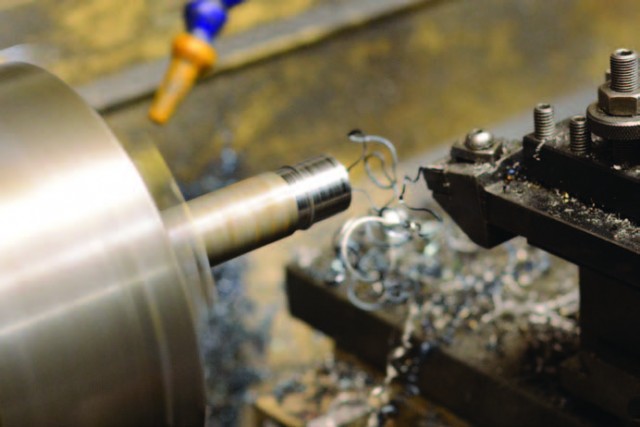
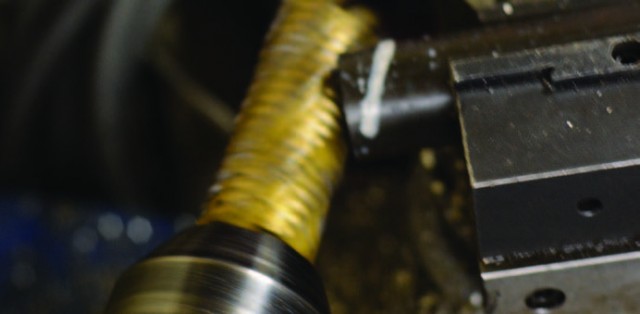
The tubing that will be used to make the slugs for the down tube repair is loaded into the lathe and Joe machines the slugs to fit the inside diameter of the existing frame rails. We want a very tight fit here with no play.
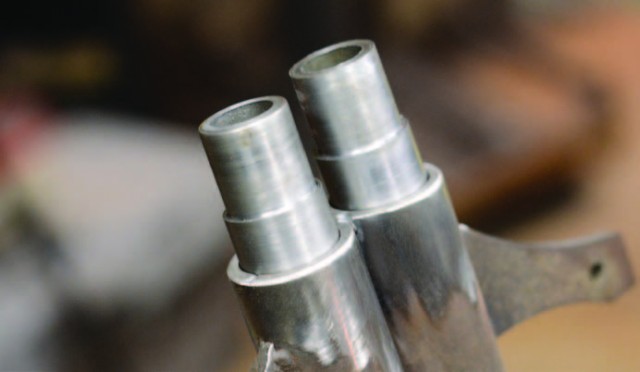
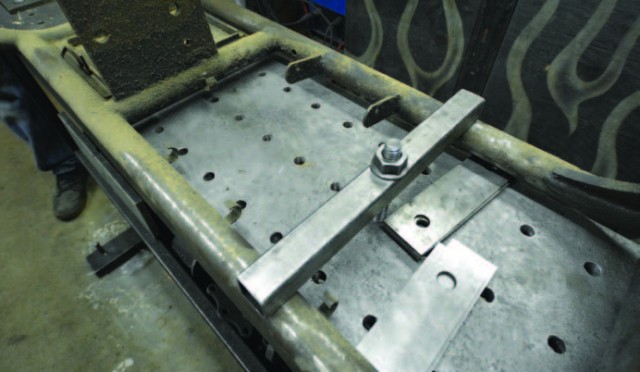
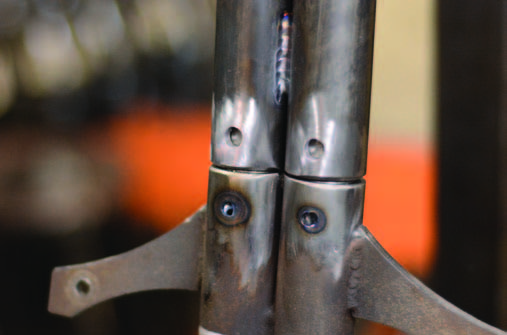
Here you can see the slugs in place and ready to accept the new rails. At this point they are drilled and plug welded into place.
Similarly the backbone receives the same treatment.
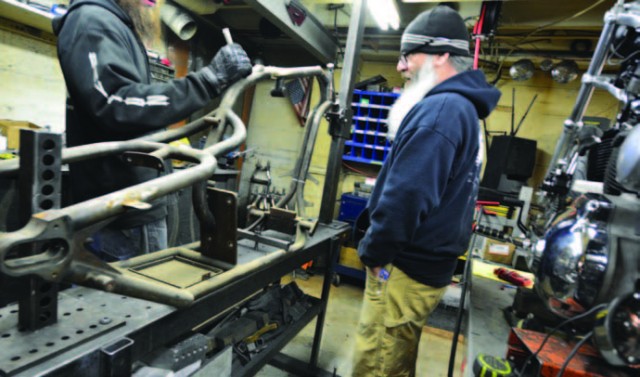
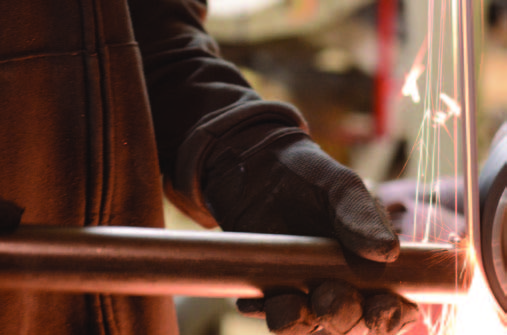
To mimic the original look this bike had in it’s gooseneck frame design, Joe loads the new frame rails into a Mittler Bros. Hydraulic tubing bender and gives them the same amount of bend as the originals.
The backbone is mocked into place and the decision is made as to where the rough cut for the notch will be – about a half inch of room for the notch where the backbone will sit on the neck.
Using the Mittler Bros. tubing notcher Joe uses a 1-5/8” bit to notch the backbone.
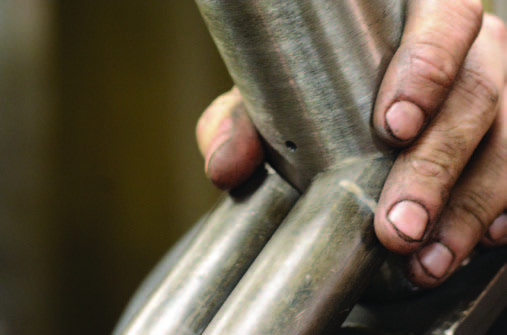
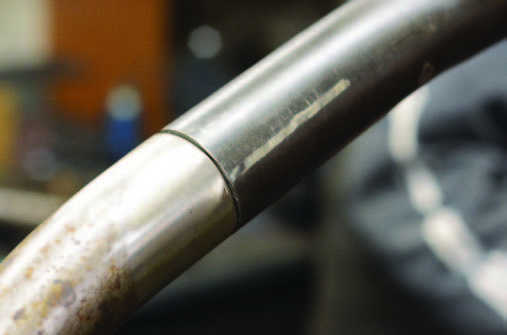
The frame rails are all deburred prior to fi nal fi tment using the Burr King belt sander. The backbone is ground precisely into place by going back and forth from fi tment to this machine taking small parts of the material away until it is a perfect fit.

When it comes to welding you want a fit like this with no gap to give your weld the best strength. Of course it’s all about safety as well, it’s great that it looks good and clean but in the end it has to be strong.
Here you can see the frame rails ready and being fi tted to the plugs that were made. They have been drilled for plug welds and the process of fi nal fi tment is all that’s left.
Again, the Burr King is used here to take small amounts of the material. The belt sander was used a little more than the tubing notcher since this was a double notch. A few more minutes with the Burr king is a way better process to ensure a tight fit.

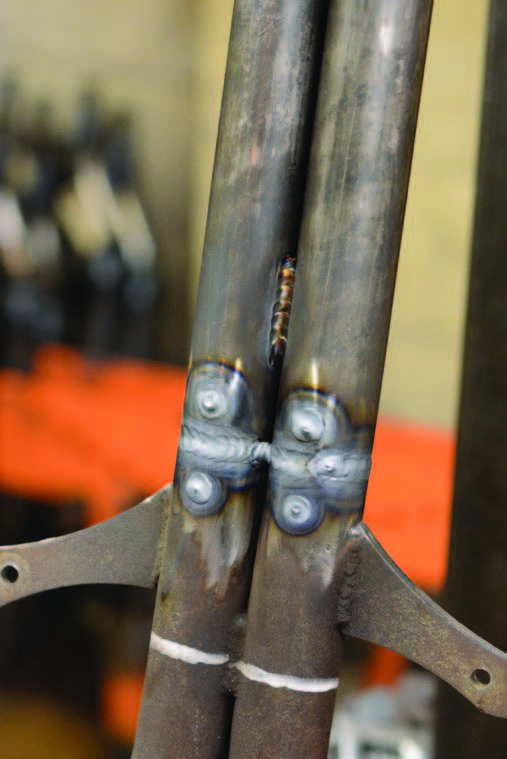
Here you can see our frame all mocked up and ready for welding. The alignment is good, the fi tment of all the fi xtures are tight, and we can begin plug welding the back bone in place to minimize the heat torquing on the backbone and ensure alignment.

Tack in all four spots of the repair, all the way around the tubing going back and forth from one side to the other, reassuring alignment.
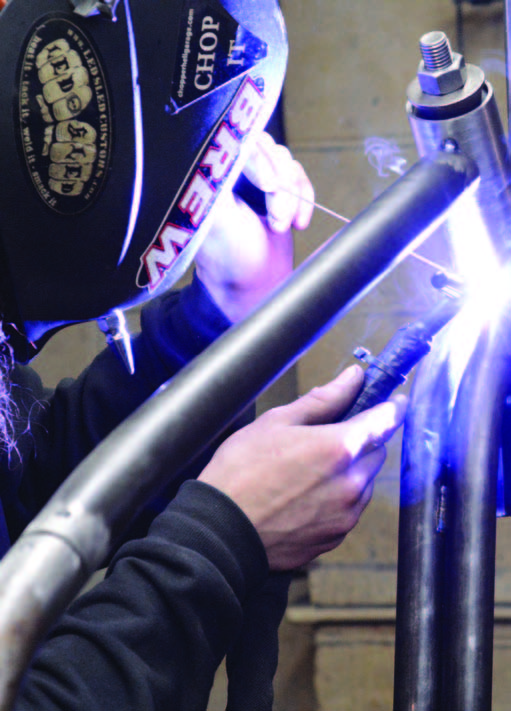
Moving from one location to another will disperse the heat and keep the effects of it on the overall frame equal as you complete your welds.
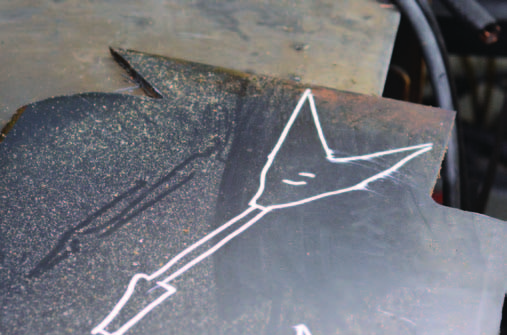
One of the last steps for our repair here is to make a gusset for the neck area. Since the owner of this frame is a musician we decided to go with the shape of a fl ying V guitar body.
A cardboard template was made from the area between the frames backbone and down tubes and a quarter inch plate was plasma cut for the gusset.
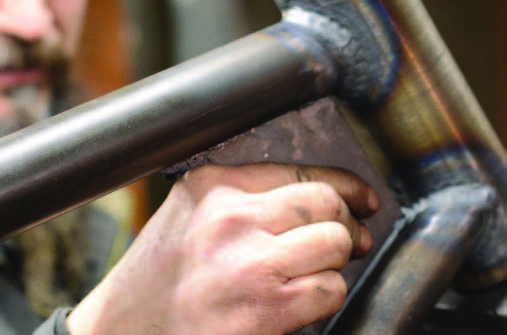
The fitment of the gusset is just as important as the tubing. The belt sander is used to slowly take material away for a good tight fi t.
Here you can see the fi nished welds before the welds are sanded out. There is excellent penetration and the crew was happy with the level of this repair. In the end the frame stayed straight and true through the repair process, the welds cleaned up so well that the customer will never even know that is was fi xed. Of course he will always remember folding his bike in half, but that’s another story. What it didn’t take was a completely new frame and the price tag that came along with it. This tech can be used for your custom bike as well as the acquisition and repair of salvage bikes. Good luck!


