


Article And Photos By: Will Ramsey – Faith Forgotten Choppers
Originally Published In The May 2012 Issue Of Cycle Source Magazine

Part 1 of this tech series dealt with the design and basic metal shaping of a chopper gas tank. Part II will focus on welding, planishing, and metal finishing the shell of the tank. I’ve chosen to use the Tig to weld this tank, however I often use the oxy/act torch as I can hammer the weld bead flat without any grinding. Both are excellent choices for welding steel sheet metal. Planishing a weld bead in sheet metal is a very important process. A weld is essentially a casting and is therefore more brittle than the surrounding forged sheet metal. This can be a real problem with chopper gas tanks as the constant vibrations will center on the stress riser created by the welding process and can result in a gas leak. Hammering the weld seam actually cold forges the metal and thus strengthens the joint. Although this can be done with hand tools, I prefer to use the power hammer to speed things up. The process of metal finishing is not entirely necessary for those that don’t mind the liberal use of body filler. But as I said in part 1, ‘the quality of the finished product is simply a result of the time and effort you put into it.’
A quick pass through the hammer will qualify the seam in preparation for welding.

It is critical to thoroughly clean the metal with a solvent like acetone both inside and outside the seam. Remember this is a gas tank; porosity in the weld could result in a gas leak!

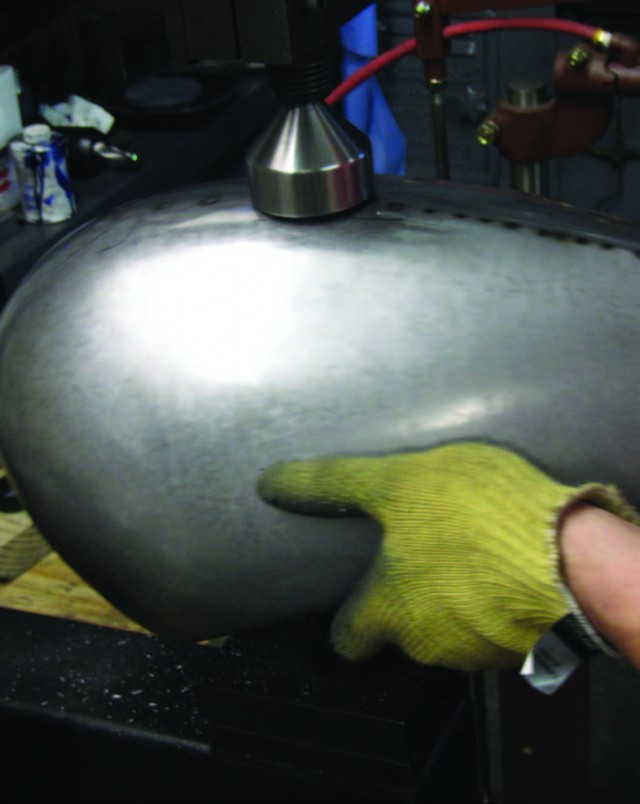
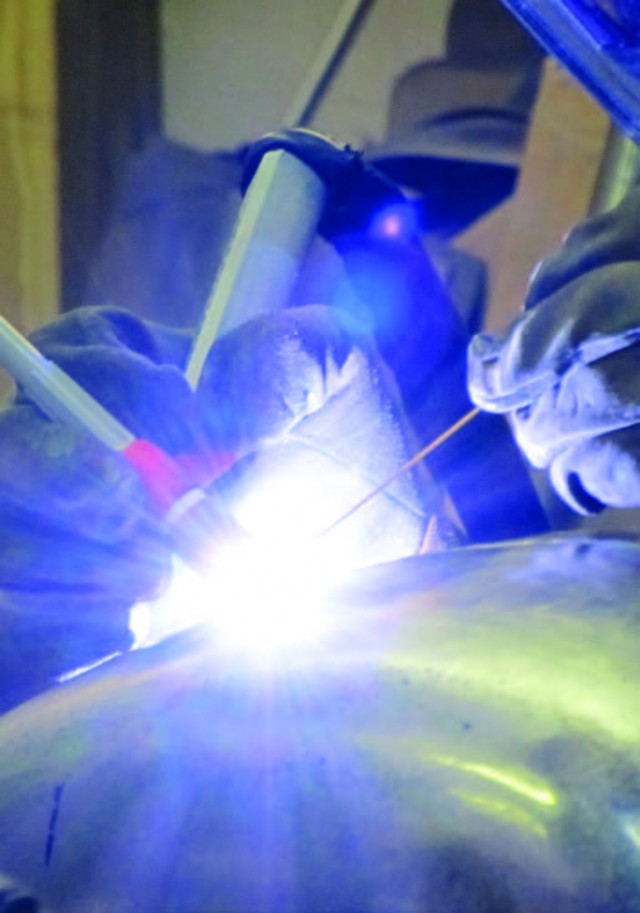
I begin welding up the seam with short weld sections. This helps to minimize warping by not allowing too much heat to build up in one area.
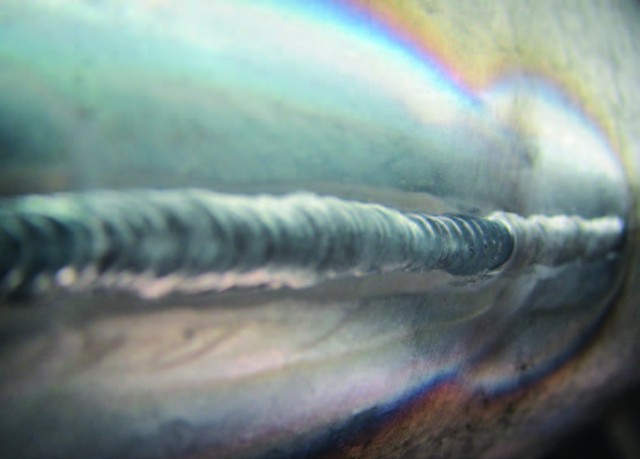
I like to weld hot and fast. This allows me to lay down a lower profile weld bead which will be easier to metal finish.
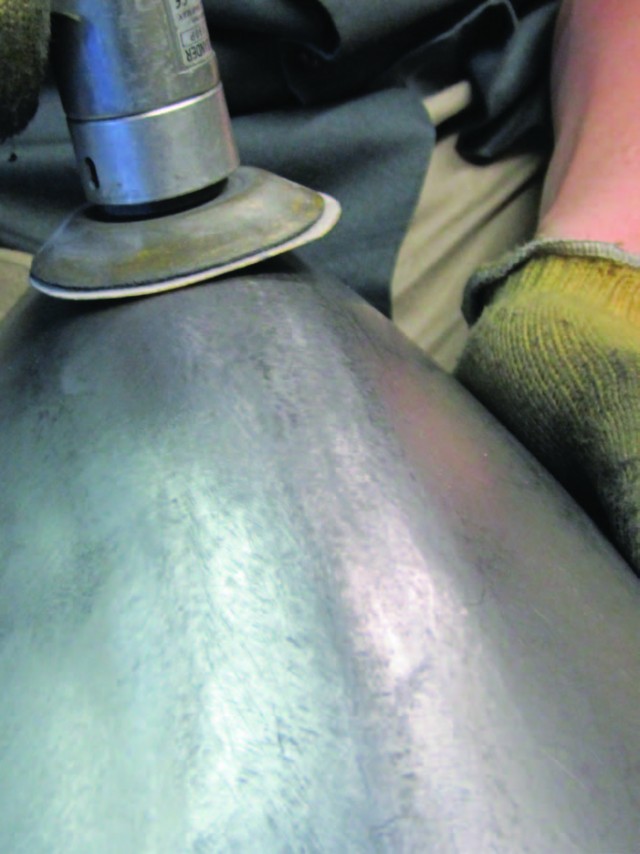
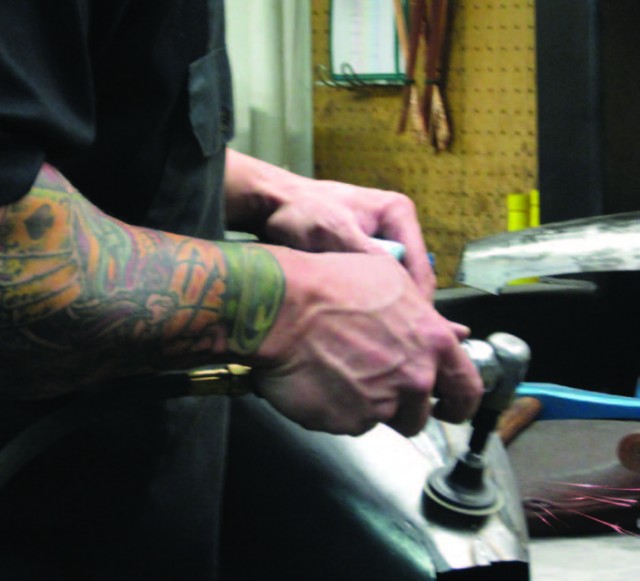
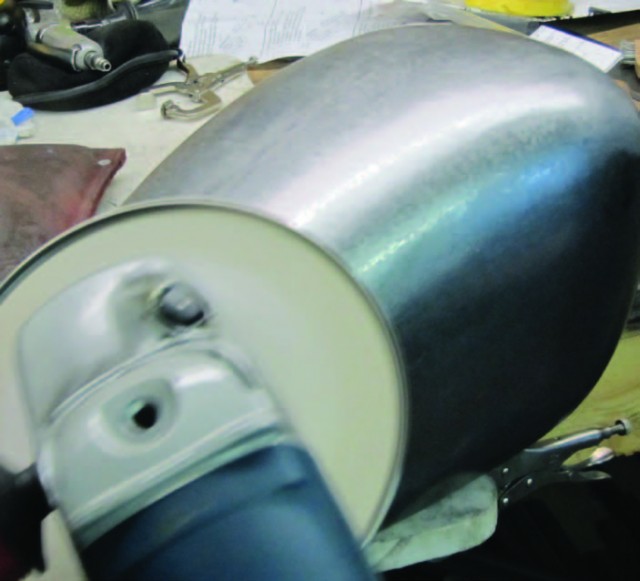
Using a 2” grinder, I knock down the top surface of the weld bead being careful not to grind into the surrounding sheet metal.

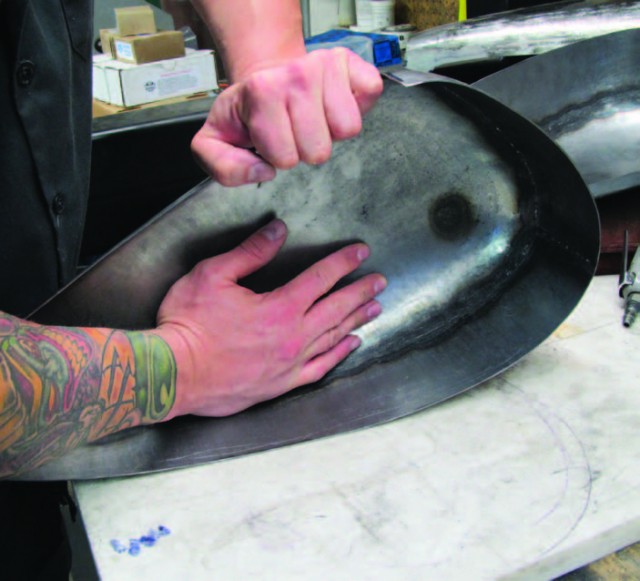
I mark a centerline on the tank to make sure I cut straight. Cutting the tank in half is unnecessary when using hand tools to planish the weld seams
A cutoff wheel makes quick work of slicing the shell in half. Although this step will necessitate an additional weld seam, I can now finish the welds faster with the power hammer.
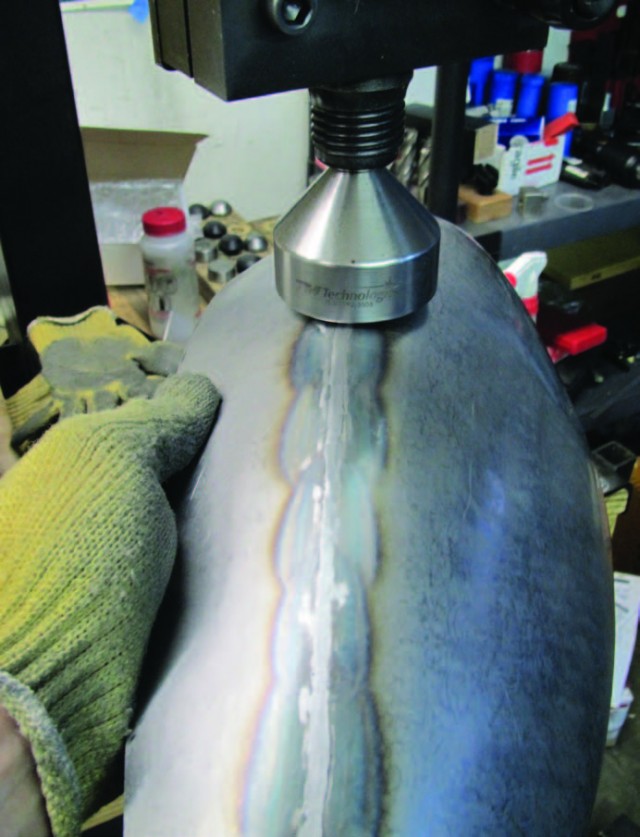
The powerful TM Technologies Power Hammer will completely flatten the remaining weld bead and begin correcting the shrinkage that results from welding.
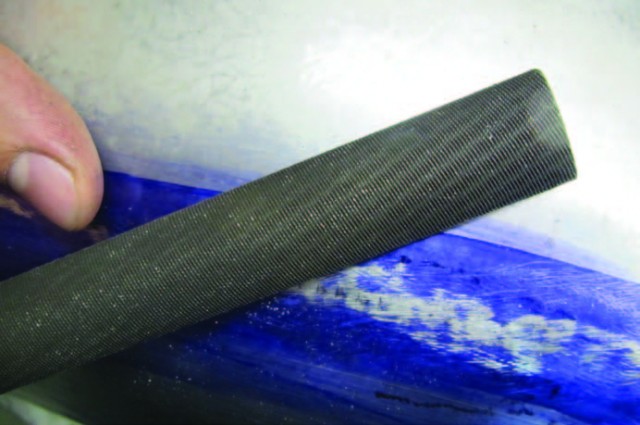
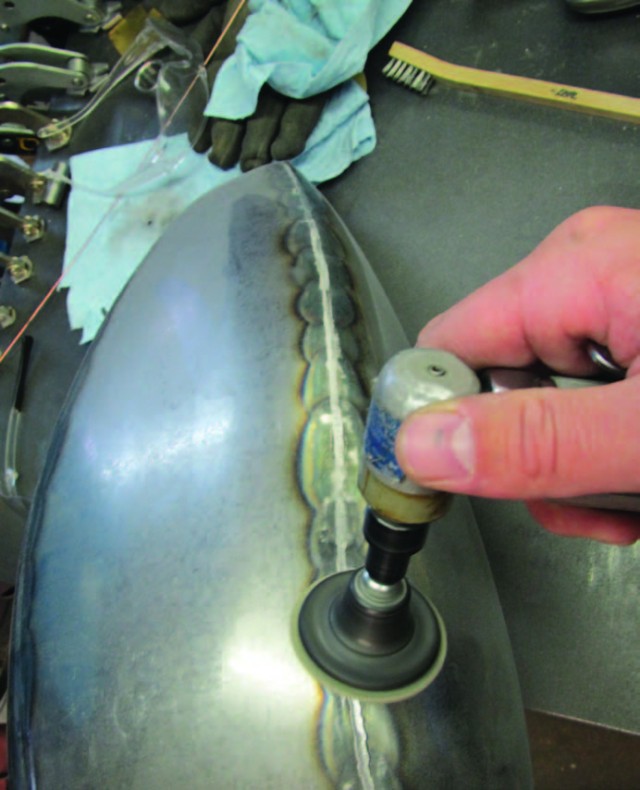
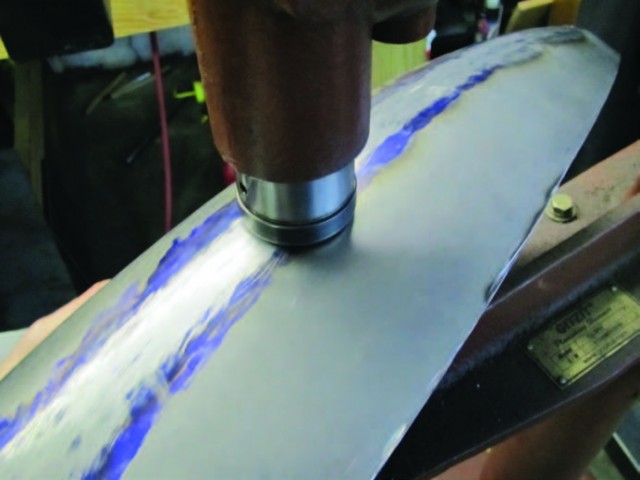
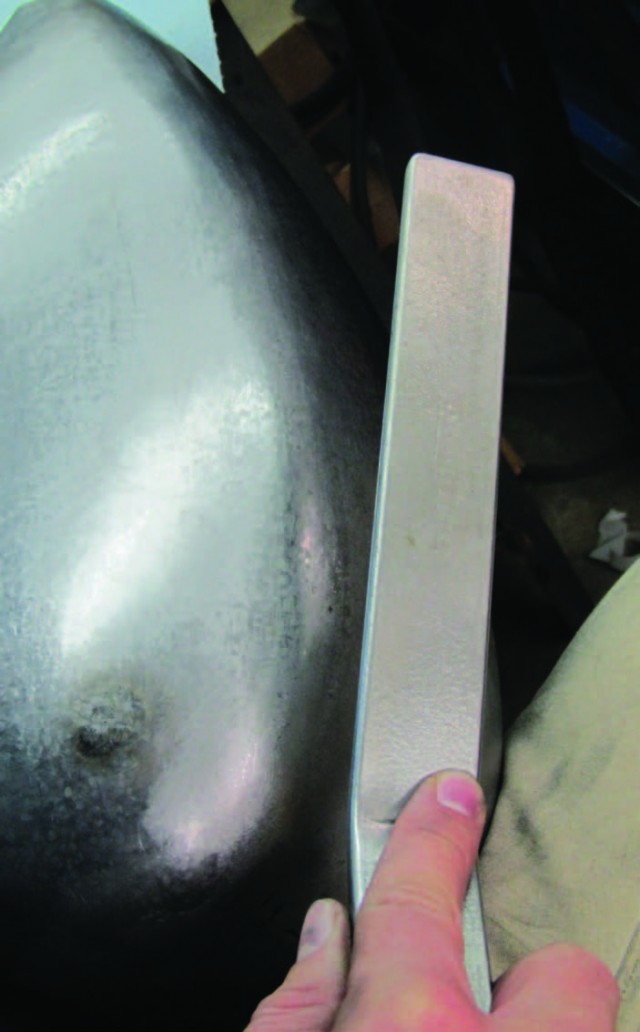
Layout dye and a fine file illustrate low areas and allow the weld to be carefully blended with minimal loss in metal thickness.
I use the planishing hammer to continue qualifying the surface, and return to the file to finish blending out the remaining weld seam.
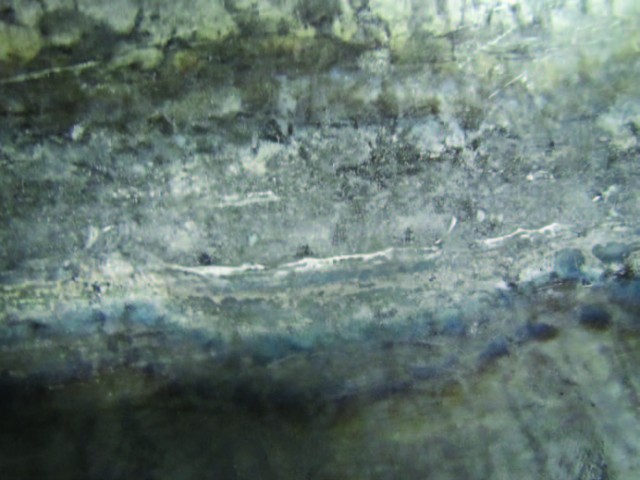
It’s important to inspect the back side of the welds; a smooth surface with no voids results from proper welding and planishing.
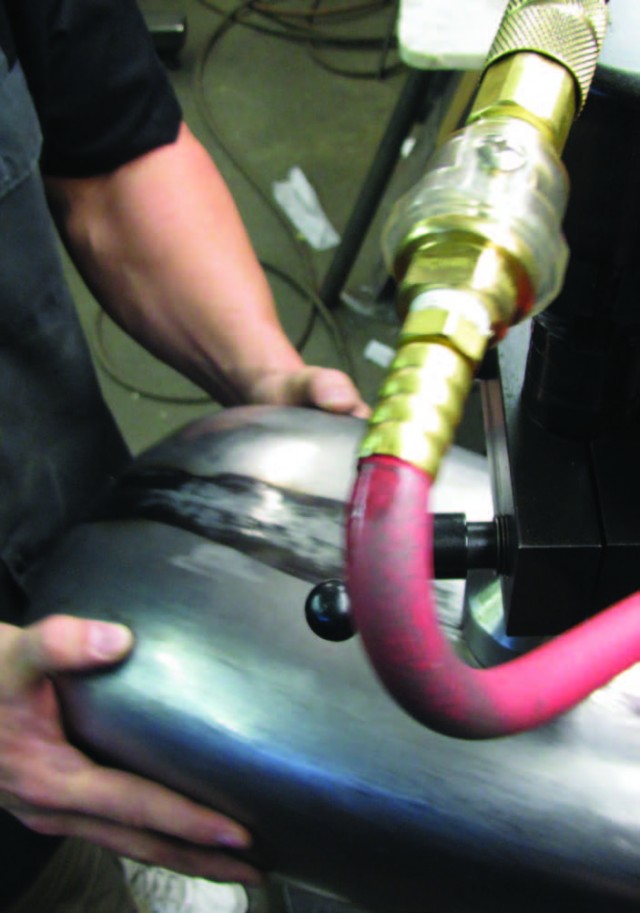
Using a DA sander, I clean up the surface of the weld with 180 grit paper.
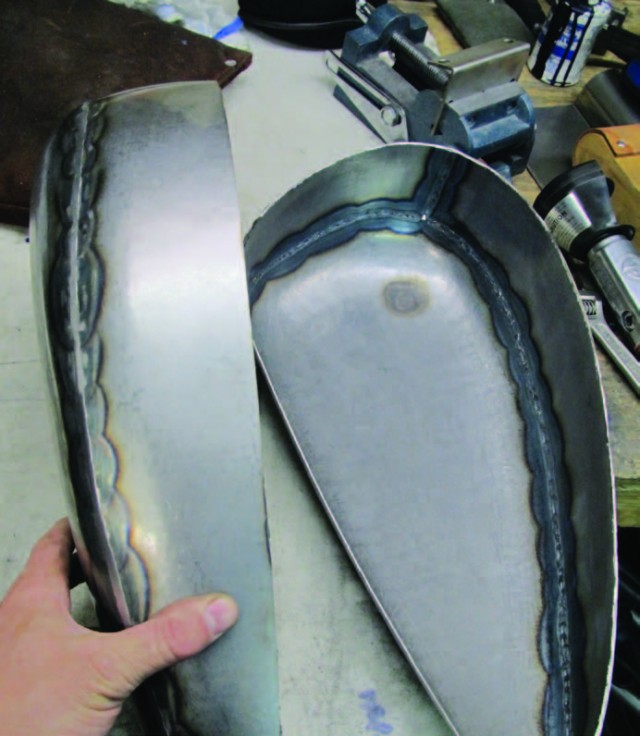
Hammering the welds will change the shape of the tank halves. A little hand tweaking is necessary to correct the form.
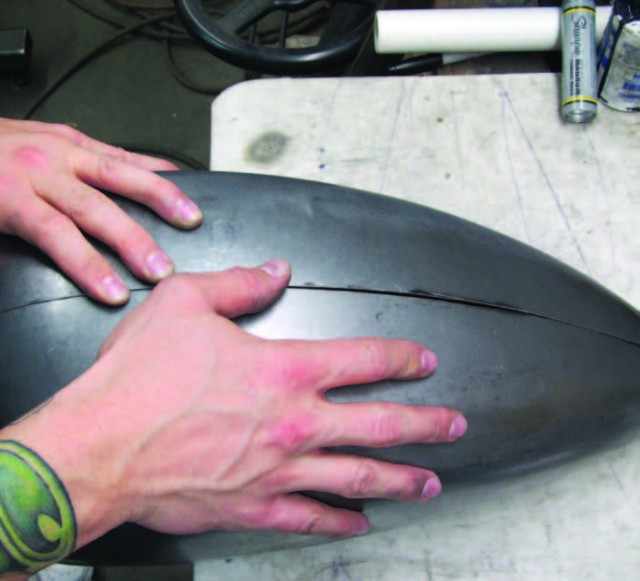
I take my time getting everything to line up straight.
Now it’s back to the welding table to stich up the centerline, remembering to clean the metal first!
I’ll repeat the same process to metal finish the center weld seam.
Back to the hammer to planish the weld and correct the crown in the top of the tank.
At this point, I could stop and rely on my painter to finish the bodywork with mud…
however, with some careful hand work using a couple dollies and a slapper…
and a few passes with a stainless shrinking disc…
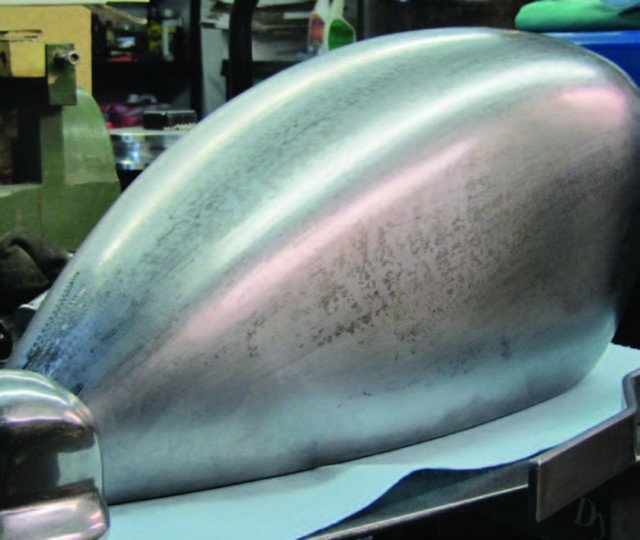
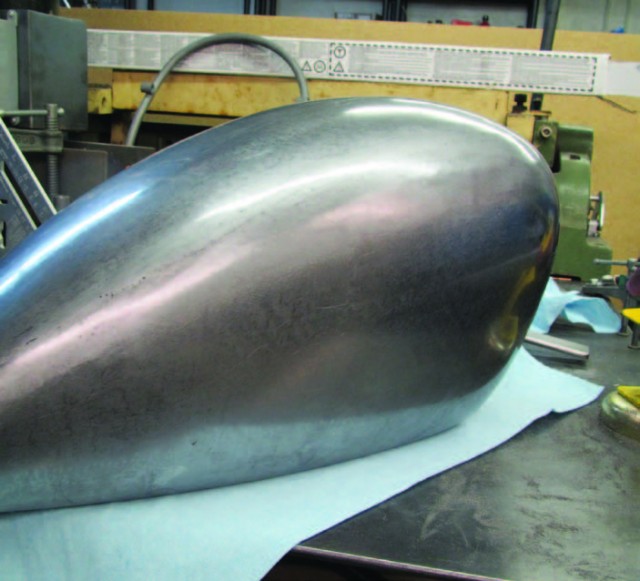
we have a gas tank shell that can go straight to primer.


