


Article By: Will Ramsey www.faithforgotten.com
Originally Published In The March 2013 Issue Of Cycle Source Magazine
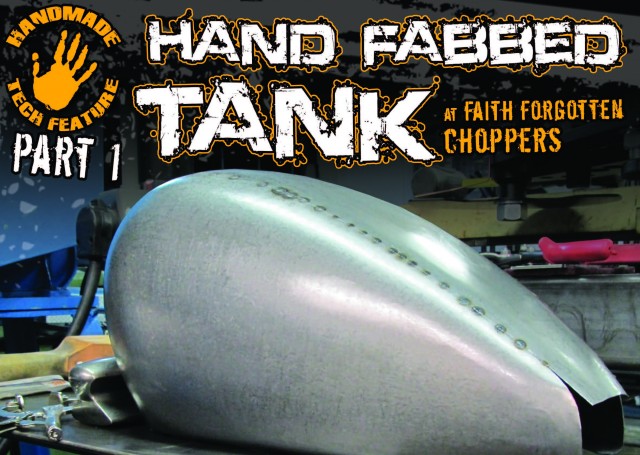
I am honored to have been asked by Chris to write a tech article for Cycle Source this month. I decided to write about my favorite part of building a bike – fabricating the gas tank. Although most of this tech will demonstrate the use of an air power hammer to shape the metal, there is nothing that I do with the hammer that cannot be done with hand tools. I have built many tanks with hand tools only and the principles are all the same. The hammer just allows me to do it faster. The quality of the finished product is simply a result of the time and effort you put into it. This will be a 4 part tech article. Part 1: focusing on design and metal shaping Part 2: welding, planishing, and metal finishing weld seams. Part 3: finishing the tank and mounting Part 4: pressure testing and sealing the tank I hope you find something of interest in this article. Please feel free to call me as I love talking about this stuff.
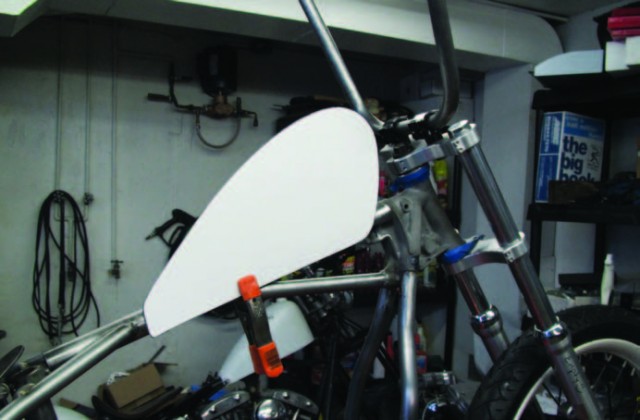
I start off by sketching and cutting out a profile template of the tank. I’m always trying to visualize the 3D shape in my head.
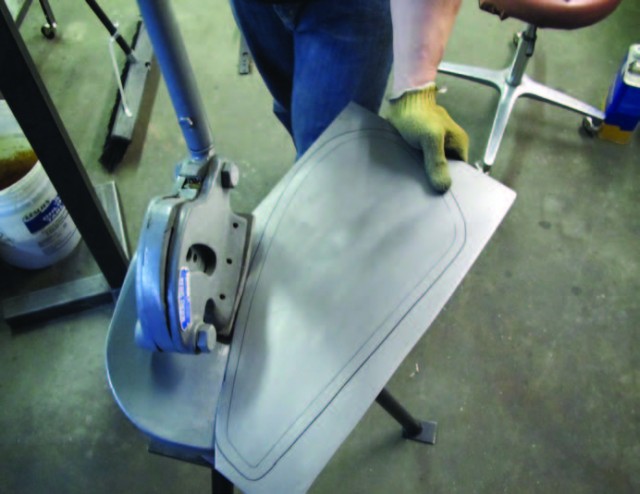
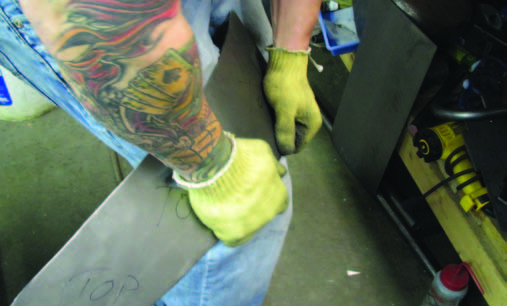
After tracing the template on a piece of 18 gauge mild steel, I draw a second border ½” larger using a set of dividers and then cut along the outside line with a Beverly shear.
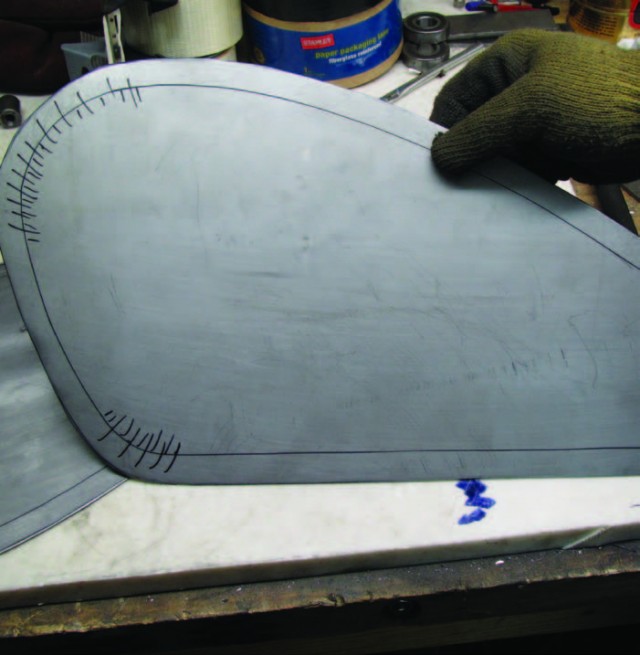
I’ll start shaping the metal by shrinking the edge. Here I have marked the areas that will require the greatest amount of compressive shrinking.
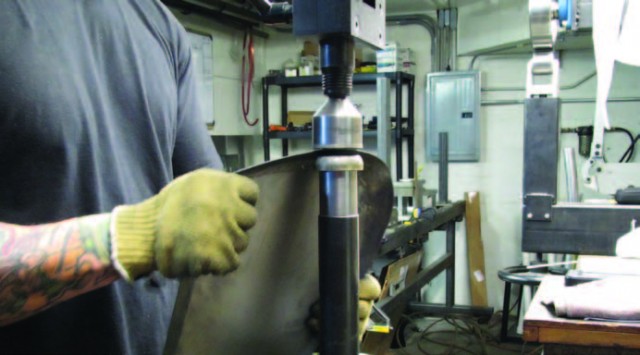
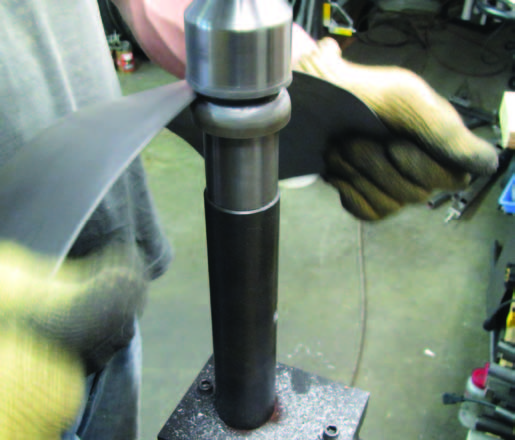
Using a set of shrinking dies in my air power hammer, I begin shrinking the edge of the panel. I prefer these dies over thumbnail dies as they allow me to maintain the form of the panel while shrinking. (Remember this can all be done with a tucking fork and a mallet, it just takes longer.)
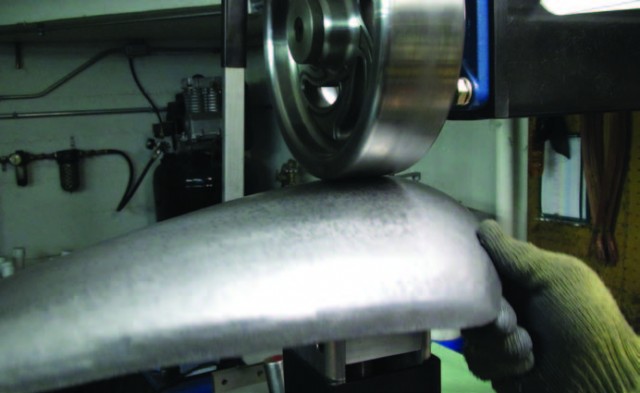
The English wheel can also be used to raise a crown and blend into the shrink. However, I tend to use it primarily just to smooth and qualify the surface after using the hammer.
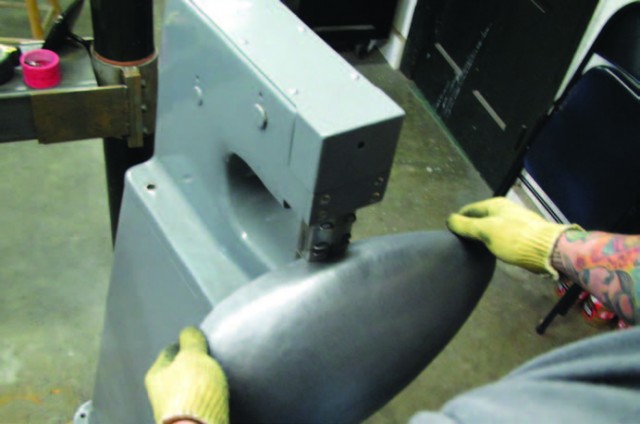
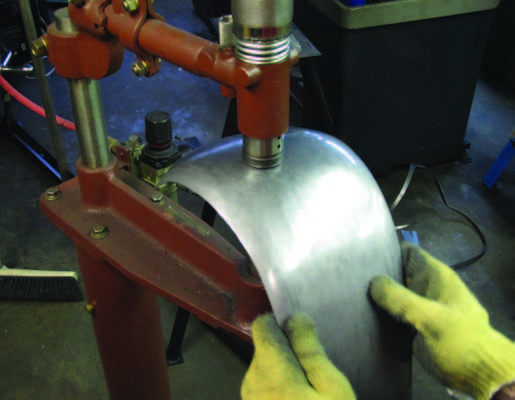
I gently use the Erco along the top and bottom of the panel to create more curve from front to back. This can also be done with the Lancaster style hand shrinkers.
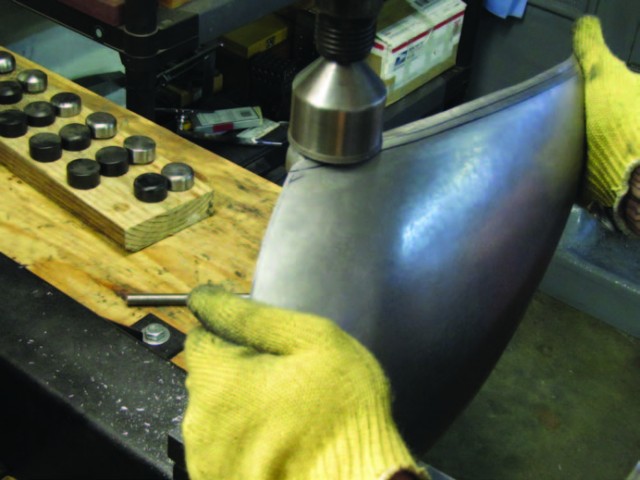
After laying out a line along the bottom of the panel, I return to the shrinking dies in order to roll the bottom edge.
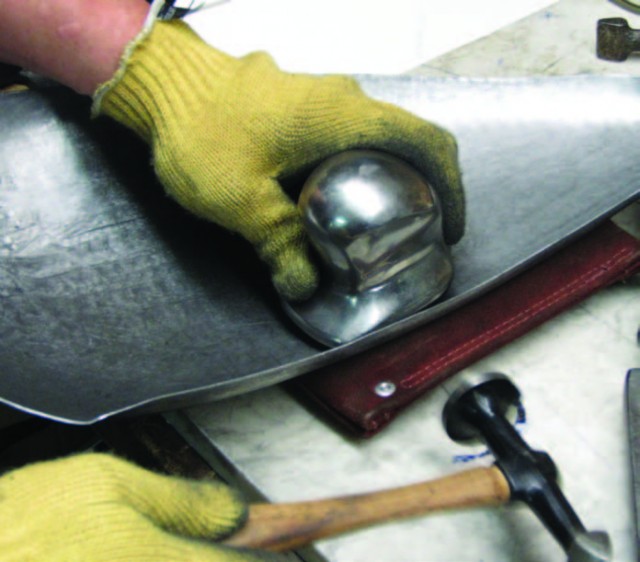
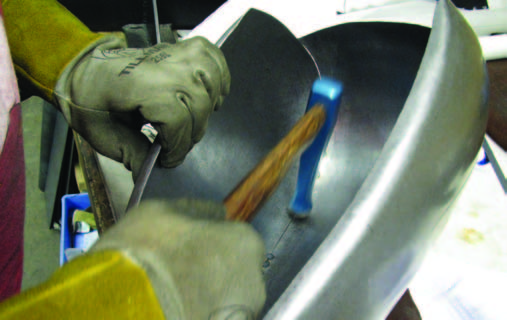
I use a hammer and a dolly with a good radius to true up the rolled edge.
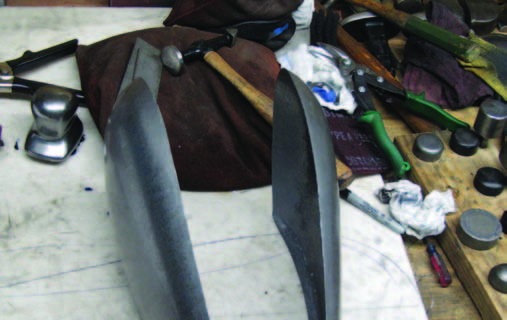
All of these steps are performed equally to the left and right panel in order to maintain symmetry.
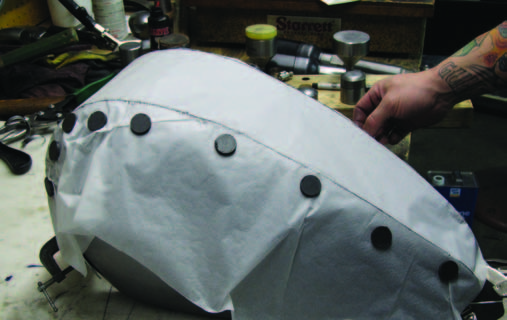
After positioning the sides of the tank, I’ll use tracing paper, magnets, and charcoal to trace out a template of the tank top.
Using the “body” dolly, I’ll form the basic contour of the top.
Again I’m back to the shrinking dies to shrink the edge of the top panel
This time, due to the overall curve of the panel, I need to use the planishing hammer to raise the center and smooth the surface.
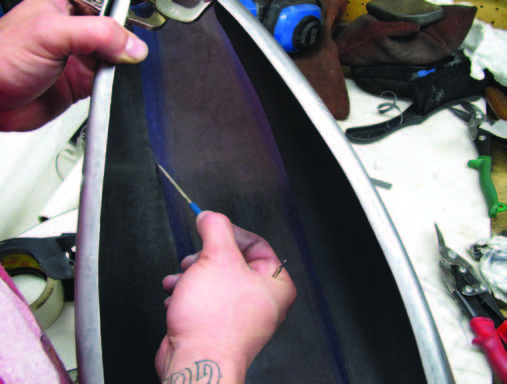
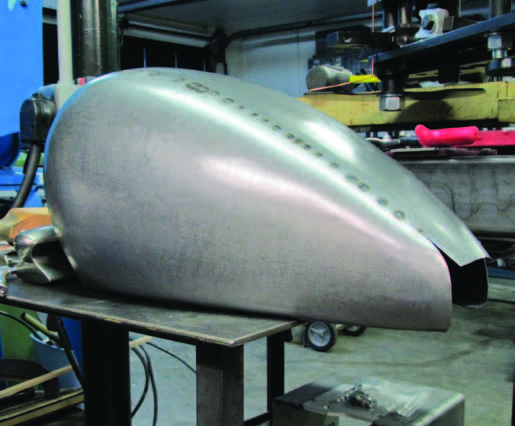
Once I have a good tight fit, I’ll use some layout dye and a scribe to mark a trim line for the top panel. It is critical that the panels fit tight so that we don’t run into issues during the welding process.
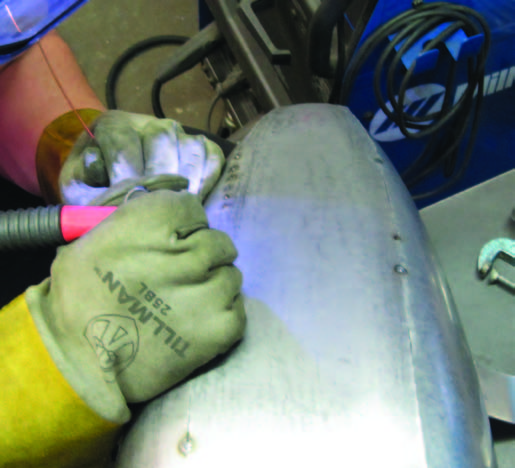
After thoroughly cleaning the panels with acetone, I’ll begin tacking the edges together with the TIG.
I cannot stress enough the importance of perfectly lining up the weld seam before welding. I’ll work the seam from above (hammer and dolly) or below in order to maintain alignment.
Check back next month for welding, planishing, and metal finishing the weld seams.


