


Article By: Daniel Donley At Pandemonium Custom Choppers – www.pandemoniumc2.com
Originally Published In The August 2013 Issue Of Cycle Source Magazine
Wow! Time flies when you’re having fun! Duke stopped by for a couple days and we got some more work done on the High Life Project!
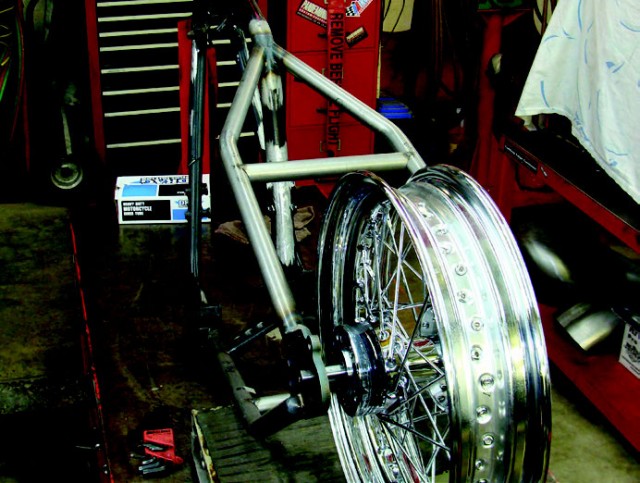
Now that we have our frame hardtailed, we are going to be using aftermarket Harley Softail rims on Duke’s XS650 build. With the axle and the rim in the frame, the rear rim is then centered in the frame using a laser alignment tool that is installed in the neck and shoots a laser beam down the center of the frame to perfectly center the rear rim.
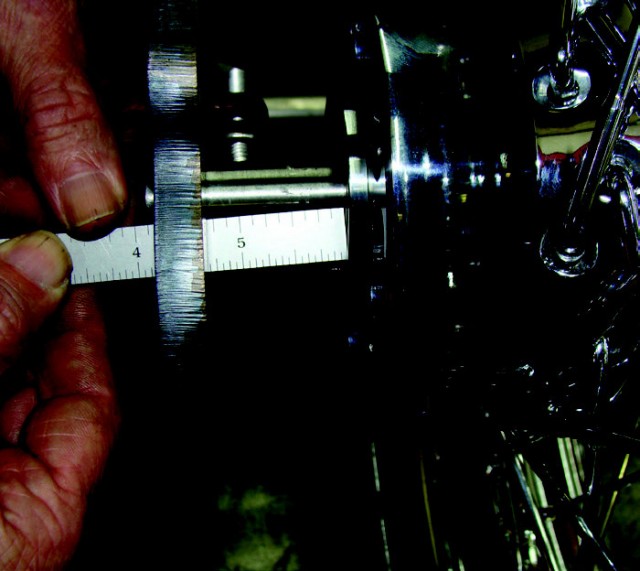
With the rim centered, Duke will measure for the wheel spacer on the drive side of the rim.
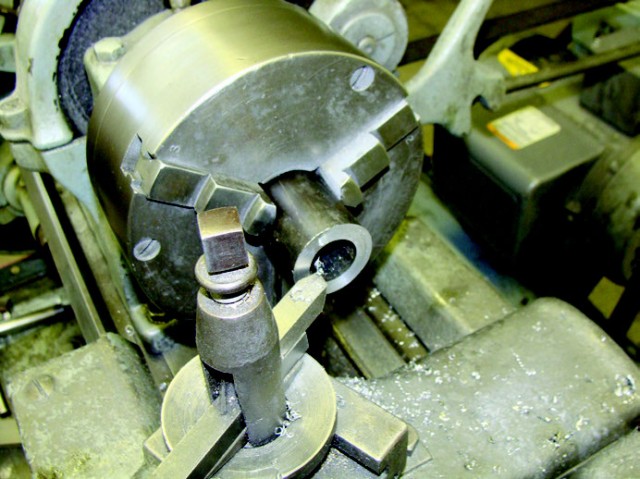
With the measurements in hand, it’s off to the lathe to make up the wheel spacer out of D.O.M. tubing.

Being that we are using Harley Softail rims on this
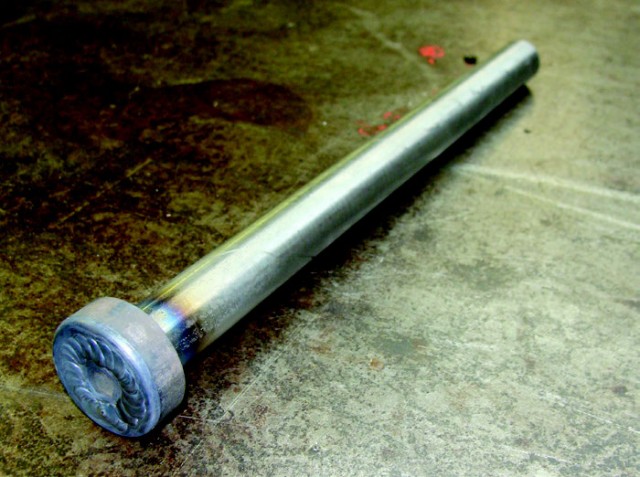
build, we needed to make a custom ¾” rear axle to fit.
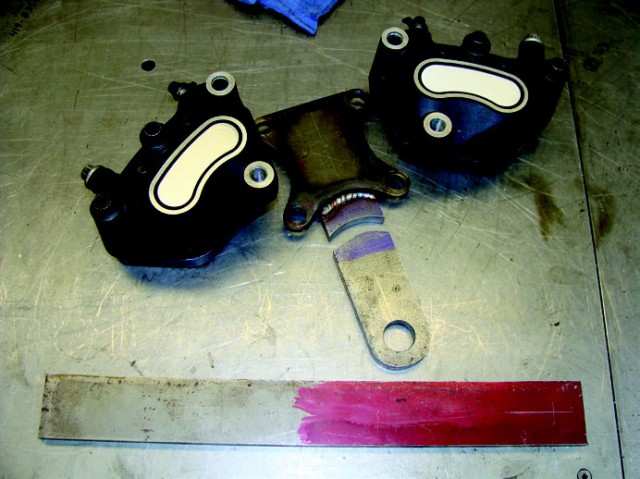
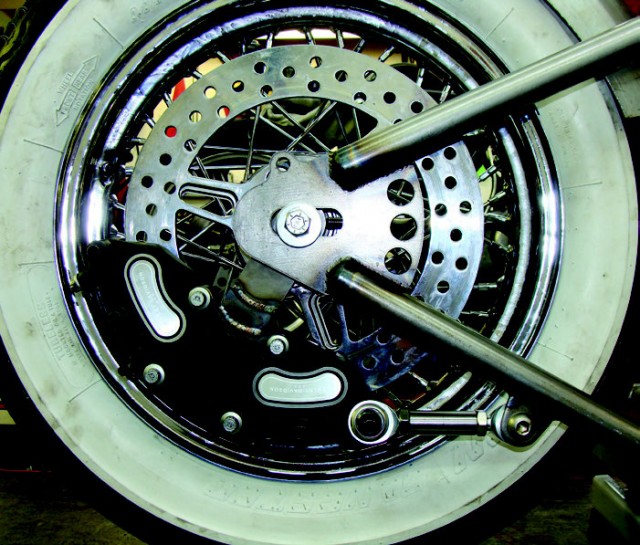
Duke was digging the dual caliper brake setup that I made months back for a tech article and I still had it. It was made for a Shovelhead swingarm frame and only a few modifications to the caliper bracket were needed to fit the XS650. Duke was stoked!
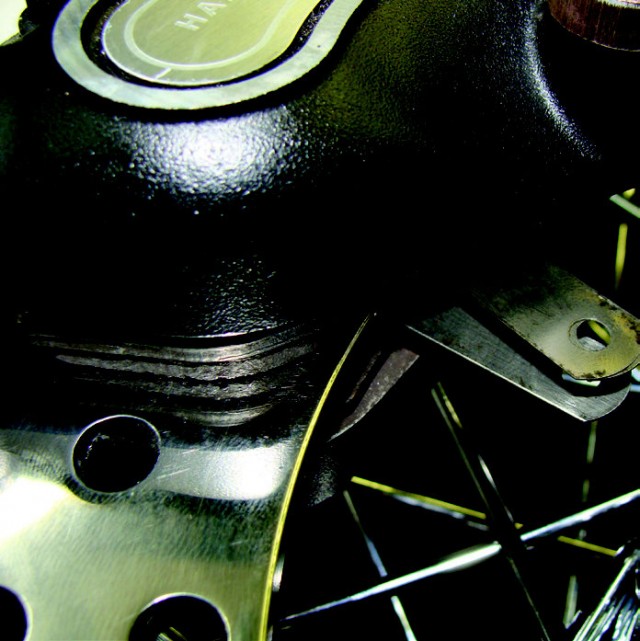
With the rim laying on the work bench, and the calipers and bracket slide on the rotor, we use feeler gauges to center the calipers on the rotor.
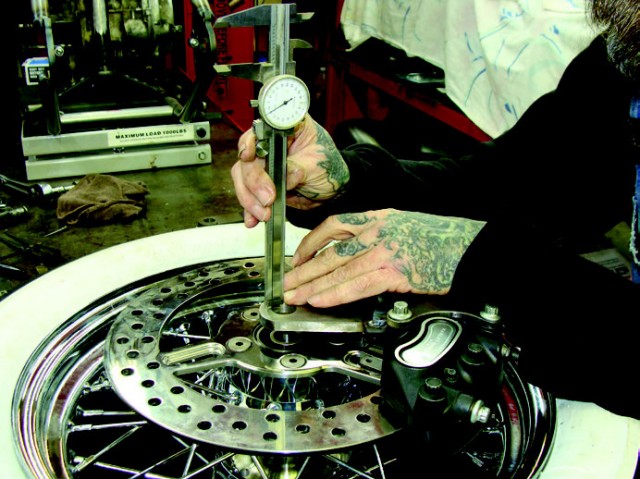
Measuring for the spacer that goes between the caliper bracket and the wheels is simple. Measure from the outside of the bracket to the bearing surface and then subtract the width of the caliper bracket. This will give you the width of the spacer needed.
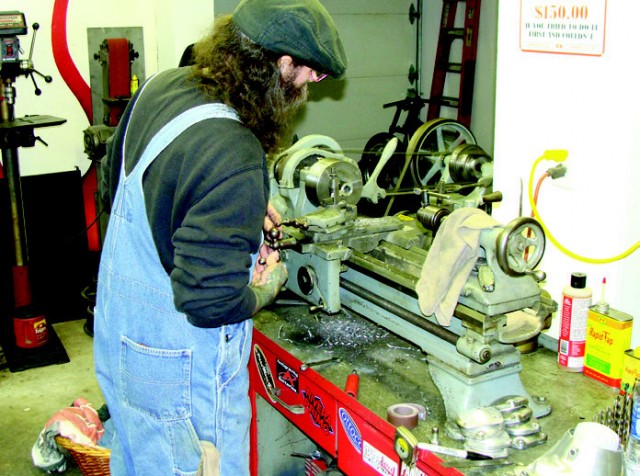
Here’s Duke using the ol’ south bend!
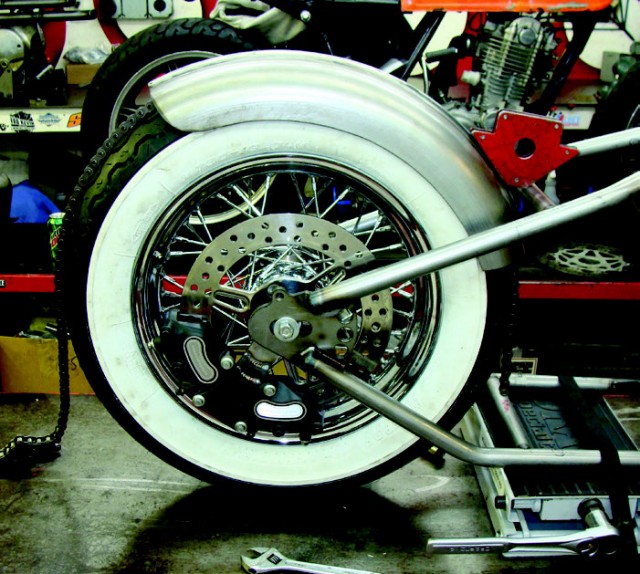
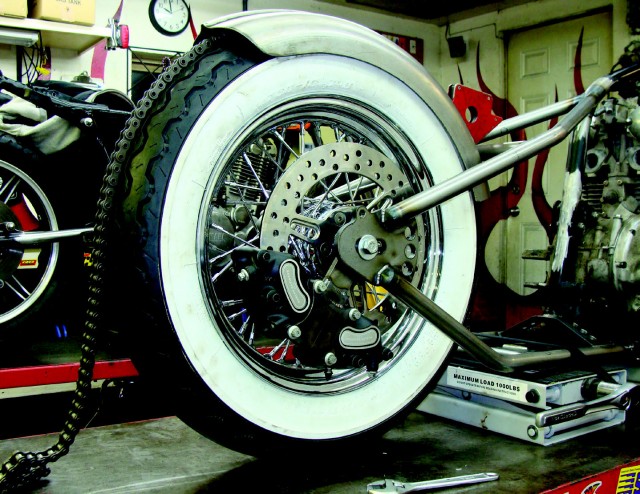
This is the rear rim, axle, and spacers installed in the frame and the axle torqued. We double check that the tire was centered in the frame with the laser alignment tool.
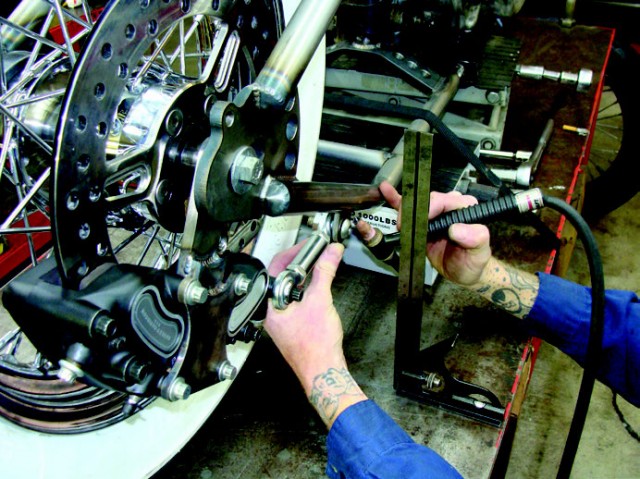
We made a brake stay rod using ¾” round bar and ½” heim joints. This will make for a heavy duty stay rod that Duke can beat on!
Well, that’s it for this month. Next month we will be installing the engine, final drive chain and start mounting the rear fender. If you have any questions, feel free to give me a shout! 419-576-6812


