


Article By: Will Ramsey – Faith Forgotten Choppers
Originally Published In The June 2013 Issue Of Cycle Source Magazine

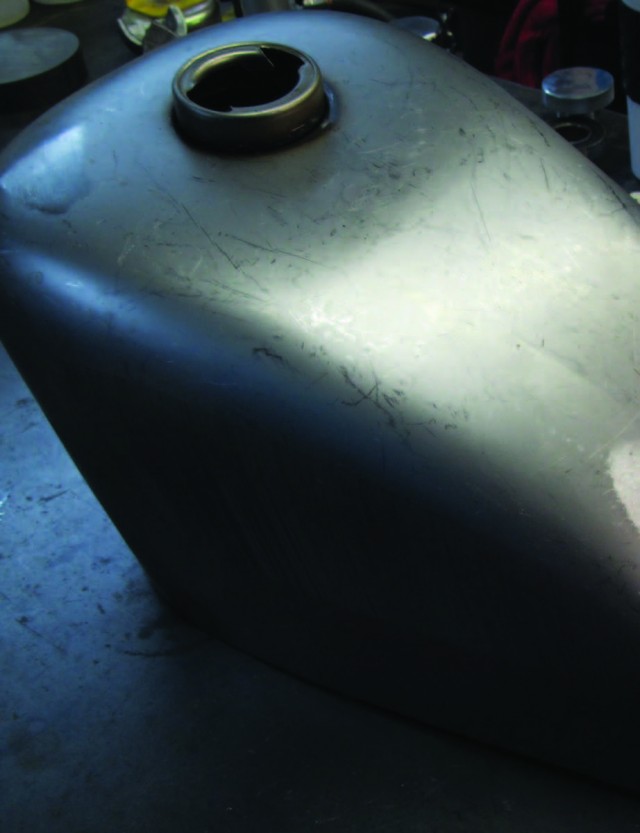
This month’s tech article will illustrate the relocation of a gas tank filler bung to help achieve the classic Frisco style tank.
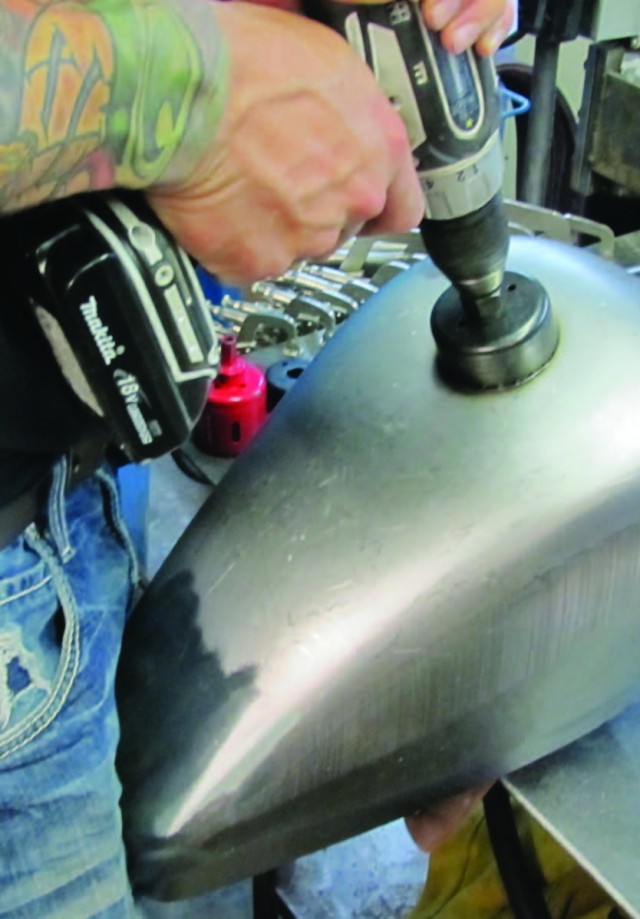
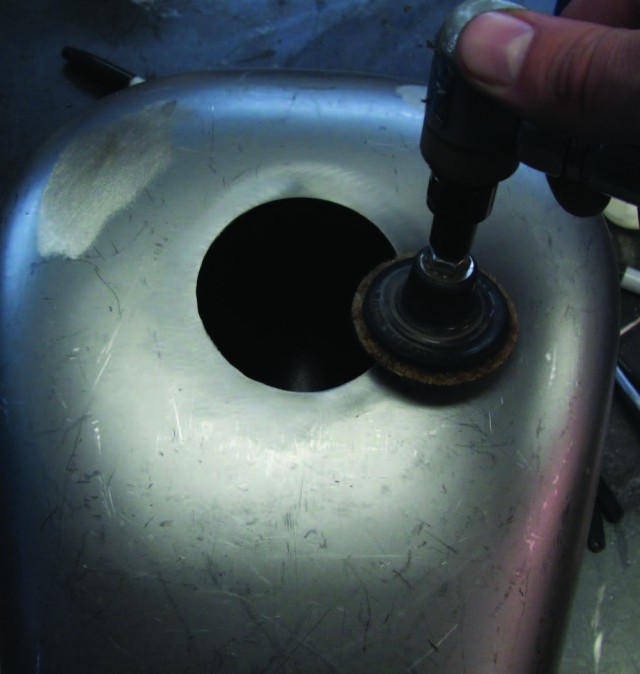
A 2 ½” hole-saw can be used to quickly and accurately remove the stock filler.
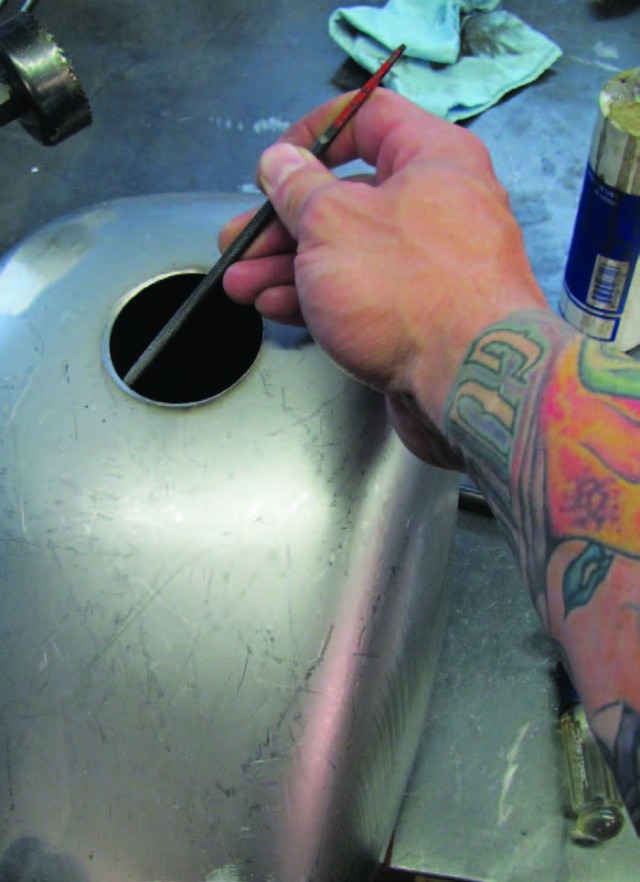
A round file will quickly clean up the inside of the new hole by removing the burr left by the saw.
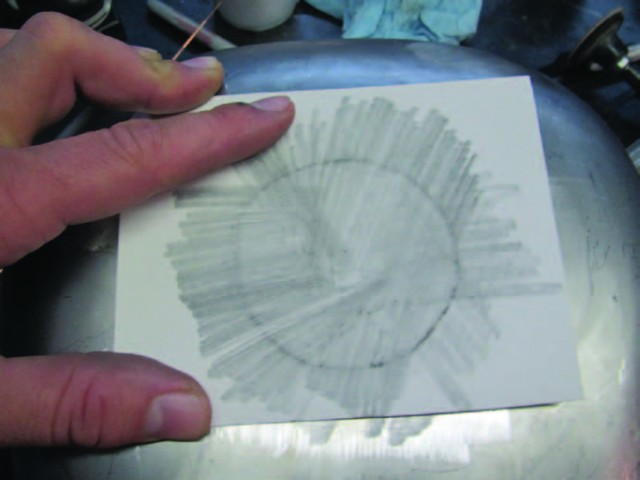
Use pattern paper and a pencil to copy the exact outline of the hole.
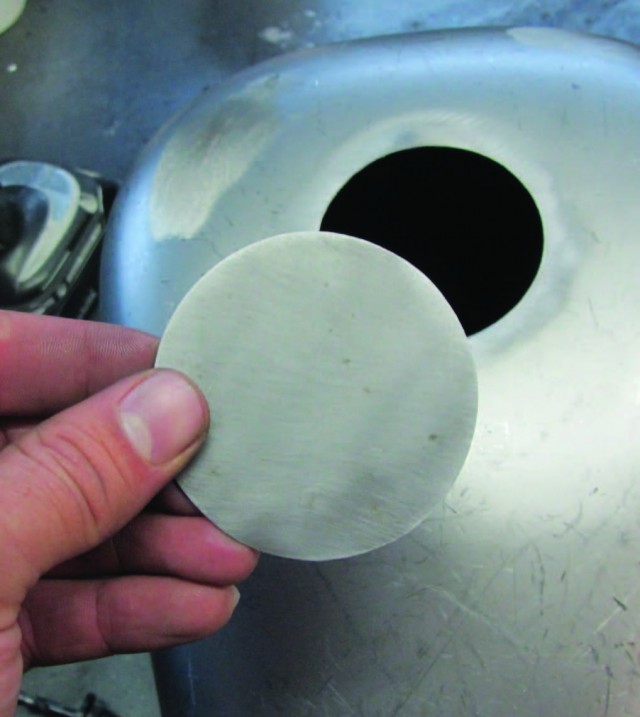
Accurately cut the paper pattern and use it to trace and cut a precise fitting patch panel from a piece of American made steel sheet.
In order to achieve a strong weld, it is imperative that the metal be cleaned with a solvent like acetone and a clean abrasive such as a Scotch- Brite pad (or a stainless steel wire brush).
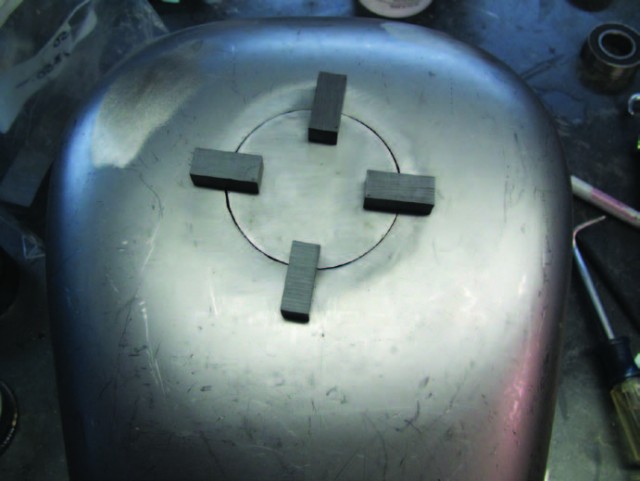
Magnets are a great way to hold the patch in place for tack welding.
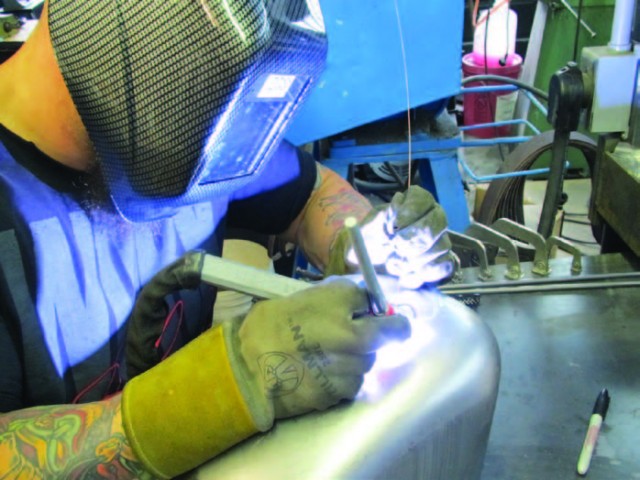
.040 Er70s6 filler rod is used along with a 1/16 tungsten electrode to TIG weld the patch panel in place.

Since there is no access to the back of the weld, there is no way to correct the weld shrinkage. This problem is compounded by the internal stresses inherent in sheet metal that has been formed by a stamping die. Therefore, the use of a little bondo will be needed, but we will leave that to the painter.
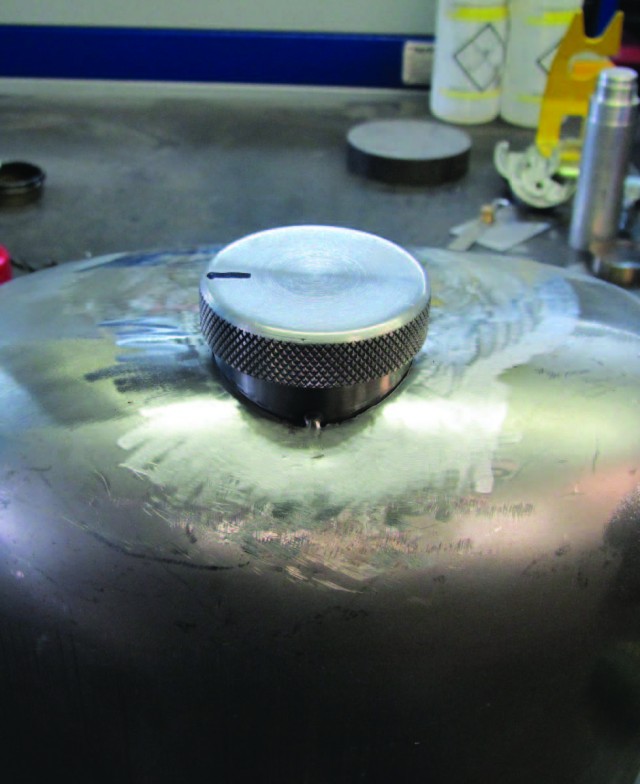
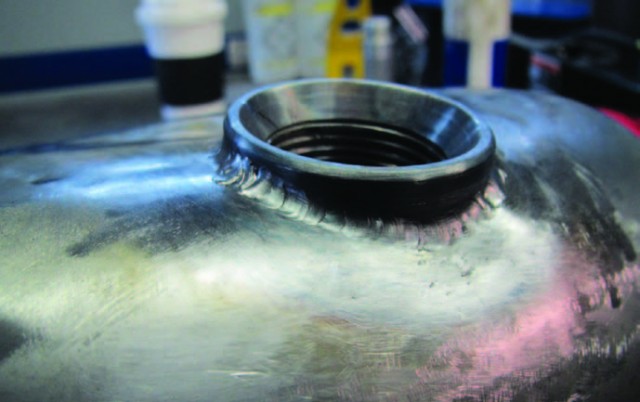
After cutting a 1 ¾” hole in the top center of the tank, the new filler bung can be located and tack welded in place. The Sharpie mark on the top indicates the location of the cap vent. This vent should be facing to the right side of the tank. Be sure to remove the cap before final welding to avoid melting the o-ring on the cap. After proper cleaning, the final weld is made securing the new filler bung in the gas tank.
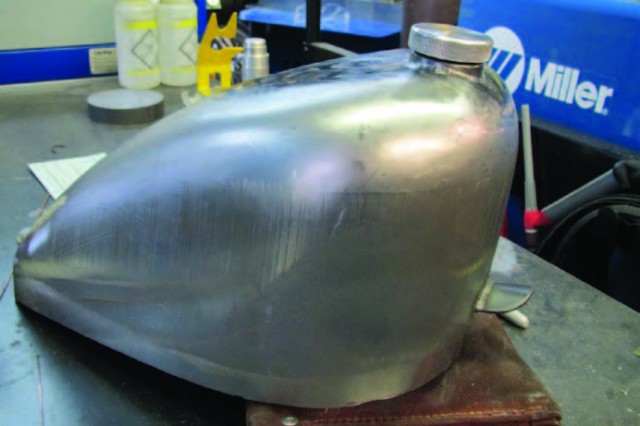
All finished and ready for some bodywork and paint.


