Published In The March 2014 Issue Of Cycle Source
Article By: Daniel Donley At Pandemonium Custom Choppers www.pandemoniumc2.com

For this month’s tech article, I am gonna show you how to install a fuel sight gauge kit and relocate your petcock. These modifications not only look killer, but are also very practical. With the installation of the fuel sight gauge, you will be able to see your fuel usage with just a quick glance. With the petcock relocated to the rear of the tank, you will be able to utilize all of your fuel while riding down the road. To start this project you will want to figure out where you want your sight gauge and also where to relocate your petcock. To take advantage of their use — with the plan marked out on your tank — it’s time to drill some holes and get this sucker welded up. Once you get your welding done, it’s time to pressure test your tank and check it for any leaks. I use a low pressure gauge that’s regulated down to 3-4 PSI for pressure testing. (If you don’t have pressure testing tools, you can take your tank to your local radiator shop.) I then spray soapy water on the tank and look for bubbles. If you have bubbles, then you have a leak! You will need to re-weld till you don’t see bubbles. Like I said, gas tanks with a fuel sight gauge and petcock relocated are not only cool but very practical. I use them on a lot of my builds. If you don’t have the tools to do these modifications, give me a call at the Pandemonium shop 419-576-6812. I can either modify your tank or build you a new one.

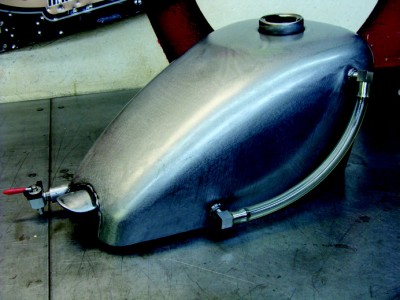
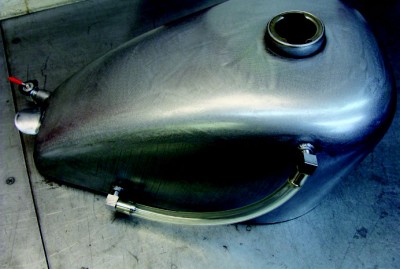
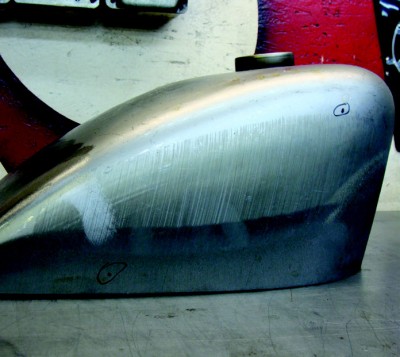
This is a 2.5 gallon Frisco mounted Sportster tank. I like to start with either a new or rust-free used tank for ease of the tank modification.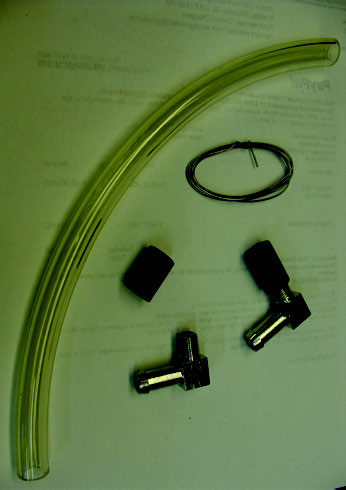
Here is the Pandemonium petcock relocation and fuel sight gauge kits were going to install.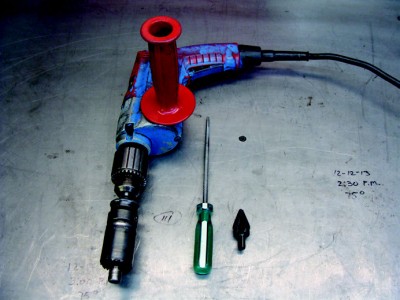
Here is what you will need for this install: a 1.5 inch hole saw to drill out the stock petcock location; a step drill bit for drilling the holes for the new petcock and fuel sight gauge bungs; a rat tail file for de-burring; and a MIG or TIG welder.
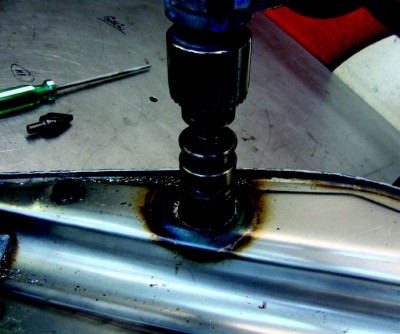
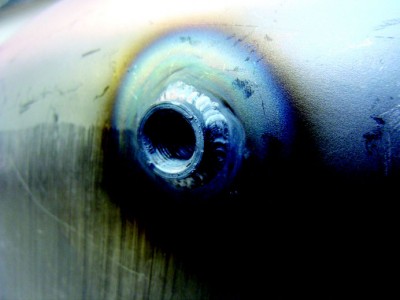
Drill out the stock petcock with a 1.5 inch hole saw.
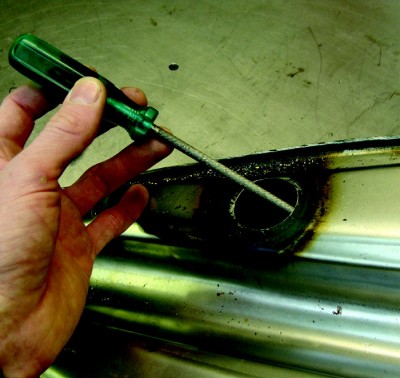
Use a rat tail file to de-burr the hole.
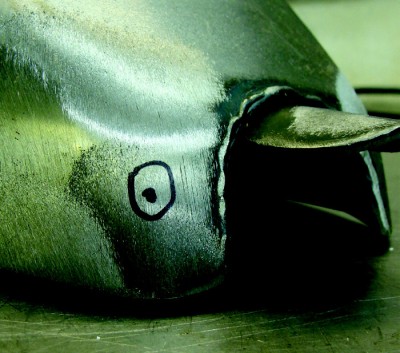
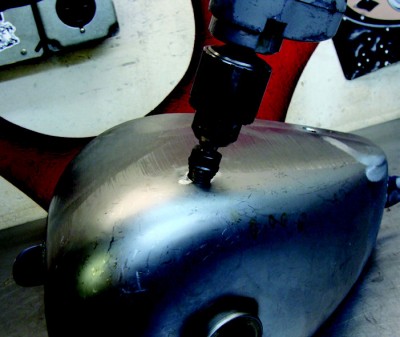
Mark the locations for the fuel sight…
…and petcock bungs.
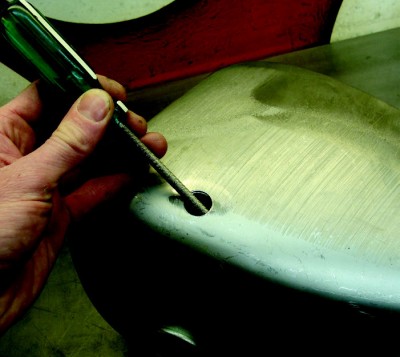
A step drill bit works well for…

… drilling the holes for the fuel sight gauge and petcock bungs.
De-burr the drilled holes.
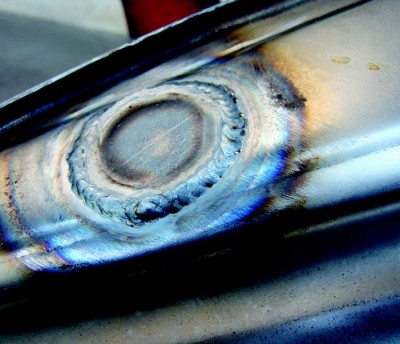
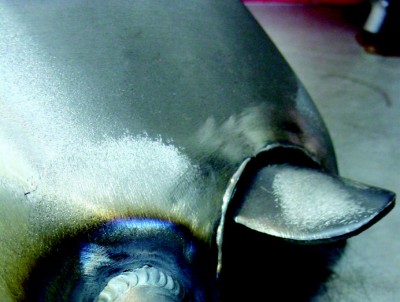
Weld in the petcock filler plate.
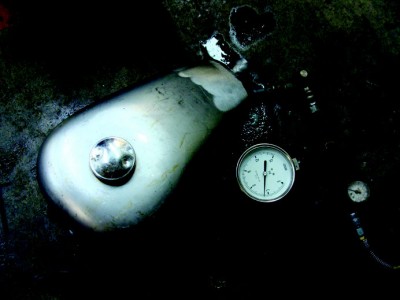
Once your fuel sight gauge and petcock relocation kits are installed, pressure test using 3-4 PSI and soapy water to check for leaks in the tank.