


Published In The August Issue Of Cycle Source
Article by Will Ramsey Faith Forgotten Choppers www.faithforgotten.com www.techcycle.com
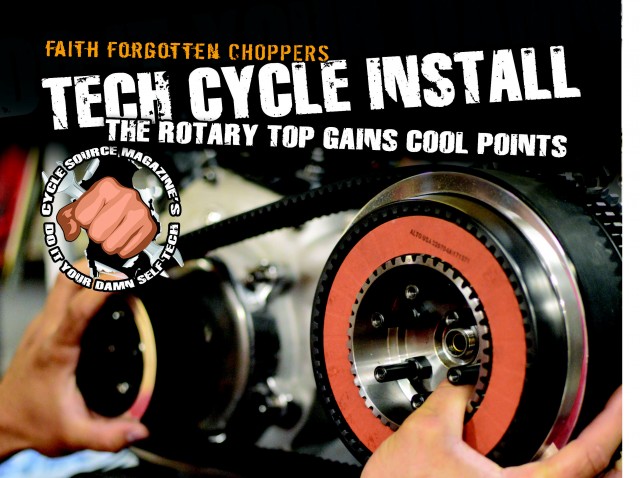
The rotary top 4 speed transmission has always been the ugly duckling when compared to its older brother, the ratchet top. But this unattractive little guy has some admirable qualities and is quickly starting to make a comeback in the custom scene. First of all it’s a far superior transmission when it comes to shifting and since most people don’t like the “look” of the rotary tops, there are still plenty available at a great price (but hurry, because “those” guys are going make them expensive as soon as they deem them cool). Recently we had a customer come to the shop with his original 1981 frame, and motor and a Rev Tech ratchet top transmission. It didn’t take me long to convince him to let us rebuild his original rotary top and keep all the key components of his bike matching. We decided this would be a kick/electric start bike, so I needed to find out who makes an American made open belt primary with a starter plate for a rotary top. The search started and ended with Tech Cycles. In my opinion you cannot ask for a better open primary. This company has been my go to for three completed builds thus far, so I was excited to find that they have the system I was looking for. The following tech is my installation of this primary and starter during the final assembly of our newest build.

This is the entire primary kit as it arrived from Tech Cycles. I chose to order the polished version and I’m very happy with the final finish.

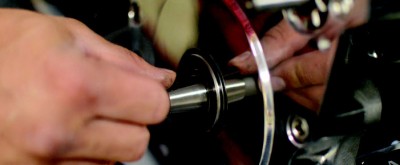
The first step in assembling this primary is to simply slide the backing plate onto the transmission mainshaft. This is a bearing fit, so just be sure not to force anything. It should slide on easily and the back of the plate should sit square against the ears of the transmission.
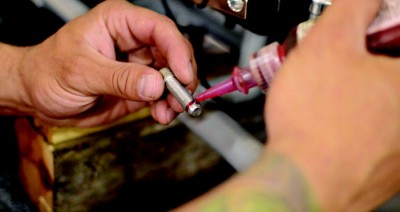
Before installing the stainless steel fasteners to secure the backing plate, it is important to use a thread locker so that none of these bolts can back out and cause problems on the road.

All the bolts are torqued to spec. *Trade Secret* The bolts supplied by Tech Cycles are 18-8 stainless steel. This material has a much different torque spec than factory steel bolts originally used in a Harley primary, so it is important to torque all fasteners to the proper torque spec according to the material. In this case I torque these 3/8” coarse threaded bolts to 20 ft/pounds of torque. Remember over torqueing a bolt causes the material of the treads to yield. As a result an over torqued bolt is prone to loosen under vibration (perhaps this will be a good subject to dive into for a future tech article).
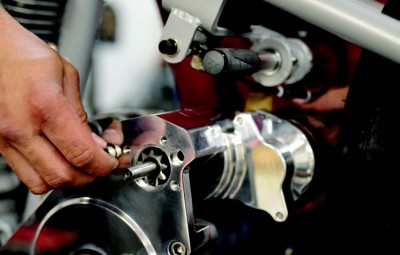
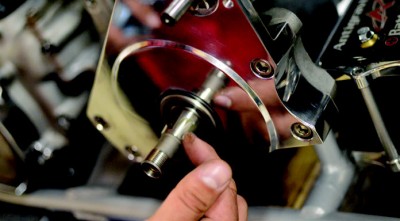
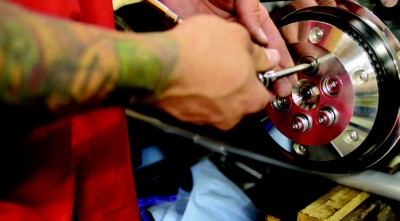
The starter is slid into the backing plate from the right side of the bike. If you do not have an assistant I like to stand on the right side to support the starter and reach over to start the bolts.
Again these bolts are torqued to spec according to the material of the bolt. In this case I torque these 5/16 coarse thread bolts to 13 ft/lbs.
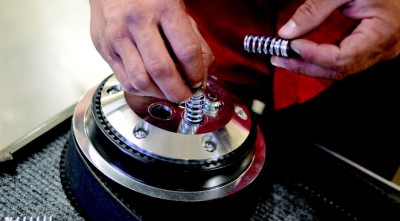
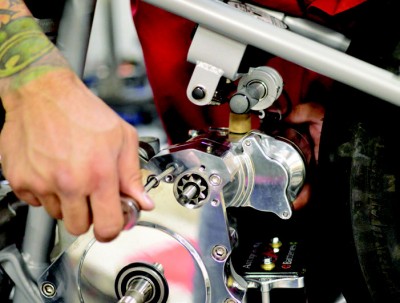
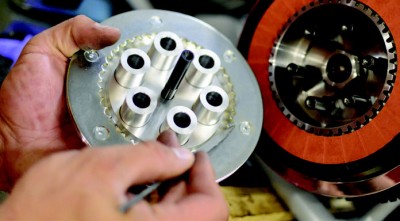
In preparation for installing the clutch hub and basket the spring plate must be removed. Simply back out the ¼-20 bolts and remove the springs.
Then remove the spring plate exposing the clutch plates and the center of the clutch hub.
Before installing the Clutch hub onto the main shaft the woodruff key must be inserted into the keyway. This is important!
I’ve removed one too many clutch hubs that were rusted to the tapered shaft. So do yourself, and any other mechanic, a favor and put a light coat of marine grease on the main shaft before installing the clutch hub.
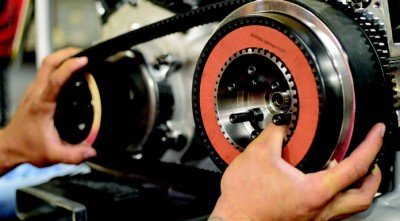
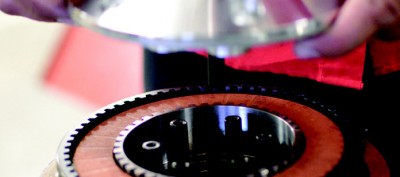
With everything in place, it is simply a matter of sliding the drive pulley onto the splined drive shaft and the clutch hub onto the tapered main shaft. Be sure the clutch hub indexes properly on the woodruff key.
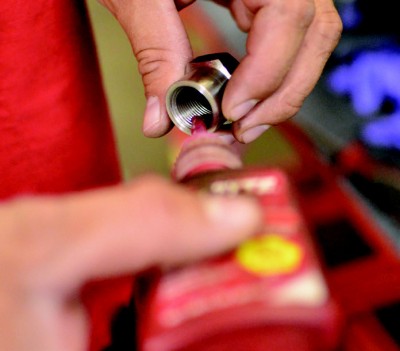
I like to apply a liberal amount of red Loctite to the hub nut before installing. I may or may not have had one back off on me on the road once.

Of course the hub nut is a left handed thread, so be sure to turn it counter clockwise to engage the mainshaft threads.
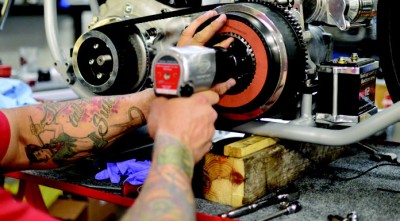
For convenience I use an impact to install the mainshaft nut. After years of playing with these you get a feel for what air pressure settings will create a specific torque. If you use a torque wrench (which is advisable) you must use a tool to prevent the hub from spinning. This nut can be torqued to factory spec.
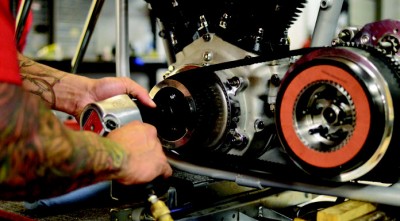
The exact same process is applied to install and torque the drive shaft nut. Do not forget the red Loctite!!!
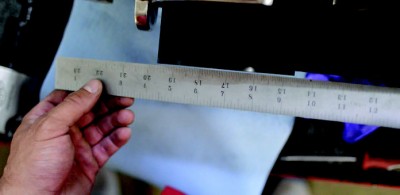
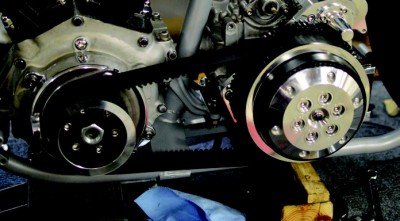
A straight edge is used to ensure that you have an accurate line up on the primary drive which allows the belt to track evenly and not rub excessively against one of the pulleys. Here you can see that the drive pulley actually needs to be shimmed out to align with the clutch basket.
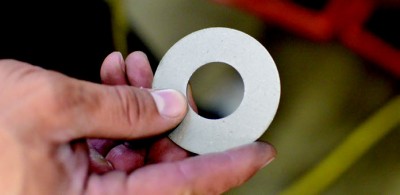
An appropriately sized shim (in this case .060”) is placed behind the drive pulley before reinstalling.
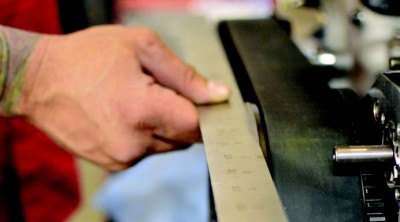
A final check with the straight edge should demonstrate perfect alignment of the primary.
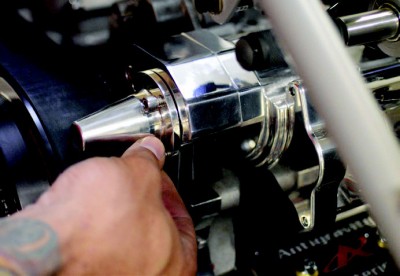
The jack shaft cover is one of the final steps in installing the Tech Cycles Primary. Simply index the cover and install the three bolts using a thread locker of your choice.
And finally, the pressure plate can be installed to close up the clutch. Be sure to match up the timing marks on the pressure plate and the clutch hub so that everything aligns easily.
No thread locker is required as the tension of the springs will not allow the bolts to back out. Simply snug up all five spring bolts by hand and call it a wrap.
Once everything is in place the only thing left to do is adjust your clutch to perform properly with your hand control or foot pedal depending on how your bike is designed, and run the supplied battery cable from the positive side of the batter to the lug on the starter. As always please feel free to contact me if you have any questions comments or concerns. Thank you!


