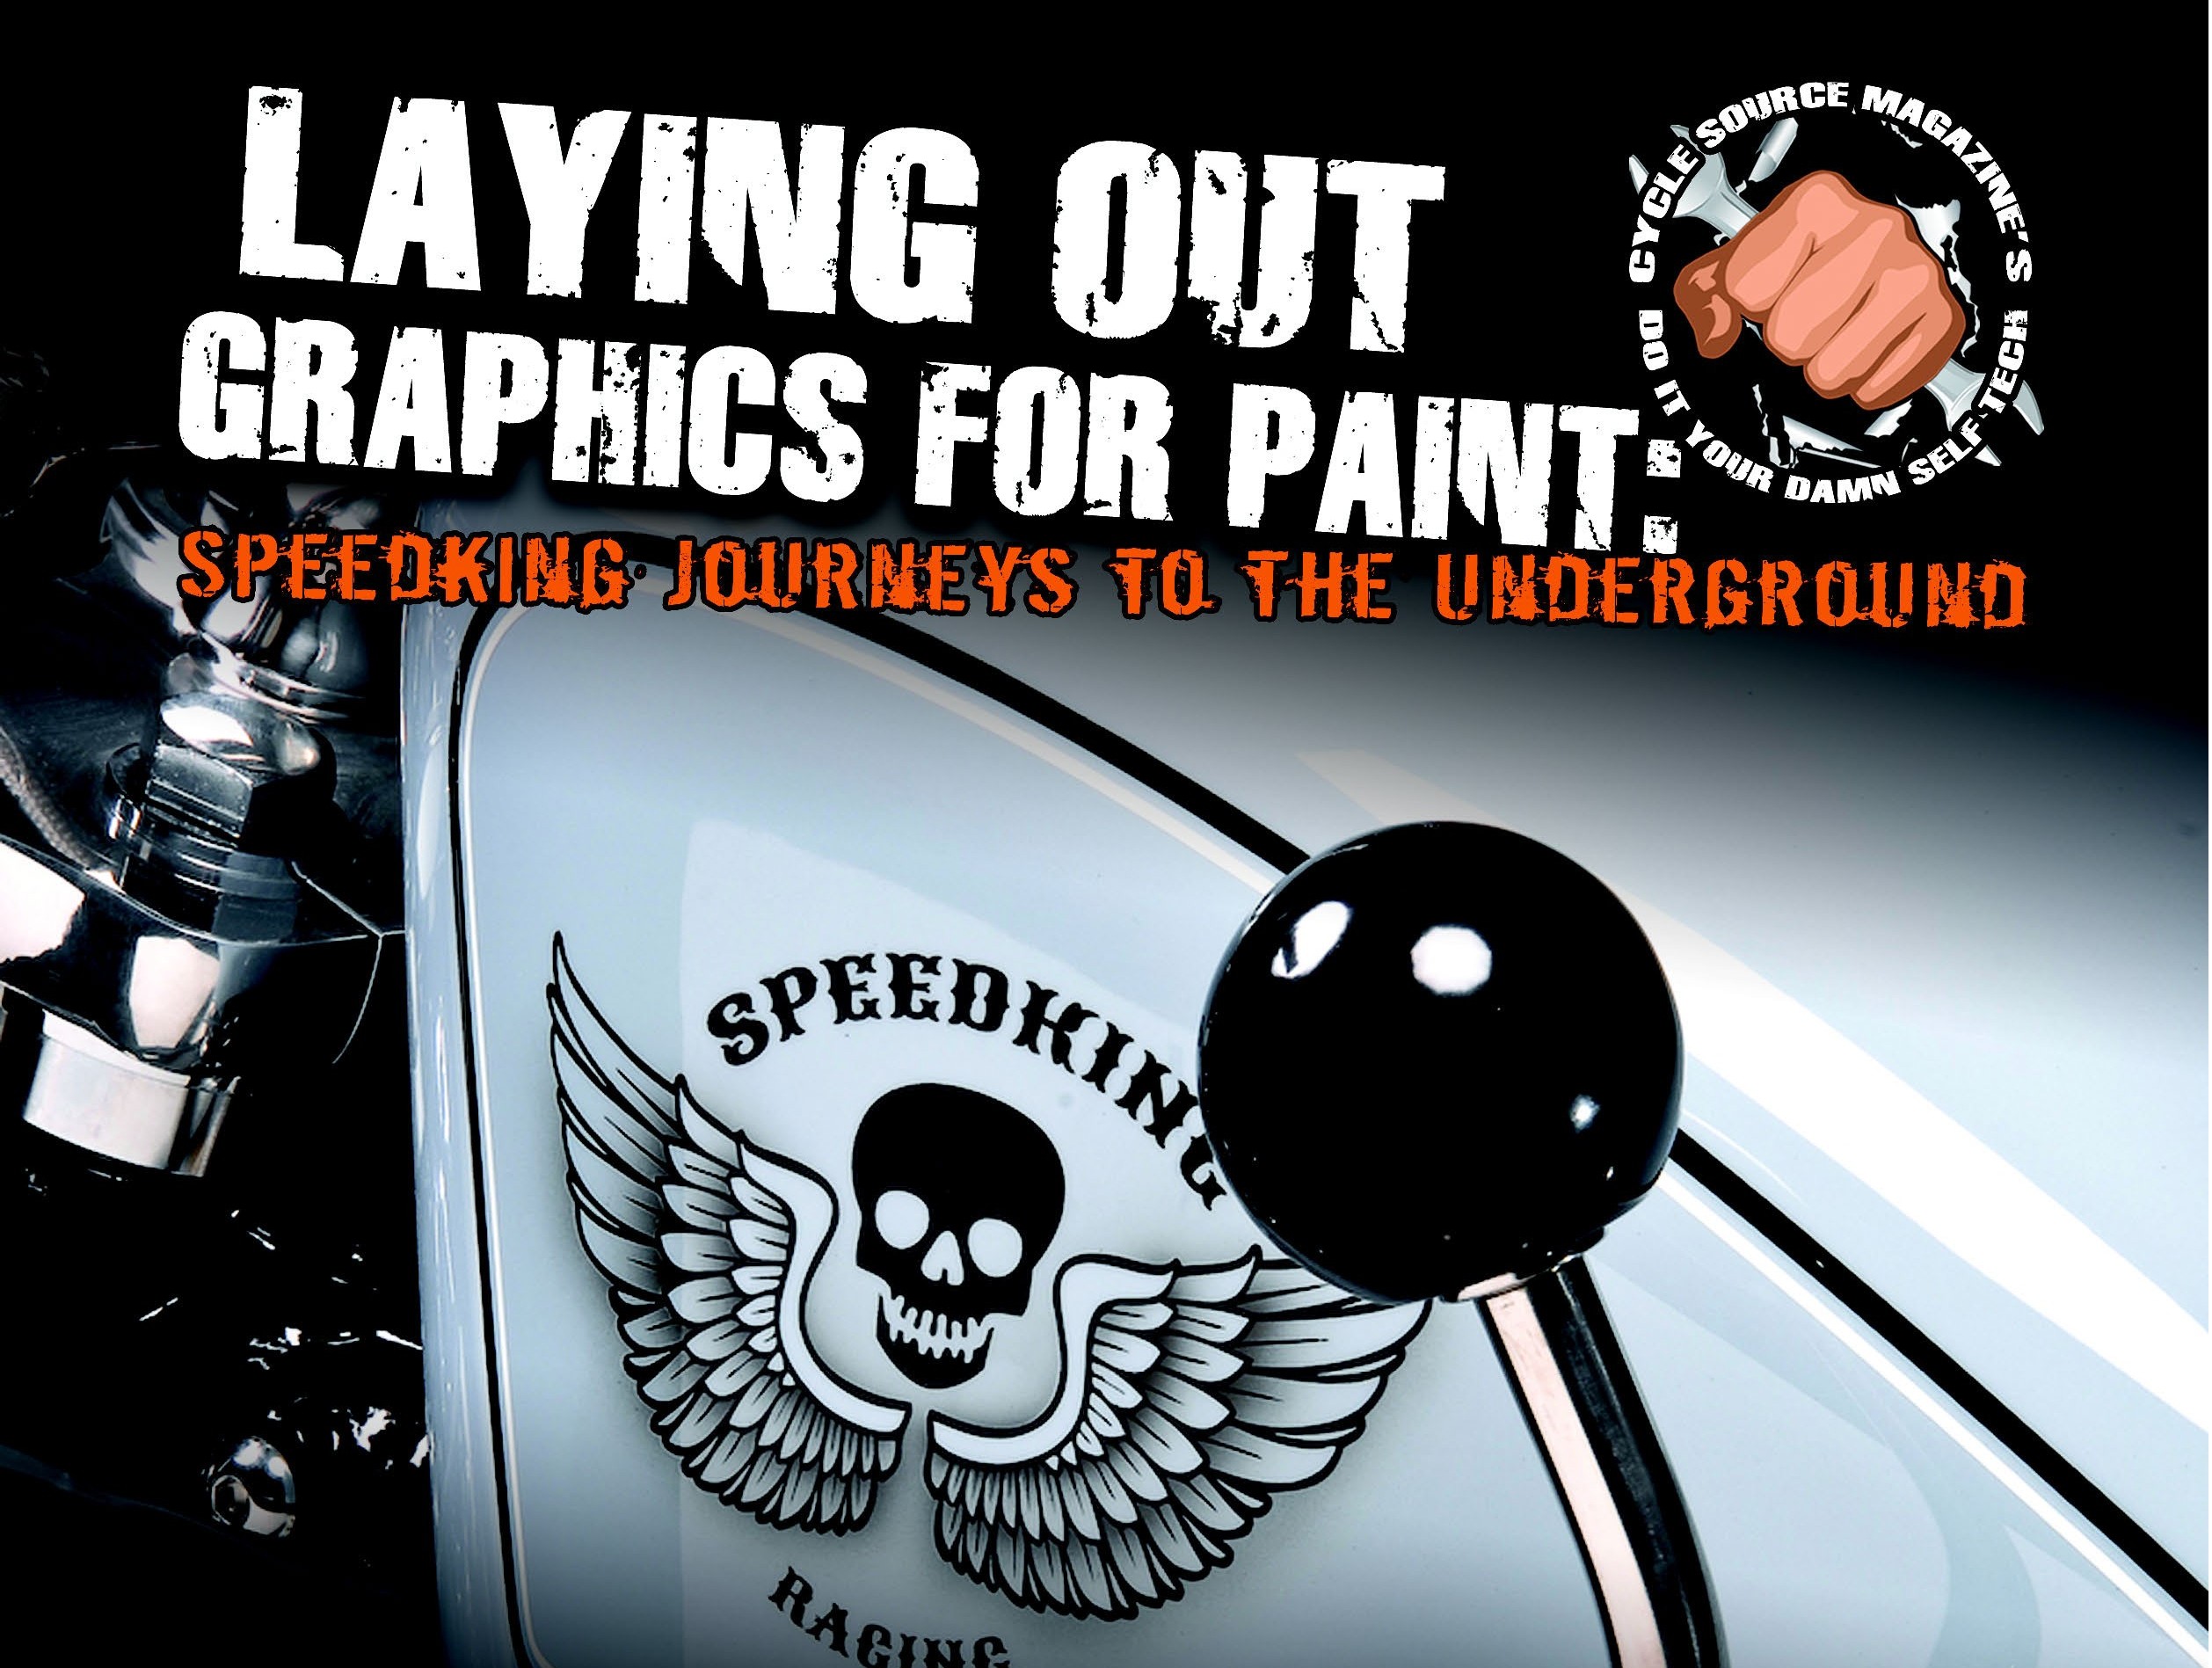
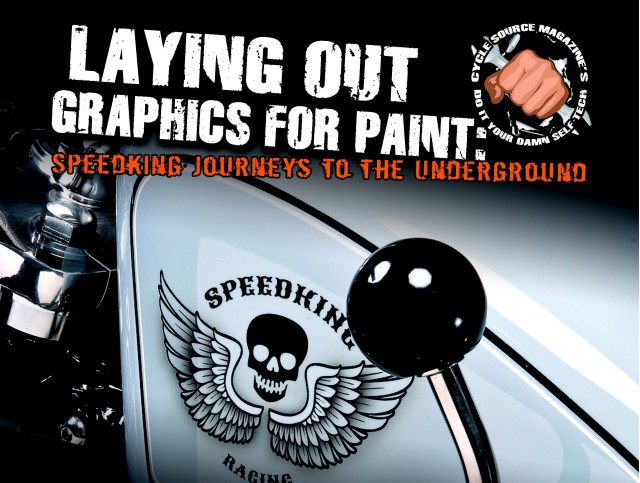
SpeedKing Journeys To The Underground
Article By: Will Ramsey – Faith Forgotten Choppers – www.faithforgotten.com
Pictures By: Jeff Cochran & Scott Takes – www.speedkingphoto.com – www.undergroundartstudios.com
Originally Published In The February 2015 Issue of Cycle Source Magazine.
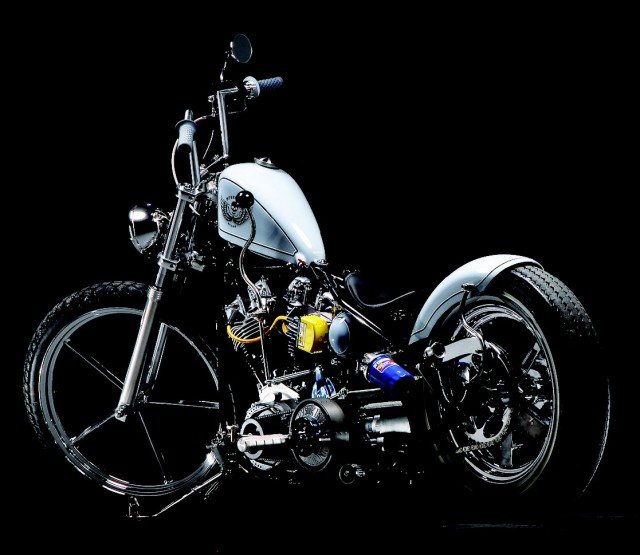
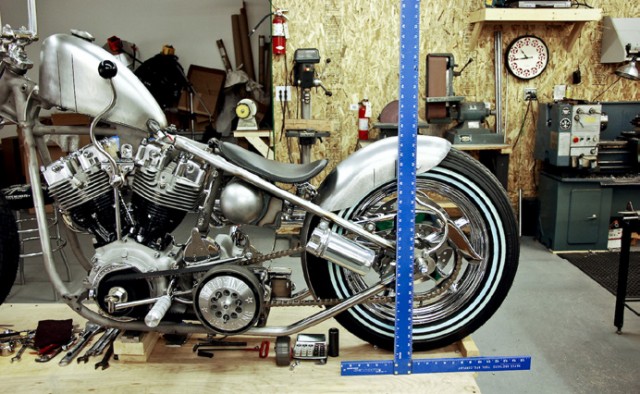
Upon one of my recent visits to Speedking USA headquarters, just outside Cincinnati Ohio, I saw yet another amazing Jeff Cochran chopper sitting on the build table. The mock up was complete and this bike was ready to be torn down for paint. A common site in the Speedking garage, but what caught my attention this time was the large carpenters square sitting on the build table and the vertical sharpie lines laid out all over the sheet metal. When I asked Jeff what the hell he was doing he just smiled and said, “That’s for the painter.” Instantly it clicked in my head and I thought ‘wow that’s brilliant.’ You see, Jeff demands perfection from anyone he works with, especially the painter, but he leaves very little to chance. For this build he was working with one of the best in the business, Scott Takes “from Underground Art Studios. Scott has painted a handful of Speedking bikes in the past, and knows exactly what Jeff is looking for. The sharpie layout lines on the tank and fender allow Scott to visualize the layout of his artwork as it will be seen when mounted to the Speedking frame. This simple trick of the trade can make a painter’s job much easier if they know how to employ it with their layout process.
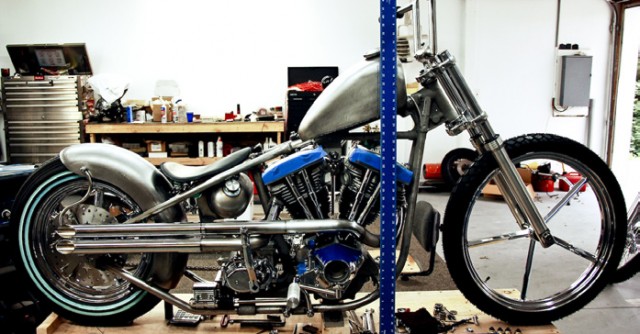
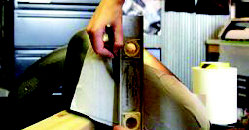
Once the mock up is complete and “all the sheet metal is mounted to the frame, Jeff uses a 4’ carpenters square to mark parallel vertical lines on the gas tank. *Warning* make sure the ride height is properly set. If you use a scissor jack to hold the frame during mock up, make sure that the bike is not jacked up at an angle before marking the lines.
The square is also used to draw witness lines on the fender. You can see here that all the sheet metal gets marked on both the right and left side.

Staying true to form, Jeff leaves nothing to interpretation. He makes the center line of the tank as it relates to the backbone on the frame.
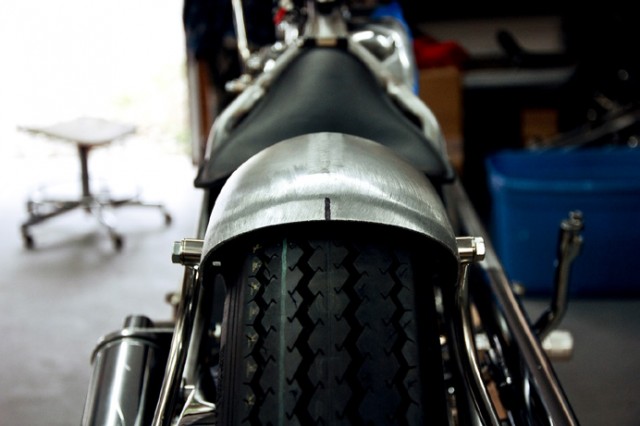
And the center line of the fender as it correlates to the tire. Sheet metal often has a more organic feel when considered against the hard geometric lines of a classic chopper frame. As such, most builders will rely on their eye rather than trying to measure everything. This is certainly the case with Jeff and quite honestly it’s one of the secrets behind the balance he achieves in every build. Trust your eyes!
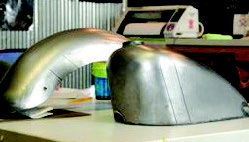
Now that everything is marked, the tank and fender get shipped to Underground Art Studios in Cedar Rapids Iowa, where Scott Takes will lay out the paint and graphics.
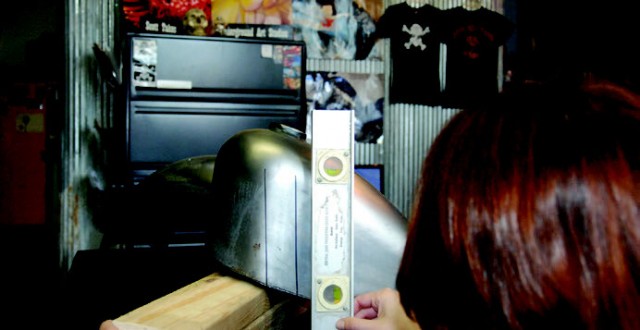
Using the vertical witness marks made by Jeff and a bubble level, Scott
orients the tank to the same angle that it sits while mounted to the frame. With the tank in position Scott establishes a visual centerline for the graphic. A flexible tailor’s tape is an excellent tool for laying out lines on a compound surface.
Once the template paper is molded and secured to the tank the bubble level can be used to transfer the vertical orientation line to the paper.
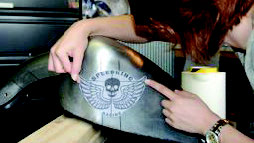
Scott transfers the logo graphic to the paper and uses the witness lines (and his own eye) to find the proper orientation. Remember the lines are only guides the final product is often a result of the artist’s intuition and talent.
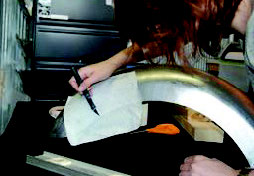
The same processes is used to layout the lines on the fender.
www.speedkingphoto.com