Article By: Paul Wideman www.bareknucklechoppers.com
Photos By: Chris Callen
Originally Published In The February 2012 Issue Of Cycle Source Magazine
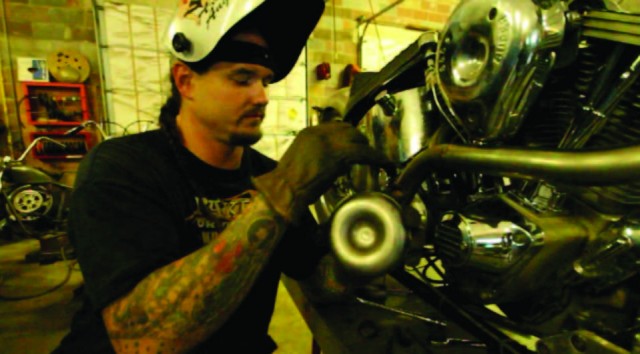
We’re gonna be doing a tech tip here on garage built exhaust pipes for the do-it-yourselfer. With the economy the way it is today, and since not everybody is working like they used to, we can’t all afford a thousand-dollar set of exhaust pipes. Sometimes those types of exhaust systems don’t really fit what you’re building either. What I’ve done here is gone through building a set of our custom pipes and we’re gonna take you step-by-step on how you can do it too.
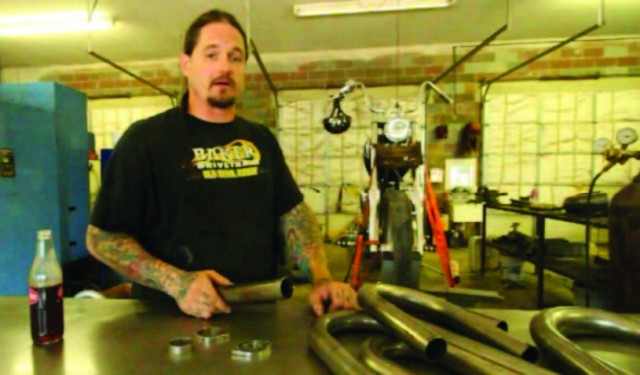
We get our exhaust tubing from a company called Skull Headers. Other companies that offer kits like this are Jeggs, Paughco, Summit, and a lot of the race car companies. This is all going to be done with 1 ¾” tubing.

The kit comes with J-bends, U-bends, and some straight and different radiuses.

Since this is going on an Evo, we can make our own head pipes with some flanges we make in-house, that get welded on, and a stock flange and retaining ring.
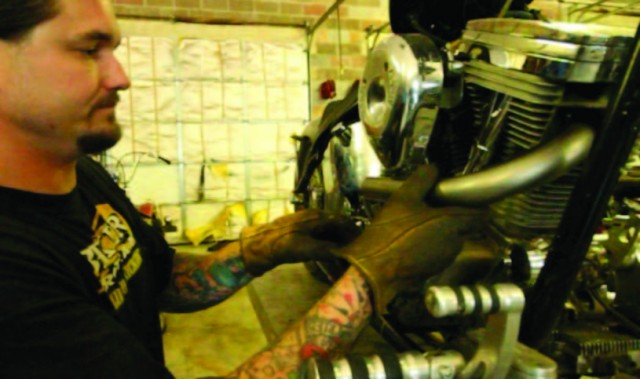
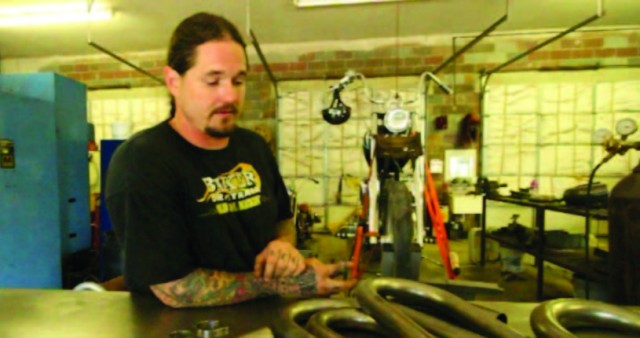
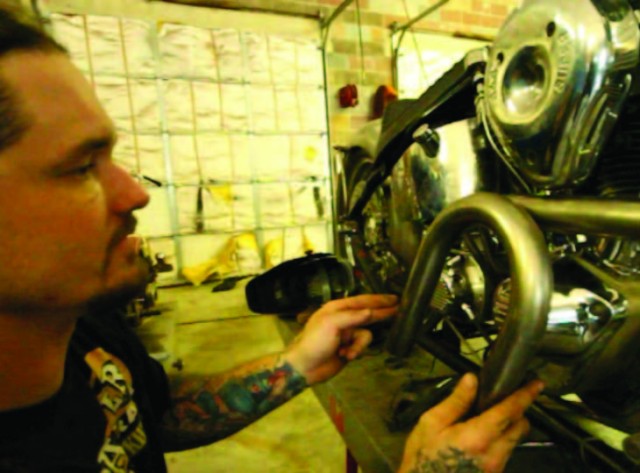
Since I know I want the front pipe to come down under the air cleaner, I went to my box of bends and grabbed a piece that I thought would be a good start.
This one will be perfect but up at the head it’s gonna be about an inch too short. So I’m going to take some straight tubing and clean it up on both ends with my lathe. I can then weld it on the end of this first pipe and cut it back to fit.
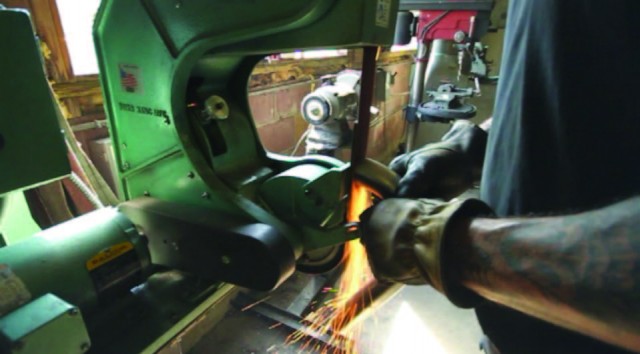
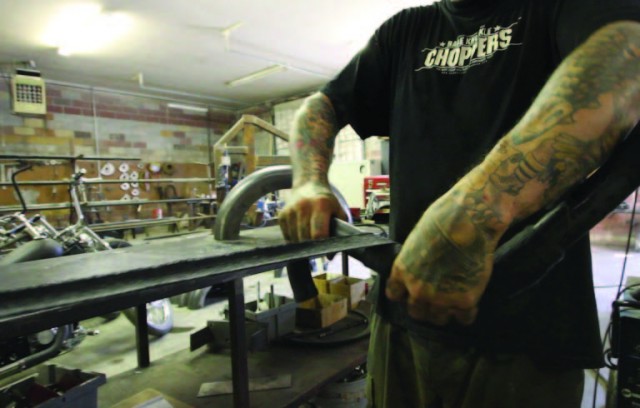
The next step is to weld the flange to the head pipe flange. After that, I’ll take it over to the burr king to grind the edges down. Then I can start to mock-up the rest of the pipes. We don’t make any of our pipes in a jig; they’re all built on the bike so we know they’re right every time.
With this piece, I can just square up the ends perfectly and fuse the entire thing. I won’t add any filler rod.
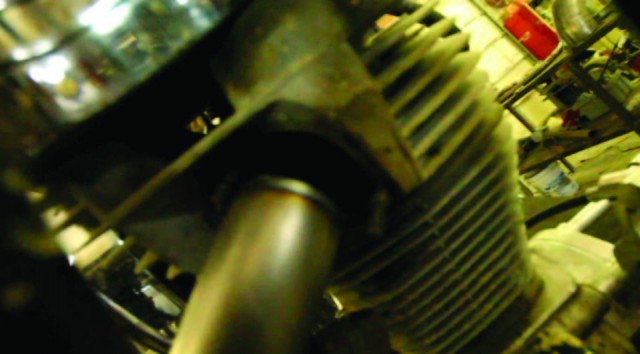
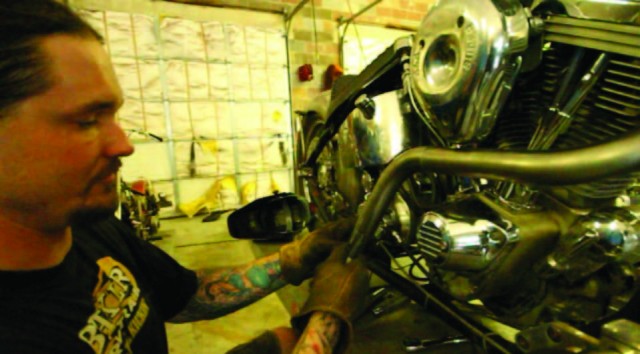
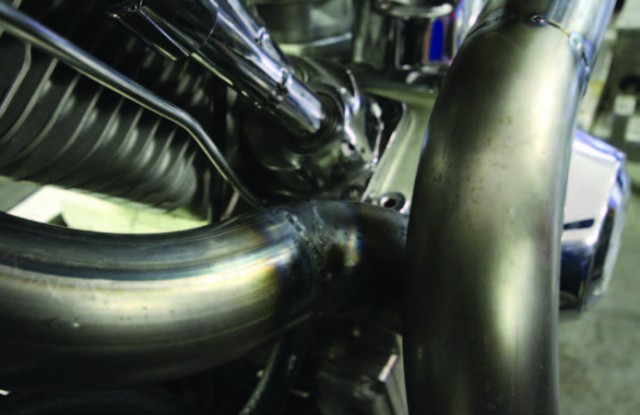
For my next piece, I want the front pipe to come down and dump out right in front of the transmission. The key to making this cut is you want the straight line to run tangent to the radius of the next piece. If you don’t get this cut right, you’ll end up with a bump or a sharp edge.

I eye it up until there is no high or low side to the left or right of the cut. I make a mark, cut it on the band saw, and grind it smooth
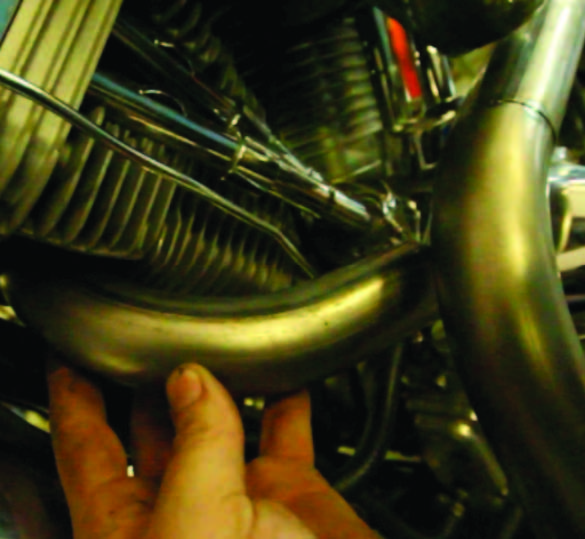
When I bring the cut piece back, I’m real happy with the way everything lines up. I’m gonna cut the end off a little bit up hill from the bottom to allow room to put my tip on without having to take the whole pipe off.
I can tack the front pipe together now and the front pipe will be finished except for finish welding and the tip, which I always save for last.
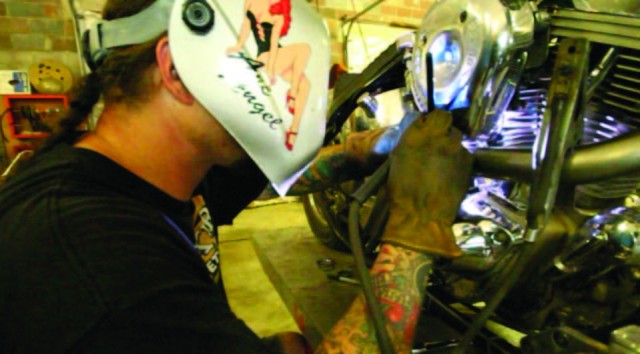
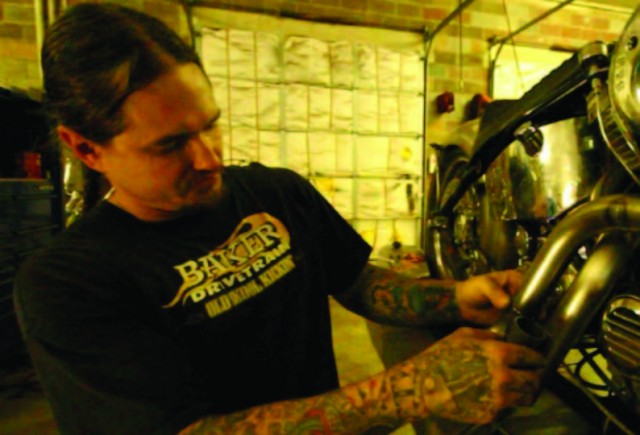
Next, I’ll try and find a piece of tubing that will come behind my front pipe and up into the head in one piece so I don’t have to do a lot of extra cutting and welding. I’ll put my flange on now and install the head pipe on the rear cylinder.
The next bend is always tight so I’m going to have to use a doughnut to make the turn. This is a piece that we have hydra formed. We weld the seam of two halves and end up with the tightest corner that can be made with this diameter tubing since the radius of the doughnut matches it.
Using a piece from the doughnut, I can make the tight corner I need. Since this is a doughnut, the center isn’t welded. After I get it in place, I take the pipe off and tack it all the way around so all my margins line up and everything makes sense.

Now I can fit the next section and tack it in place as well and the rear pipe will be ready to finish weld.
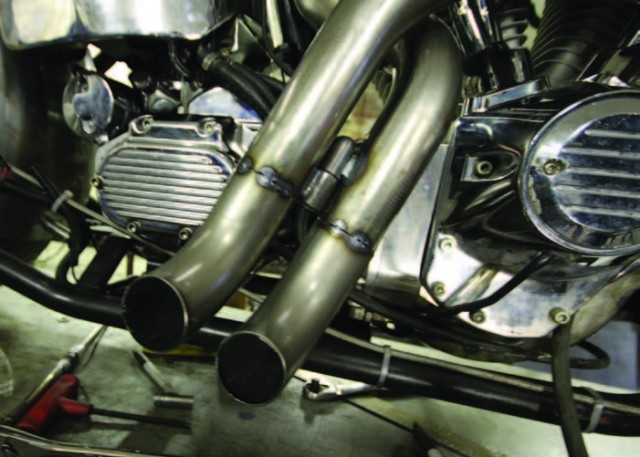
After both pipes are finished, I figure out where the rear pipe needs cut so the tips look right next to each other.
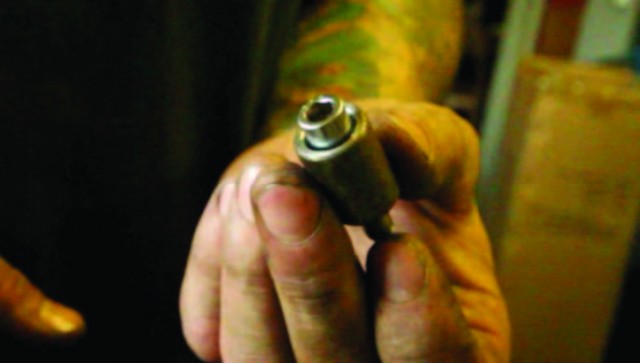
With the rear pipe cut to length, and before I tack on the tips, I make a little mount that goes between the two pipes so I know nothing is gonna move anymore.
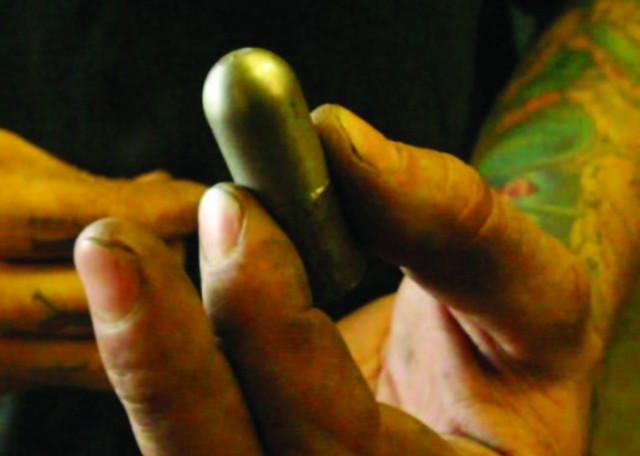
This is done with two spuds; one is recessed to accept an Allen head bolt, and the other will get drilled and tapped so that it can be mounted upside down. This will keep out any rain, dirt, and grime from getting in and messing up the threads.
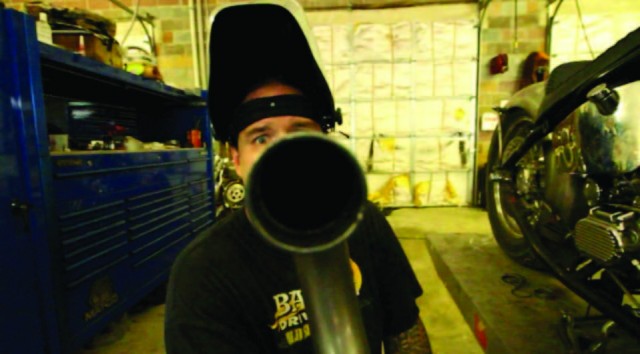
With the mount in place, I weld on the tips and remove the whole exhaust to finish all the welds.
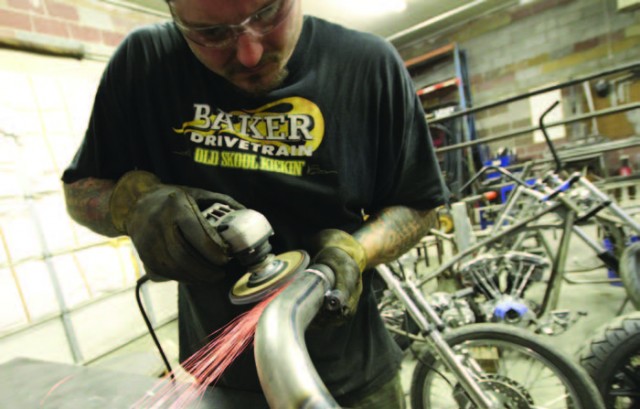
Here, I’ll start polishing out the welds on the pipes. This set is getting black high temp paint with black heat wrap. I start with my 4 ½” electric grinder with a flap wheel. You just want to take out the high spots with this grinder.
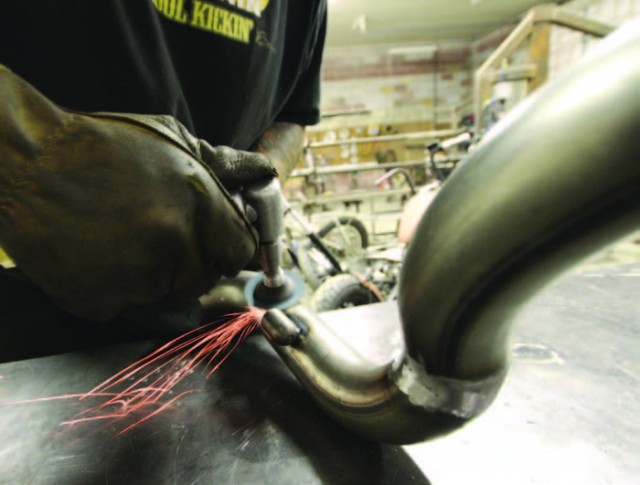
Then I move on to a 2” right angle air grinder. As my grits get finer, I start to float out the grinding marks in the area maybe two or three times as wide as the flap wheel so you can’t see any dips.
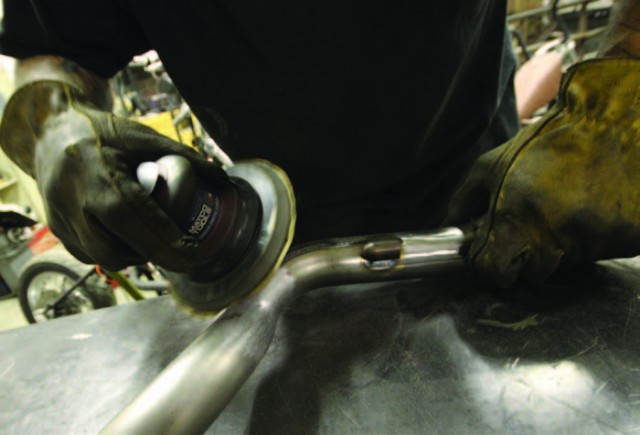
Finally, I finish up with my DA sander and some 220 grit sandpaper. Again I go out further to feather out the area of the weld.
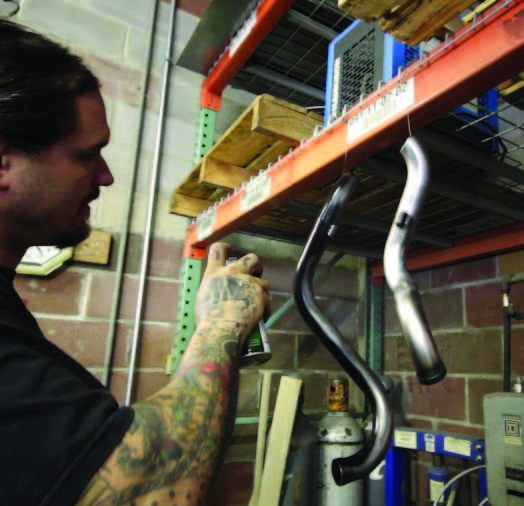
I clean the pipes off real good with acetone and then spray bomb them black with high temp paint. I leave the paint sit overnight to dry good before I try and wrap them.
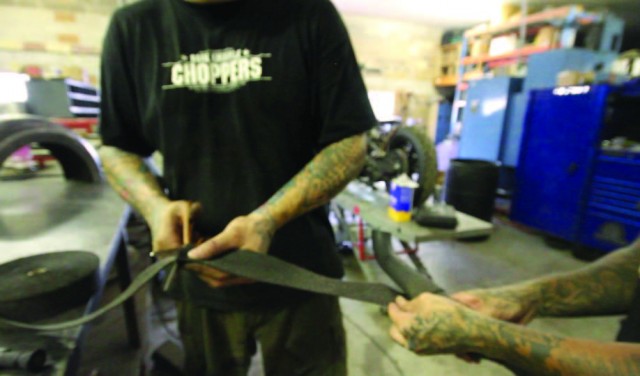
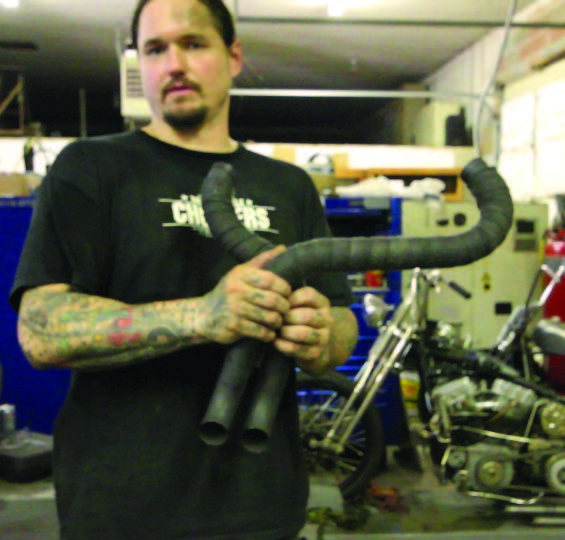
With the paint dry, I pre-wrap it to get the exact length we need, then we unwrap it and put it in a bucket of water.
As you can see, if you wrap the pipes when the material is wet, you get a much tighter wrap.
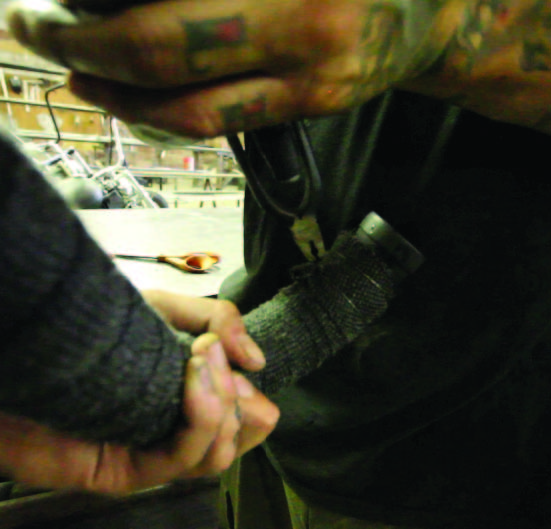
Last we use some steel wire and a pair of spinning pliers to secure the end of the wrap. So there you have it. No fancy fixtures, no special clamps, and not necessarily any real rules to abide by. Just common sense, some simple fab tools, and a cool set of pipes. Until next, FTW- Paul